Corporate TeamBuilding Workshops - Laser Cut Lampshade
The Edge has been asked to come up with a team building workshop offer for corporate clients. The first concept is to develop a fancy version of the Illustrator for Laser Workshop
And here's how that turned out.

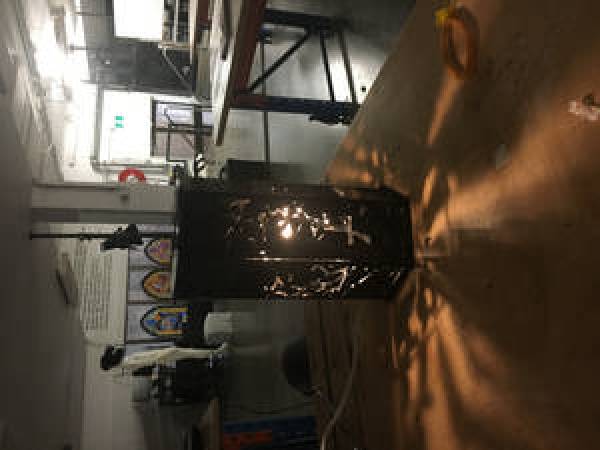
Prototype Zero
Design Process
Find an image on line or draw one. In Illustrator convert the image to a one colour logo in and Resize/scale the image to fit on the Lamp Template according to taste.
Now Add bands of white (no Line colour) around the slots and the side of each panel copy and paste these and the motif into and new illustrator doc and export as a PNG
The Bands of white round the slot holes/ sides of each panel ensure that the integrity of the panel is maintained.
 vs
vs 
This makes for a more pro look and is stronger
Open the png in Photoshop and use the cutout filter to add these bands of white to the artwork. Export as a PNG again and import back into your lamp template in illustrator. Live trace the motif set the line thickness and colour for cutting.
You are ready to cut now.
Total time for cutting is 9.30 which is probably to much for a corporate event but this could be reduced by precutting the panels and then cutting motifs in a template/jig
here are the files
bonsai_lampplywood.cdr ai_for_laser_lamp_v4_tree.ai bonsai_lampcentre.cdr bonsai_lamp.cdr ai_for_laser_lamp_v3_tree.ai
Assembly Process
Once you have your cut panel weed the waste and arrange in order with the presentation side down. Spray the timber with adhesive and place tracing paper making sure all bubles of air are pushed out. Carefully cut around outside perimeter of panel and the slot holes for the lamp bracket. install lamp fixture into clear acrylic lamp bracket and test for operation.
wrap panels around lamp bracket and hot glue
Fit top and bottom
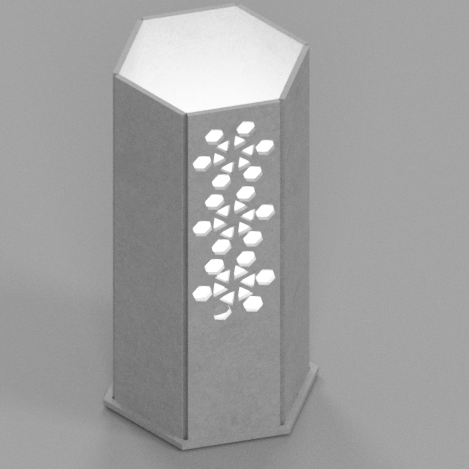
Parametric Modelled Versions
This is a parametric version of the lamp prototype Zero so we can change size/material(but not number of sides) easily.

You can check out the model in your browser.
The available parameters are:
| Fitting_height | mm | 65 mm | Height of the light fitting, including cord |
| fitting_diam | mm | 28 mm | diameter of the fitting thread |
| material | mm | 4 mm | Thickness of the material |
| globe_diam | mm | 30 mm | This sets our minimum lamp width |
| side_width | mm | 400.5 mm | total of all sides summed |
| face_width | mm | side_width / 6 | The width of each face/panel |
| number_of_sides | 6 | set to 6 - don't change this! | |
| tab | mm | face_width / 3 | the width of each tab - the depth is determined by the material. |
| Lip | mm | material * 2 | how far the top and bottom protude over the sides. |
| lamp_hieght | mm | Fitting_height + bulb_height + bulb_gap | The total height of the lamp. |
| bulb_height | mm | 60 mm | Bulb height |
| bulb_gap | mm | 130 mm | gap between top of bulb and to of lamp - should be at least 30mm |
| cord_diam | mm | 7.5 mm | fatness of the cord |
| fitting_thread | mm | 28 mm | Used for the diameter of the hole in the fitting frame (the middle bit) |
Prototype One
Prototype One is a version adapted for 4mm card, with the side width reduced to fit two lamps per standard size laser cutter sheet.
The fusion 360 model.
Prototype Two
This version uses living hinges and snap fit joints - from 3mm acrylic and 6mm double-ply cardboard.
