Graphic design 101 in Adobe Illustrator
Acknowledgement
We acknowledge Aboriginal and Torres Strait Islander peoples and their continuing connection to land and as custodians of stories for millennia. We respectfully acknowledge the land on which we all meet today, and pay our respects to elde0rs past, present and emerging.
Summary
Learn the Basics of Adobe Illustrator as an intro to graphic and simple logo design. Create and edit vector graphics (like illustrations and logos) in this Illustrator course for beginners.
Skills Introduced
- Raster vs Vector
- Create a new file
- Navigate the Workspace
- Basic Tools (Selection Tool, Zoom Tool, Shape Tools, Text)
- Expanding Text and Shapes
- The Direct Selection Tool
- The Pen Tool (your new best friend!)
- Pathfinder Tool
Preparation
Before the workshop you will need to sign up for an Adobe Account so that they can sign into Adobe Creative Suite on arrival to the workshop.
Workshop Walk through
Vector vs Raster
Today we'll be using Adobe Illustrator to create vector graphics. Vector graphics are highly utilized in the field of graphic design and also form the foundational step of many of many digital fabrication workflows such as laser cutting, CNC routing and vinyl cutting.
Unlike raster graphics which are constructed of pixels, vector graphics use mathematical formulas describing shapes, colors, and placement.
Think about it as if you describing to someone how to draw a square: four lines of equal length connecting at right-angles for each corner. By creating that shape as a vector graphic, it becomes infinitely scaleable, because the software now has the instructions necessary to produce it at any size. And if we want to cut that shape (for example, on a laser cutter or vinyl plotter, the software now knows which path to follow.
Create a new file
- Open Adobe Illustrator and sign in using your Adobe Account.
- Click on 'create new'.
- Select a size for your artboard - presets are available for common print and web sizes. Today, let's just pick A4 in landscape orientation.
- Select your units of measurement. Because we typically use mm, we will select mm. If you are more comfortable designing in cm/inches/etc, you can select those instead.
- Leave Bleed at 0mm. If designing for fabrication, bleed is not required (as we are not doing edge-to-edge printing).
- In Colour Mode, select 'RGB'. Certain software that we use for fabrication works specifically with RGB to deliver information to equipment. Eg, for laser cutting, a path that is set to 0.01pt RGB red is used to indicate that the machine should cut that path.
- Raster Effects dropdown should be set to the default of 300ppi, which we will keep. PPI refers to the number of pixels contained within one inch of an image displayed on a computer monitor. DPI refers to the number of printed dots contained within one inch of an image printed by a printer. For this session we're working in Vector graphics so Raster/Bitmap (photos) sizing doesn't matter too much but it's an important area to know more about in graphic design.
- When you are happy with your selection, click 'Create'.
Navigate the Workspace
Setting up the Workspace
Once your new file is created, you will see the Adobe Illustrator workspace. Let's set it up so that we're good to go.
There are a number of default workspace set-ups available, but the one we're going to use today is called 'Essentials Classic'. Navigate to the 'Windows' menu option, scroll down to 'Workspace', and then select 'Essentials Classic' from the list. In this workspace, a top toolbar appears with a number of helpful options available depending on the tool you have selected.
As a final step of setting up your document, go to 'View', 'Rulers' and select 'Show Rulers' (you can also just click Ctrl+R). This will allow you to drag out guidelines as needed, and provide you with a quick size reference. Make sure that 'Smart Guides' is selected at this time also - it will make precise alignment easier later on.
Elements of the Workspace
Now that we have our workspace set up, let's look at the different elements.
Menu Bar
Along the top menu bar, you can see various menu headings. The ones we will be using most today are under 'Window', 'Object' and 'Edit'.
Top Toolbar
Because we selected 'Essentials Classic' as our workspace, beneath the menu bar is a top toolbar appears with a number of helpful options available depending on the tool and object you have selected. Eg, if you select text, it may show some text options. With the direct selection tool, it will show the fill colour, stroke colour, opacity, etc.
Left Toolbar
To the left, we can see the side toolbar. You can hover over any of the tools to see their names and shortcut options. If a tool has a small triangle in the bottom right corner, it means that there are other tool options hidden underneath. Click and hold on that tool to bring up those other options for selection.
Panels
To the right of the screen, you can see an area available to dock panels that are available under the 'Windows' menu option. These panels provide a wide range of additional functionality, and you can customise this area quite heavily to display and provide shortcuts for the panels and options you use most often.
Basic Tools (Selection Tool, Shapes, Text)
Selection Tool
The Selection Tool (the black arrow, and first icon on the left toolbar) is the most basic tool which lets you select and manipulate any object by dragging or clicking on it. Most of the time, we will be using the Selection Tool.
- Click on an object to select it. If your object is unfilled, you will have to click the edge instead. Holding down Shift when you have one object selected will allow you to select other items at the same time, or drag a bounding box over all the objects you wish to select to do so.
- When you have an object (or objects) selected, you will be able to click and drag the squares at the edges or sides of the bounding box to make it larger or smaller.
- When you have an object (or objects) selected, you can hover your selection tool just outside the squares at the edges or sides of the bounding box - your cursor will change to a double-arrow symbol, and you will be able to rotate your object.
Tip: Holding down Shift will do different things depending on what your selection tool is doing. If dragging an object, it will snap it into vertical/horizontal/diagonal alignment with where it was previously. When resizing, it will snap the size into the same proportion as the original. If rotating, it will snap the rotation into 45 degree segments.
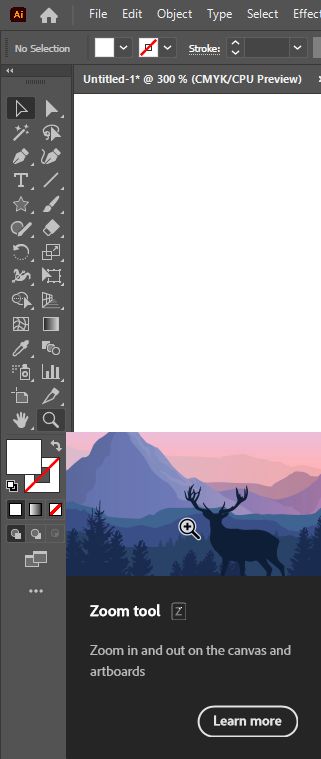
Zoom Tool
While creating your design, you may frequently want to zoom in and out to see things close up. The Zoom tool is in the Left Toolbar and represented by the magnifying glass.
- To zoom in, simply click on the area you want to zoom to.
- To zoom out, hold down alt as you click on the area you want to zoom out from.
- You can also use the shortcuts ctrl- or ctrl+ to zoom in and out no matter what tool you have selected, this is a common shortcut across design software
Shape Tools
To create basic geometric shapes, we're going to select the appropriate item from the left toolbar. By default, the Shape options are hidden under the default Rectangle Tool. Click and hold to bring up the other options, and select one - eg, the ellipse tool.
Once selected, you have a couple of ways to create your shape. Eg:
- You can click and drag (while holding down the mouse button) to create your shape - when you stop holding down the mouse button, your shape will become an object. Hint: holding down 'Shift' as you click and drag will force the shape to have perfect proportions (eg, the rectangle tool will become a square, an ellipse tool will constrain the proportions to a circle, etc).
- You can click on your artboard once, and it will bring up a dialogue box which will allow you to input the exact dimensions. When you click 'OK', it will create your object.
Certain shape tools will have additional options - eg, the Polygon Tool will allow you to set both the radius and the number of sides. If you are clicking and dragging to create shapes using the polygon tool, you can use the up and down keys (while still holding down your mouse key) to change the number of sides, and 'Shift' will force it into perfect proportion and orientation.
To change the fill and stroke (object outline) colours, you can do so from the top toolbar. Select the object you want to fill or stroke, and select from the swatches, or create your own. The Opacity tool on the right will allow you to change the transparency of your object.
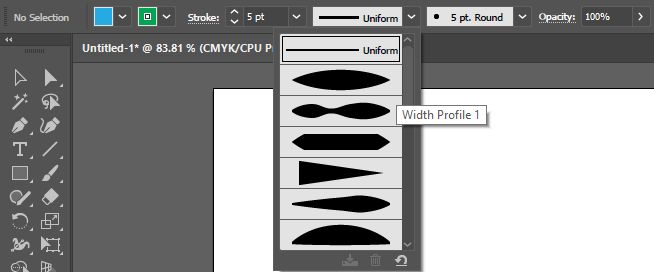
You can also change the stroke weight (how wide the stroke is), stroke profile (for strokes of variable width) and brush type (the texture applied to the stroke) in the top toolbar too. Today we're only going to use stroke weight and stroke profile. You can create your own custom stroke profiles too, though we won't go through this today.
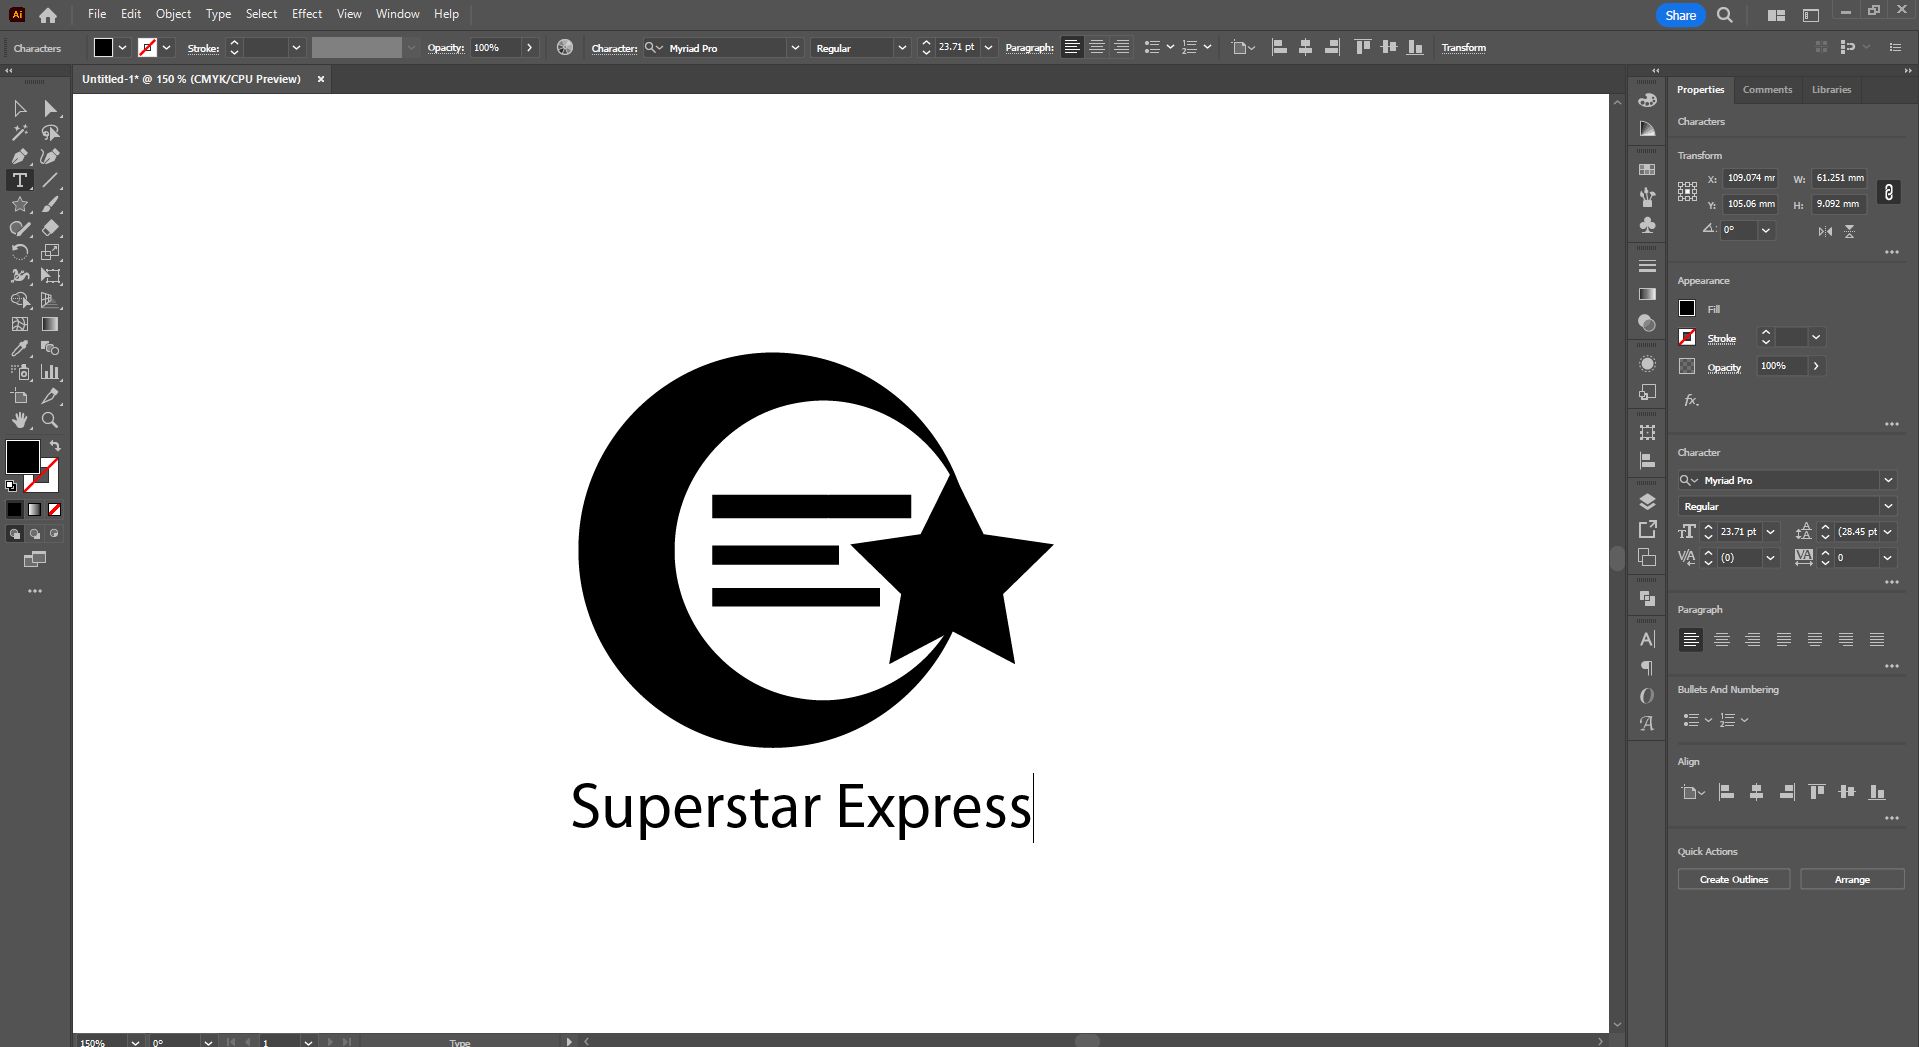
Just using the basic geometric shapes with fills and strokes, you can create some awesome basic designs! This one just uses the star shape, a circle shape (with a stroke applied) and three rectangles:
Later on, we'll explore how to create more complex shapes than the default ones that are available.
Grouping and Ungrouping Objects
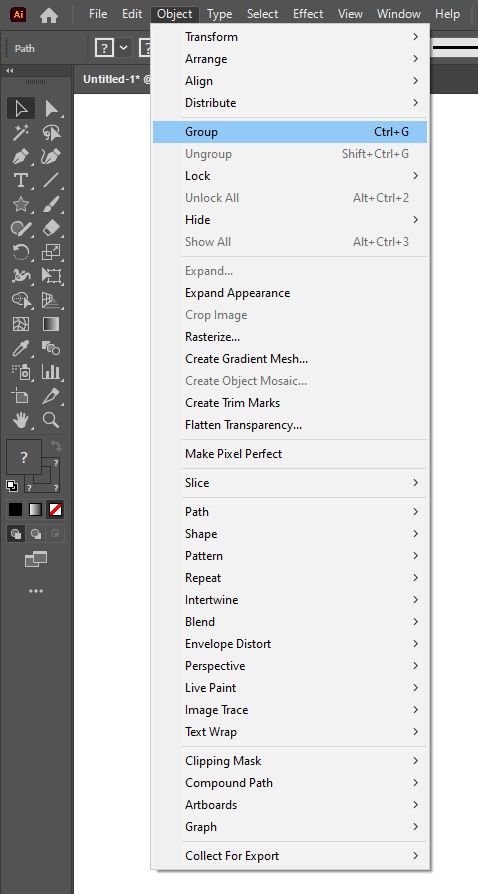
You may want to group objects together to treat them as one - this can make them easier to select and move around as one. To do so, go to 'Objects' in the menu bar, and select 'Group' or use the shortcut Ctrl-G. To ungroup, go the Objects menu and select 'Ungroup' or use the shortcut 'Shift-Ctrl-G'.
Please note: grouping objects does not combine them into one object. You can group and ungroup them at any time.
Changing the Order of Objects
Sometimes you will want to put items in front of or behind other items. To do so, select the object you want to move, and go to 'Object' in the menu bar, and then 'Arrange' to pick the appropriate option.
Text
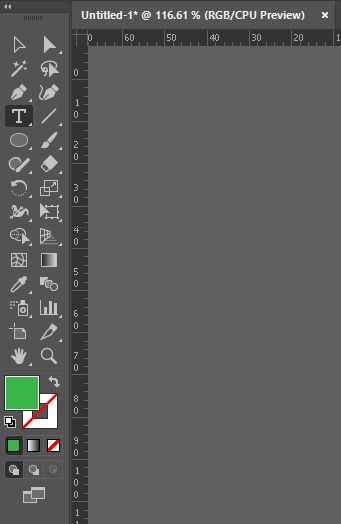
Creating text is easy - start by selecting the text tool from the left toolbar.
There are two ways to then create text:
- Click anywhere on your artboard and start typing. This will create a line of text.
- Click and drag to create a paragraph text-box. Any typing you do is then constrained by the size of the text box.
For today, we're going to use the first option, because we're creating text for something like a logo, rather than something like a book page. Remember, if you want to create a line break, you can just click 'Enter'.
Once you have typed your text, return to the selection tool so that you can select it. When you have text selected, you'll notice that your top toolbar will display options relating to text, such as font, size, and paragraph alignment. A panel on the right will usually also open up by default, showing similar options.
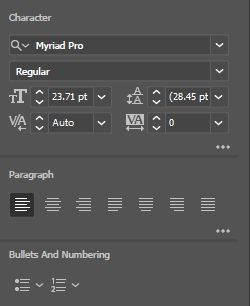
Clicking on the 3 dots in the lower right hand corner of the Character panel will bring up many more options for fine-tuning your text - including adjusting individual letters!
Expanding Text (and other altered shapes)
You will notice that text is not outlined when selected like other shapes and objects we've encountered so far. This is because the text is still editable as text - we can still change the letters however we please, but we can't make fine-tuned edits of, say, a single letter. To turn it into its own complete shape, we need to convert the text to an object instead.
Tip: Expand is a one-way action. You can't un-expand to edit your original text or object again - consider dragging out a copy of your text or object in case you want to go back to your original at some point.
To do that, go to 'Object' in the top menu, and select 'Expand'. When the options come up, make sure that 'Object' and 'Fill' are selected. If you select 'Stroke' (if your object has a stroke), it will create a whole separate object for just that stroke line, so be sure that's what you want before you select it. Once your options are selected, click 'OK'.
Text is not the only time you may need to expand: if you've used effects such as 'warp', when you select your object you will see the original outlined, so that you can still make edits if you want to, or change the warp applied. Expanding locks your changes (and warp effect) in place. Expanding is also commonly used to convert a stroke (for example, the one in the crescent moon on this logo) into its own shape.
The Direct Selection Tool
Where the Selection Tool allows you to make adjustments to a full shape, the Direct Selection tool allows you to make adjustments to individual parts of a shape. It is the white arrow at the top of the left toolbar.
Using the Direct Selection tool, let's look at the crescent moon we created as an example. When we click on the circle, we can see the four anchor-points that make up the circle - the little squares that show where the angle changes. If we click on an individual anchor point or segment of the path, we can also see 'handles' that we can move to change the shape.
Because we have an object selected with the Direct Selection tool, your top toolbar options have also changed - you can use those options to convert anchor points to curves or points, cut anchor points apart (so that your object becomes open-ended) and more.
Tip: You can select multiple anchor points by holding down Shift as you click each one.
If a circle appears inside an anchor point, you can click and drag that anchor point to round that corner (or change the value in the 'Corners' option in the top toolbar. For example:
Can become:
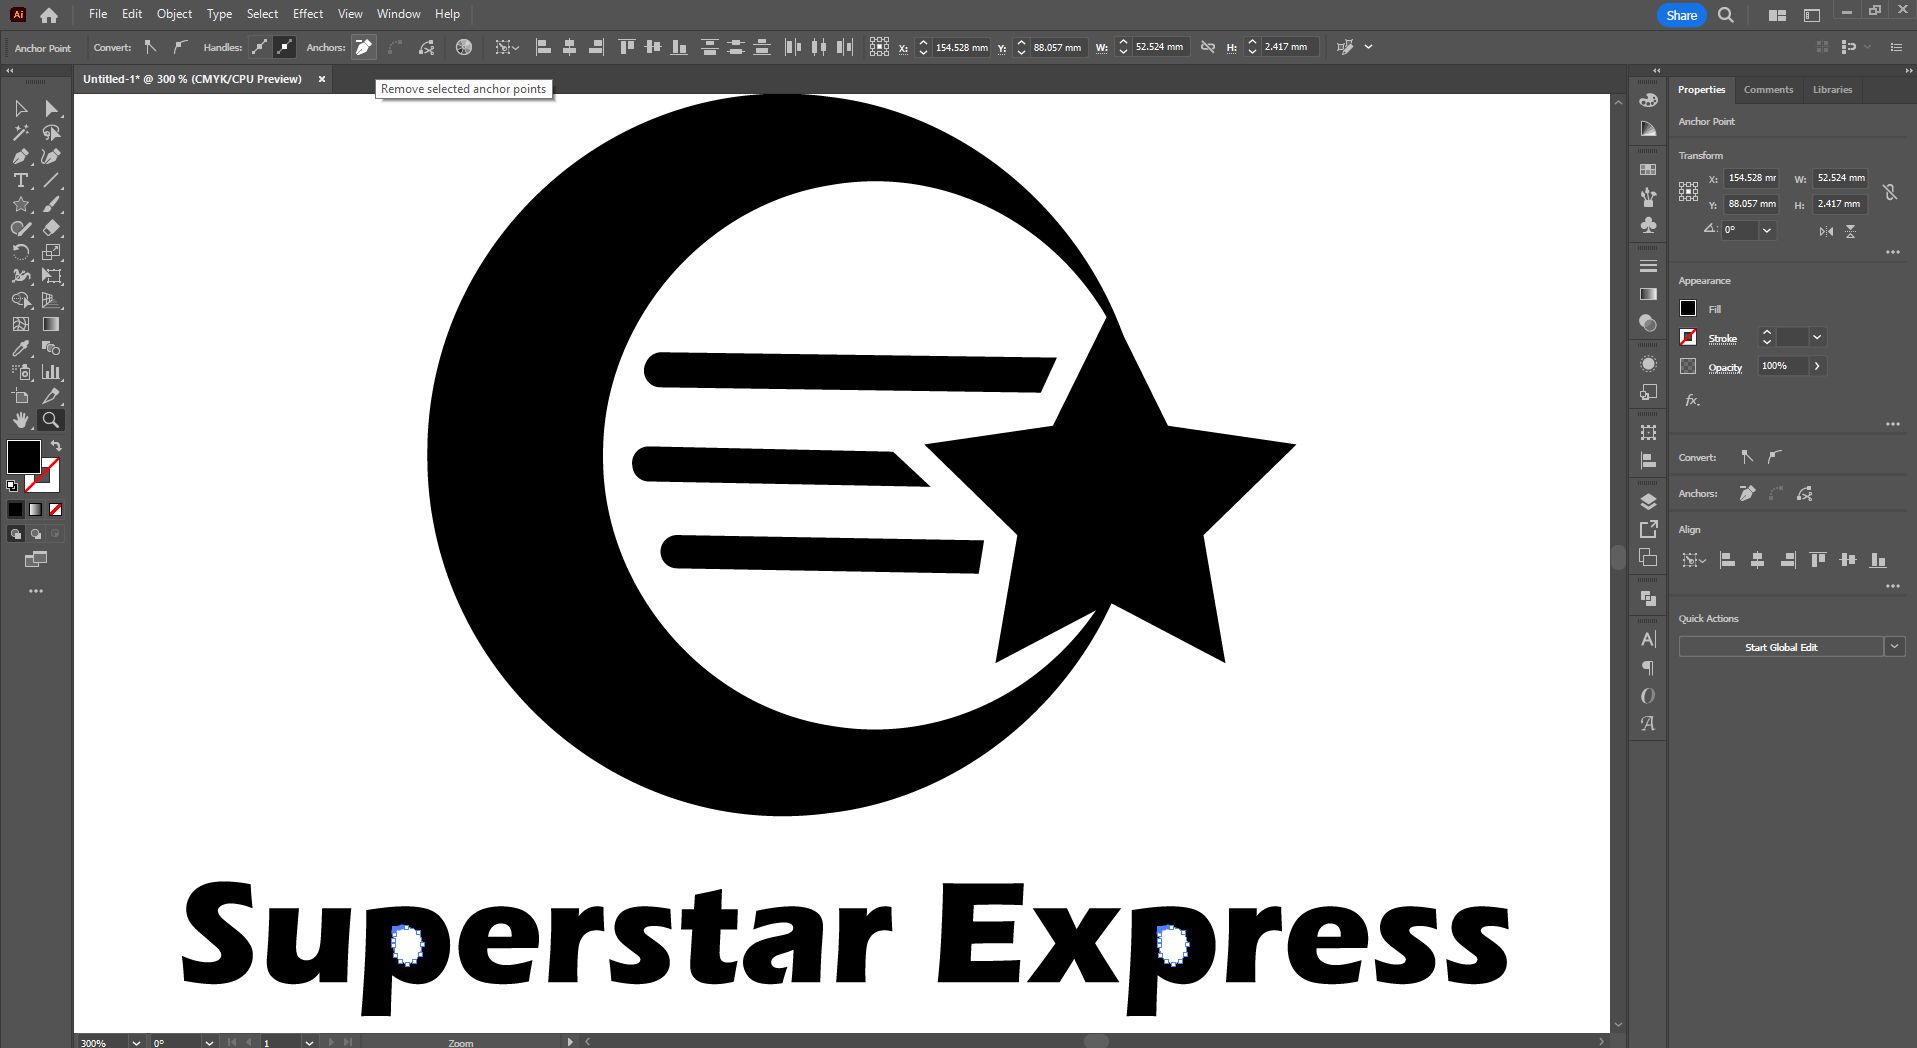
You can remove anchor points by selecting the appropriate anchor point and choosing 'Remove Selected Anchor Points' from the top toolbar, however if you want to remove an entire section of anchor points within a shape (such as the centres of these 'Ps' in the now-expanded text, we can simply select one of the anchor points in each and click delete twice - the first delete will delete only the single anchor point, while the second will delete every other anchor point connected to it.
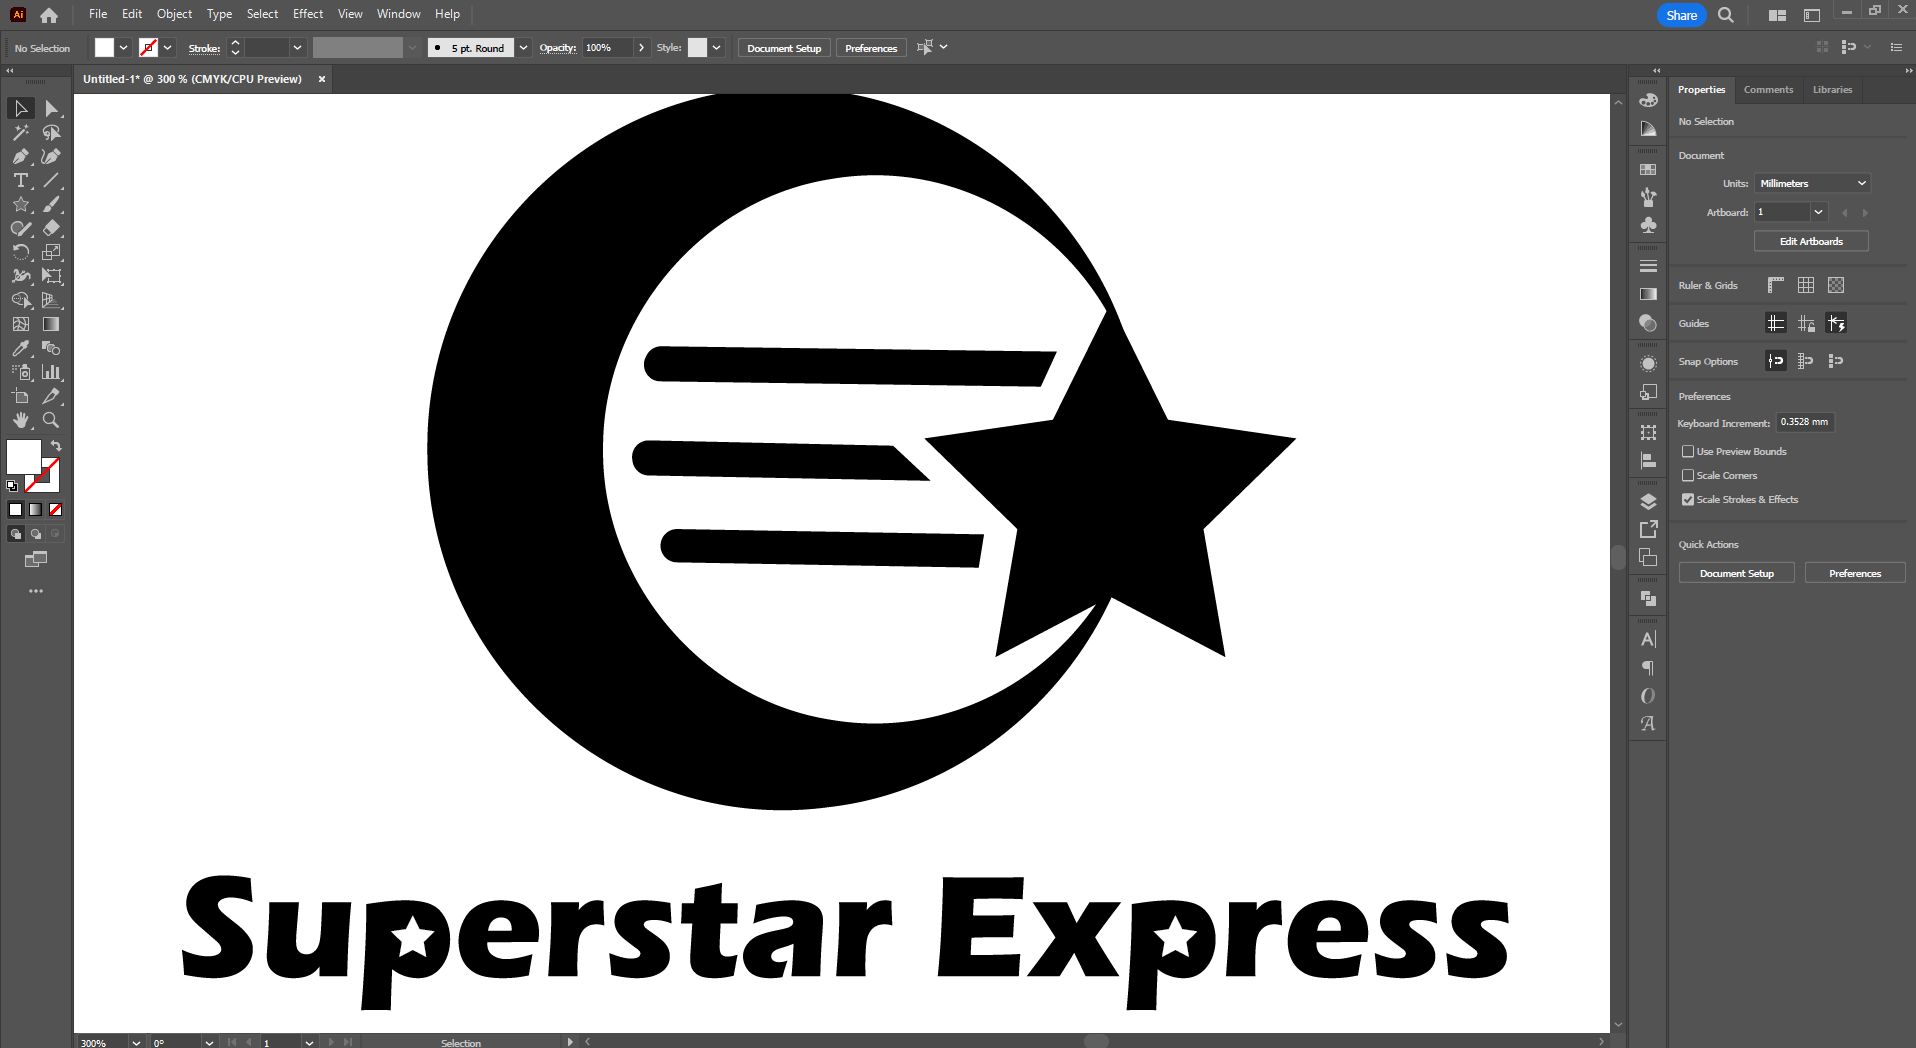
If the text had not been expanded, we would never have been able to remove those centres and replace them with cute little stars instead!
Pathfinder
The Pathfinder window brings up options to manipulate our shapes and designs further by using the modes to unite, subtract, add and intersect shapes. Combining two or more shapes using the different options can save us a bunch of time.
The Pen Tool (your new best friend!)
So far we've been able to use the direct selection tool to take anchor points away, but what if we want to add them to a shape - or create a new shape completely?
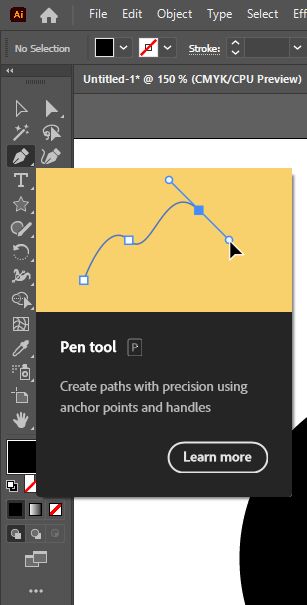
The Pen Tool is one of the most-used tools regular users of Adobe Illustrators will reach for. If you click and hold on the Pen icon in the left toolbar, you will have a number of options available:
- The Pen Tool (for creating new shapes)
- The Add Anchor Tool (to add an anchor to an existing shape)
- The Remove Anchor Tool (to remove anchors from an existing shape)
- The Anchor Point Tool (to convert curves to corners, and corners to curves)
Adding Anchor Points
Let's use the 'Add Anchor Point' tool to give our circle some additional anchor points. We can cut those anchor points later, so that the crescent shape (made with a stroke) starts and ends to either side of the star instead of continuing right through it.
With the 'Add Anchor Point' tool selected, simply click on the path of the circle to either side of the star to create two new anchor points.
Then going back to the Direct Selection tool, we can cut the path at those points (you will notice that the stroke effect will initially apply to both pieces of the cut path):
And then simply delete out the stroke segment we no longer want:
On the left, you can see our initial design, and on the right, with a few alterations, something quite different!
Creating New Shapes
So far we've been working with very geometric shapes - for more organic shapes, let's use the Pen Tool.
Select the Pen Tool in the left toolbar - remember to long-click the 'Add Anchor Point Tool' to bring up the other Pen tool options.
- If you click on your artboard, you will create a corner
- If you click and drag your mouse, a handle will appear to create a curve instead.
Remember, you can always convert corners to curves and curves to corner with the Direct Selection Tool or the Anchor Point Tool, so don't worry if your shape is not perfect to begin with. A good rule of thumb is to use an anchor point wherever the angle of a line changes.
Here you can see that I've used the pen tool to create a shape, and then moved it behind my original logo (Using 'Object', 'Arrange', 'Move to Back' in the menu bar), and then did final tweaks with the 'Direct Selection' tool:
Although we've used it for a fairly simple organic shape here, we can create incredibly complex shapes with the pen tool. Try pasting in a photo and tracing around it with the pen tool - practice makes perfect!
The Pathfinder Tool
The centres of the 'P' letters are still white, as I used star objects to create the appearance of new centres. We can just change the colours if we want to, but if I want to remove them from those letters completely, I'll have to use one more tool to do so.
There are two tools that you can use to achieve a similar result: the Pathfinder Tool and the Shape Builder Tool. Today, we're going to use the Pathfinder Tool.
To select the pathfinder tool, go to 'Window' in the menu bar and select 'Pathfinder'.
By default, when text is expanded it is grouped together. First ungroup the text (Shift-Ctrl-G, or 'Object' then 'Ungroup' from the menu bar).
Next, select just the first 'P' shape and the star in front of it, and select the 'Minus Front' option from the Pathfinder panel.
Once you've done this with the first, you can repeat with the second 'P' and star shape, then regroup your text together:
You can see from the selection outline that the star shapes have now been permanently removed from your text!
The Pathfinder Tool can do more than just remove objects from each other - it can also divide objects and weld them together.
For example, we could overlap some of the expanded letters and select 'Divide' from our pathfinder options:
And then by ungrouping the pieces, we can colour each section separately - or split them apart as we like!
Just using the various tools we've used today, you can create a wide variety of designs - from the more rigidly structured geometric designs, to very organic and smooth shapes. Experiment and see what you can come up with!


