CNC Cat Trees
Duration: 3 workshops, weekly, 3.5-4hrs each
Delivery Method: Face to Face in Fabrication Lab
Participants: 5 in first series
First ran: 13, 20, 27 March 2021
Developed by: Billie Ruben
Notes for external facilitators: This workshop utilizes CNC machining, but it doesn't need to. there's no reason that most of this couldn't be achieved with traditional hand/power tools in a more traditional woodworking shop, while still following/borrowing from the overall structure of this course.
Session 1: Design
* Design Thinking
* Miniature Prototyping
* Digital 3D modeling in TinkerCAD
* Exporting for CNC
Session 2: Cut
* CNC Induction
* Cutting our parts
* Hand tools/ general induction
Session 3: Assemble
* Assembly
Design
❏ Paper
❏ Pens
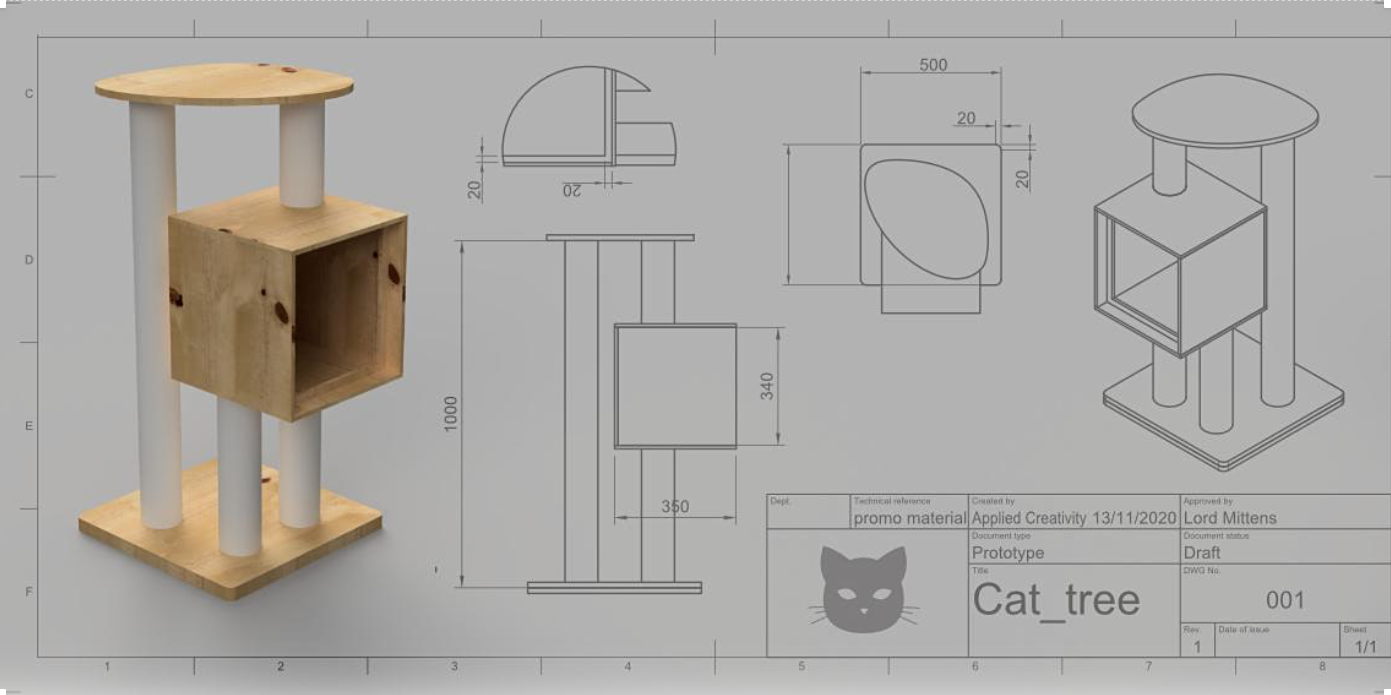
❏ Set up Cat Tree Prototype for demo
Paper Prototyping
❏ Cardboard for making boxes
❏ Hot Glue guns/sticks
❏ Bowl of water in case of glue gun burns
❏ Rulers preferable steel, for cutting
❏ Stanley Knives (and extra blades)
❏ Pencils
❏ 3D-printed pipes STL for mini pipes print approximately 5 per person in vase mode (1 wall/perimeter)
❏ Cutting mats
3D Design
❏ A laptop with a mouse (with scroll wheel) and internet connection, chargers per person
❏ Link to template file updated in slide desk/ wiki
❏ Set up TinkerCAD classroom https://tinkercad.zendesk.com/hc/en-us/articles/360026236693-Tinkercad-Classrooms
❏ They have some posters about 3D design might be able to leverage.
https://api-reader.tinkercad.com/api/prismic/docs/tkv3%2F62e303eb-ea0c-48a0-8ace-e2e0d542ba00_how_to_speak_3d.pdf
❏ prototype cat tree from a single sheet with fittings
❏ work out cost per person in materials
❏ decide if we want another test session
❏ fix up wiki so it's in a format that can be handed to other facilitators.
| Workshop 1 | Workshop 2 | Workshop 3 | Workshop 4 |
|---|---|---|---|
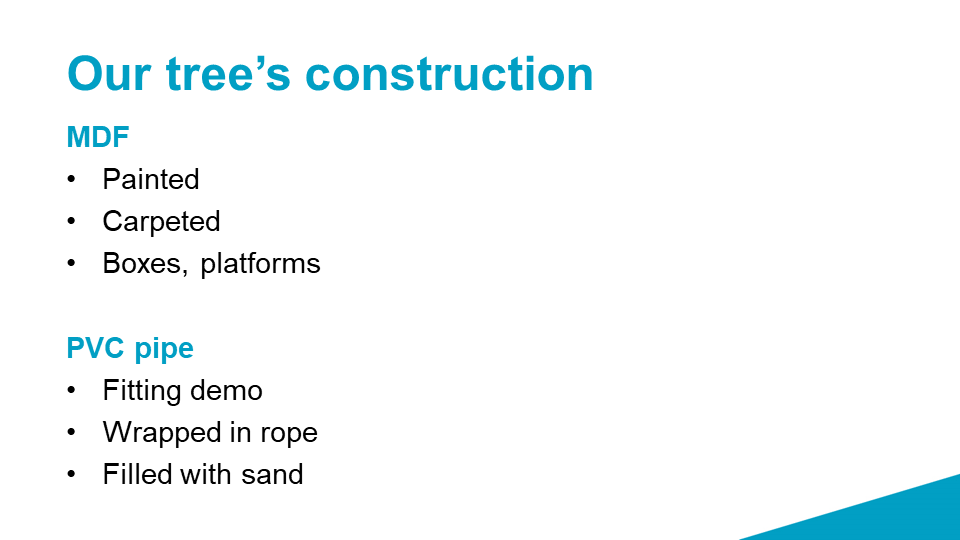
| * General/hand tools induction * Paper prototyping to scale * Vectors in VCarve | * CNC induction online * Painting sheets * CNC Induction practical * Listing/ordering lengths of pipe | * Finishing with files/rasps * Painting Edges * Rope-Wrapping * Carpeting | * Assembly * Next steps |
Slides
| Slide | |
|---|---|
 | |
 | |
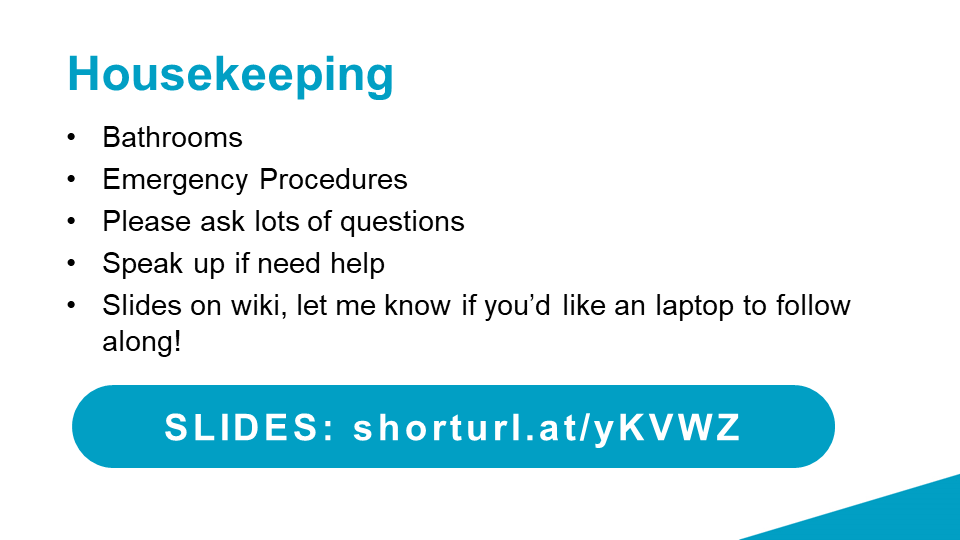 | Show how to find on wiki https://wiki.slq.qld.gov.au/doku.php?id=workshops:prototypes:cat_tree |
 | |
 | Write reasons why folk have joined on a board/somewhere so we can tailor the experience wherever possible to suit their goals. |
 | Tour! |
 | |
 | |
 | Tools, Materials, Prep ❏ Paper ❏ Pens ❏ Set up Cat Tree Prototype for demo |
 | Every cat and person is different We're all different. Our cats are all different! We have the luxury here of making something totally unique to us and our cats. Planning helps us later Helps when prototyping to have a think first about wants and needs for the goal. |
 | |
 | What ideas: gather these, start thinking about how to incorporate given the construction methods we have available. Where: Pinterest, google, etc. What to search for: Talk about branching outside just cat trees, maybe look at equipment for other pets, like rats or ferrets? Or at children's cubby houses and playgrounds? |
 | |
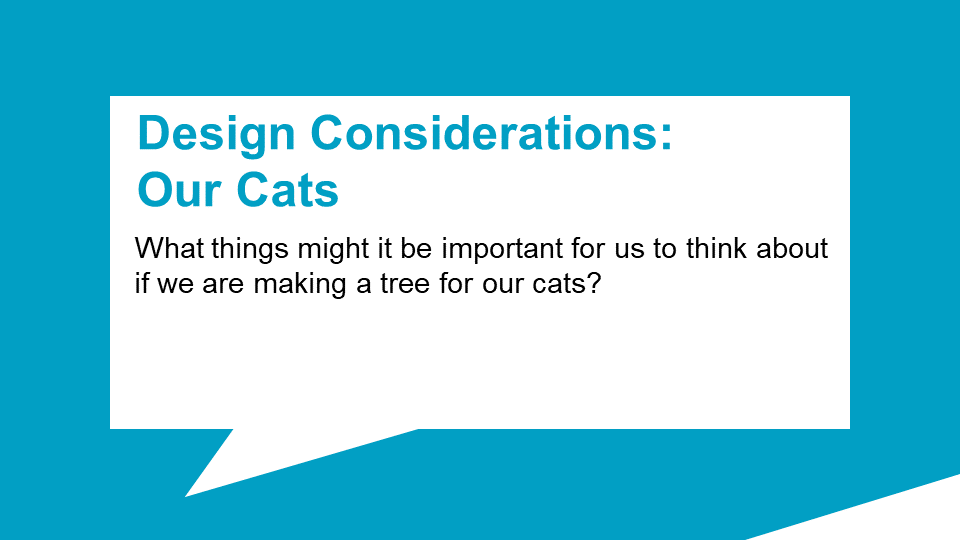 | What kinds of things does your cat like to sit in/ on? open boxes? closed ones with holes? Baskets? Platforms? Where does your cat like to sit? up high? hiding under things? In the sun? Near you? On their own? Why? How heavy is your cat? How stable does it need to be? How mobile are they? Can they jump really high, or do they sometimes have trouble? What's your cat's temperament? Playful? calm? What textures do they enjoy? |
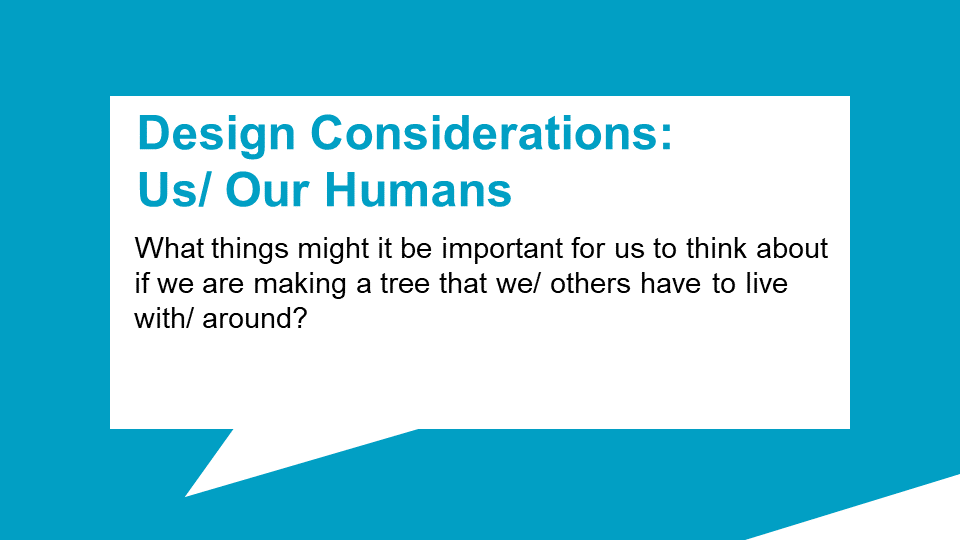 | Where will you be putting your cat tree? How large is that space? Are there any obstacles there? What style/colour/shape appeals to you (or the people who will live with this tree in future?) How are you getting it home? Do you need to pack it really flat for transport? |
 | Limitations of our materials/time Keeping it realistic and achievable Else? |
 | Ideo is a world-renowned design firm, invented things like the computer mouse. https://designthinking.ideo.com/ |
 | Tools, Materials, Prep ❏ Cardboard for making boxes ❏ Hot Glue guns/sticks ❏ Bowl of water in case of glue gun burns ❏ Rulers preferable steel, for cutting ❏ Stanley Knives (and extra blades) ❏ Pencils ❏ 3D-printed pipes STL for mini pipes print approximately 5 per person in vase mode (1 wall/perimeter) ❏ Cutting mats |
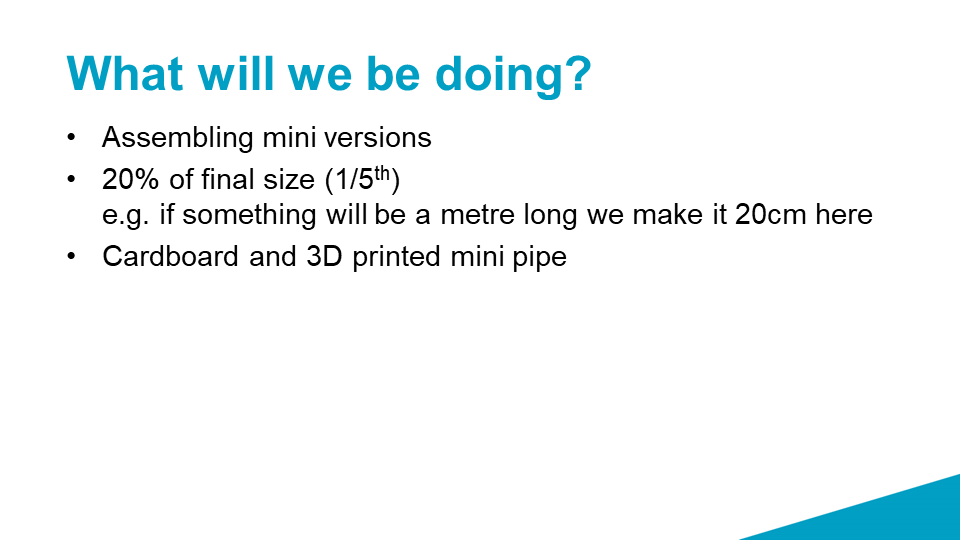
 | Think: Architecture models Helps explain to others Much easier to see issues in 3D physical model Get a feel for how it will all get put together/ Understand overall structure Cheaper to make mistakes small |
 | |
 | |
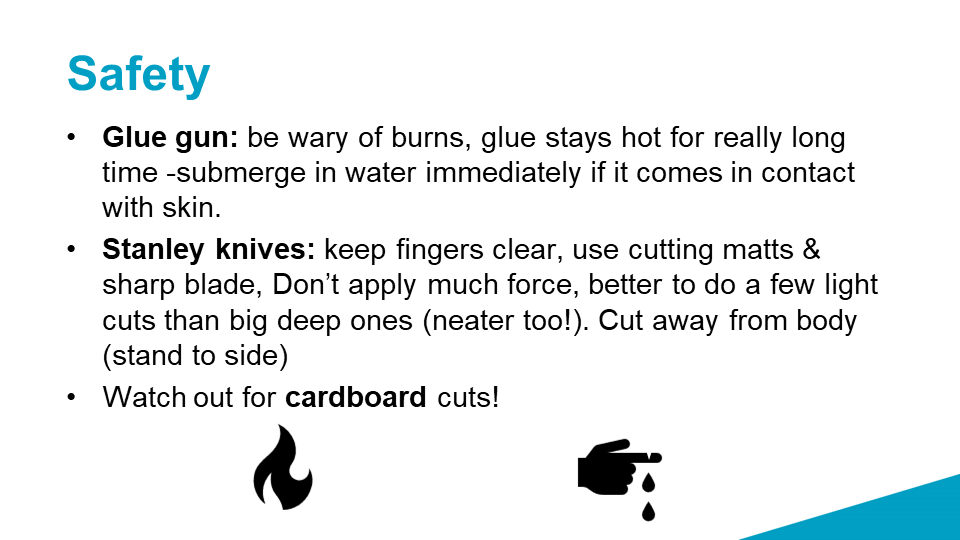 | Point out water bowl |
 | |
 | |
 | Think about what it would be like to be our cat using this. Can they get to all the parts? (factor in mobility issues, geometry, and any nearby obstacles at home (walls/furniture etc) Will they enjoy this layout given what we know of our cats/what we reflected upon earlier? (check) |
 | Tools, Materials, Prep ❏ A laptop with a mouse (with scroll wheel) and internet connection, chargers per person ❏ USB memory stick per person with template TinkerCAD files (or put on public library?) ❏ Set up TinkerCAD classroom https://tinkercad.zendesk.com/hc/en-us/articles/360026236693-Tinkercad-Classrooms ❏ They have some posters about 3D design might be able to leverage. https://api-reader.tinkercad.com/api/prismic/docs/tkv3%2F62e303eb-ea0c-48a0-8ace-e2e0d542ba00_how_to_speak_3d.pdf |
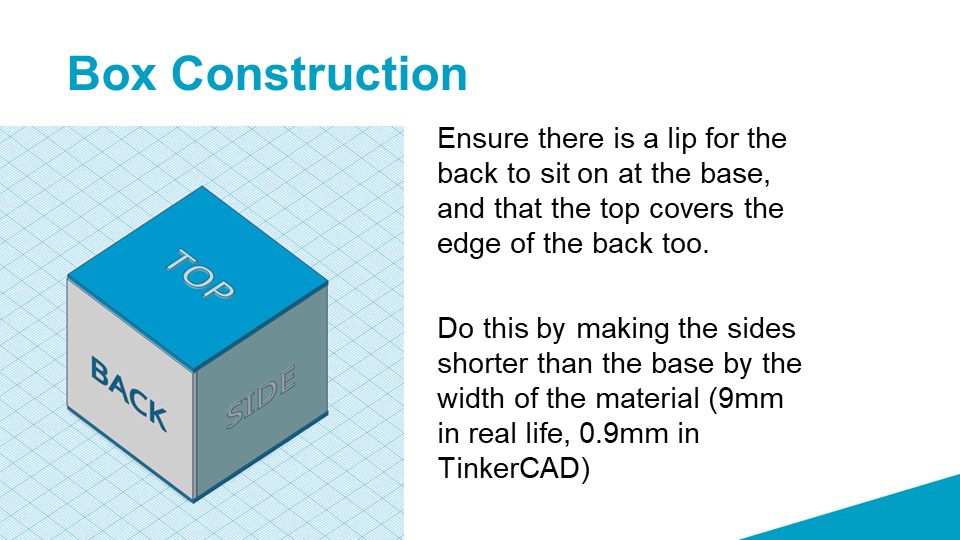
 | Easier to keep track of how it all fits together. Easier to assemble in 3D so we can see where flat pieces join so we know the parts are going to fit ok. Much harder to keep all of that in your mind if working solely in 2D. Example: sides of boxes aren't all even, some longer than others, easy to over look. |
 | |
 | A liiitle bit like Lego |
 | |
 | Open up a new web page (e.g chrome, firefox, edge, internet explorer) https://www.tinkercad.com/ |
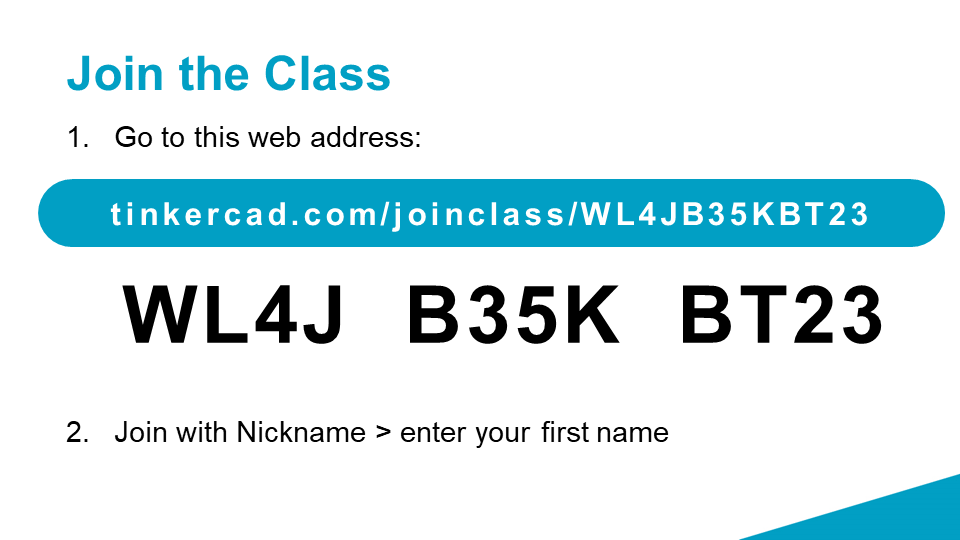 | https://www.tinkercad.com/classrooms/i7CcjUKC8K |
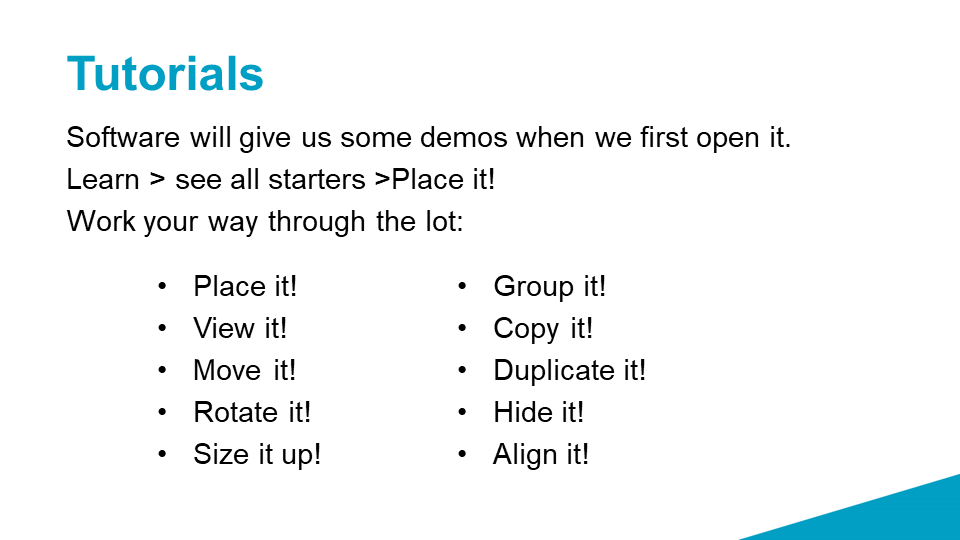 | These show us how to use most of the functions. |
 | |
 | |
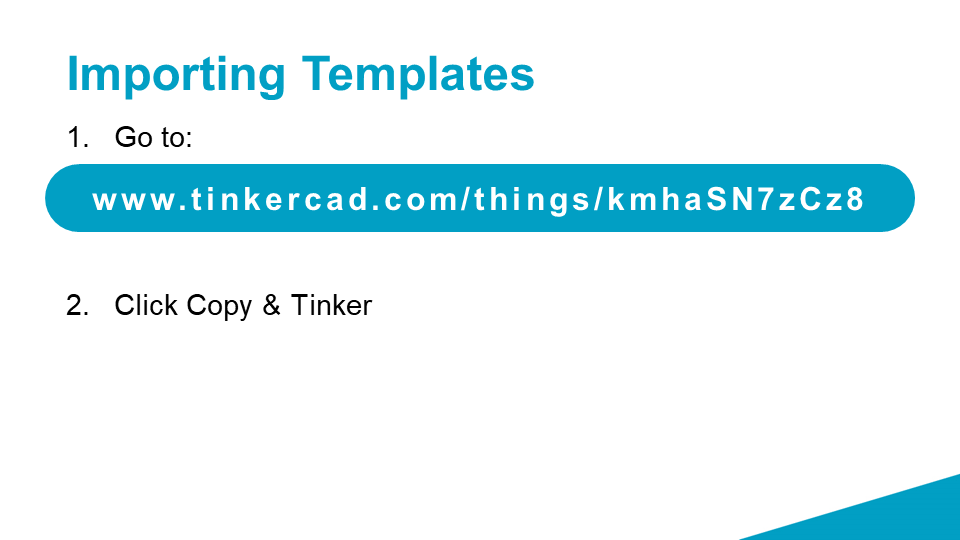 | https://www.tinkercad.com/things/kmhaSN7zCz8 Facilitator: check that you can see everyone in Classroom mode before leaving. |
 | Won’t need this if using template |
 | |
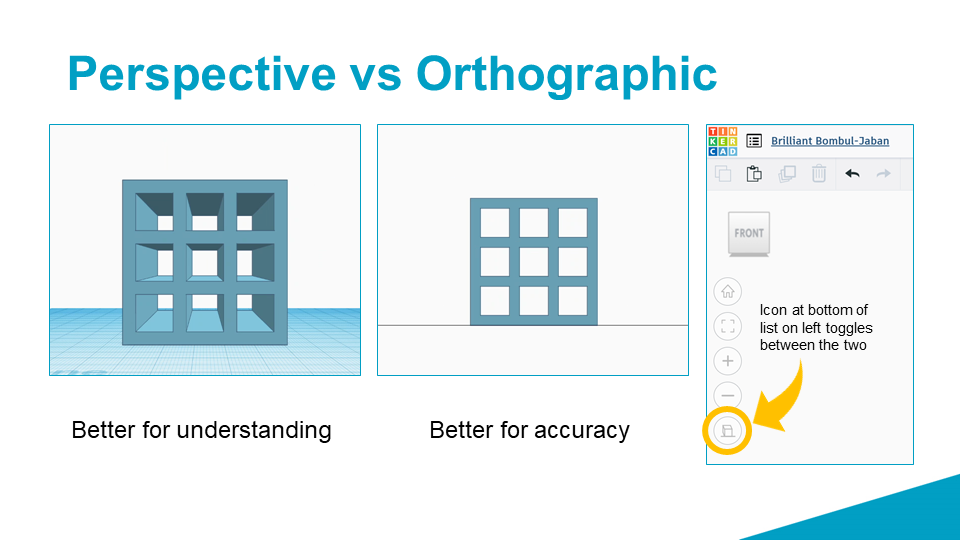 | In addition to moving around our object, we can also view it in two different modes: Perspective imitates looking through human eye or lense, so it’s the best one when we’re looking to get a feel for what our object will look like in real life, but it’s quite hard to place things accurately in this mode. Orthographic is used traditionally for making plans and diagrams, and is usually used for Top/Side/Back views. It shows our objects nice and flat so it’s easier to align objects to each other, and position them more accurately in space. I recommend switching to Orthographic mode. |
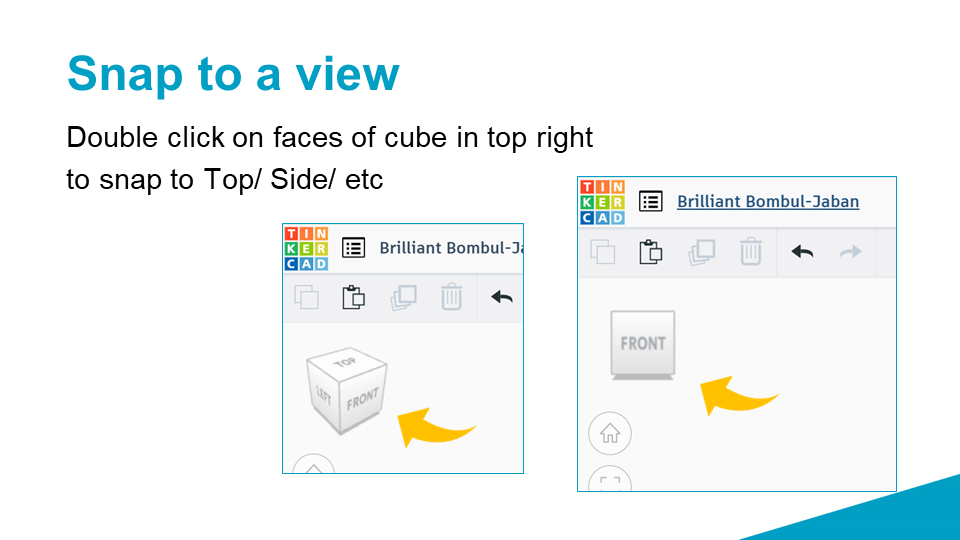 | Orthographic is particularly powerful when combined with the box in the top right, which allows you to ‘snap’ to a specific view by double clicking on that side of the cube. e.g. snap to a bird’s eye view by double clicking on the top, a front view by double clicking on the front, etc. |
 | |
 | |
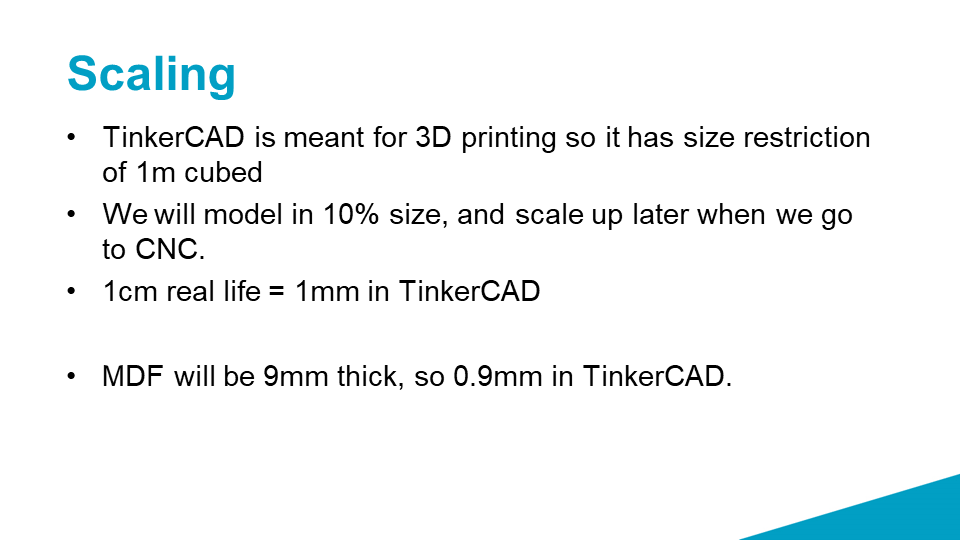
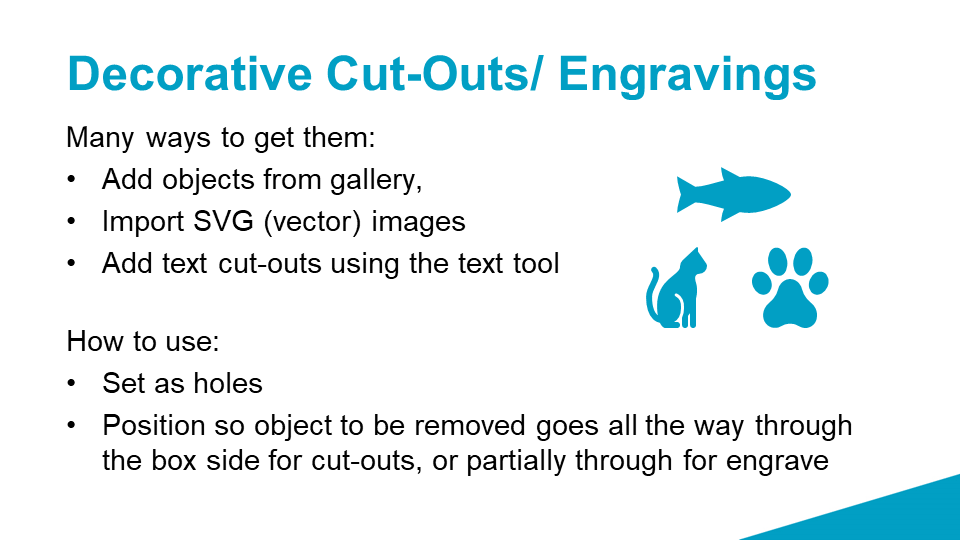
 | In the mini tutorials at the beginning we learned how to cut holes by dragging in an object and setting it’s colour to “hole” then grouping the object. We use this same process to cut the holes for our bolts using 1mm cylinders (equating to 10mm in real life) the hexagons for nuts and bolt heads will be 1.65×1.85mm in TinkerCAD. Cylinders for our pipe will be 9*9mm in TinkerCAD |
 | |
 | |
 | |
 | |
 | |
 | |
 | |
 | |
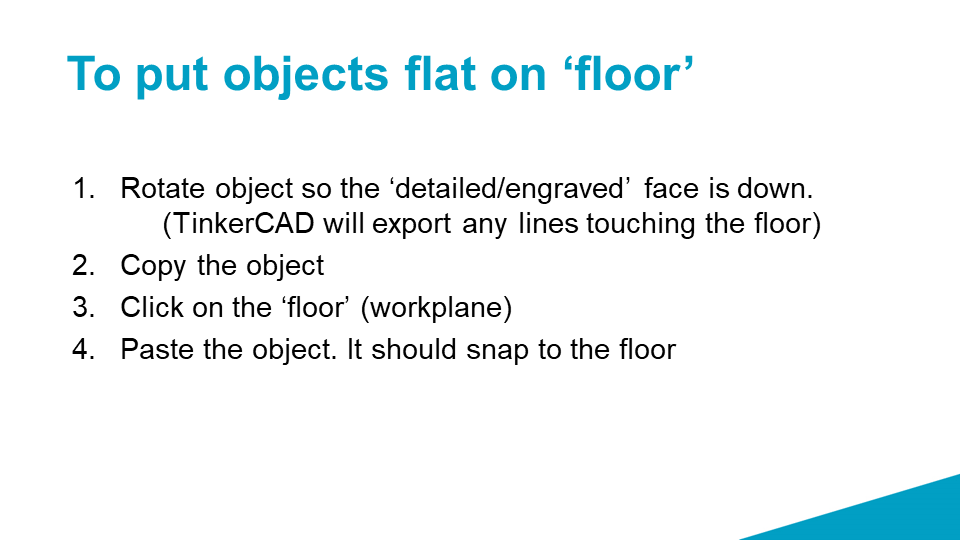
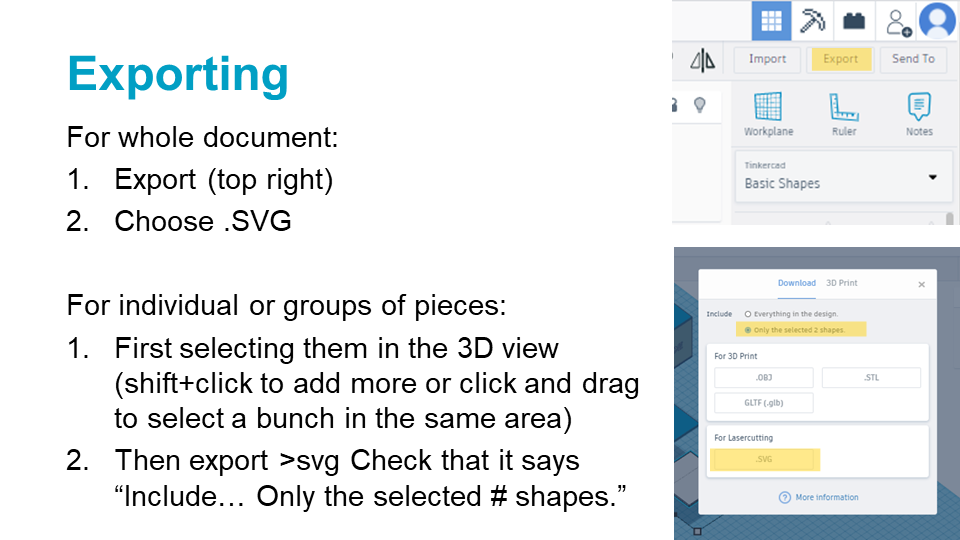 | Exporting SVGs as individuals ('detailed' side so we can engraved where necessary. We will assemble these in VCarve later for the CNC) |
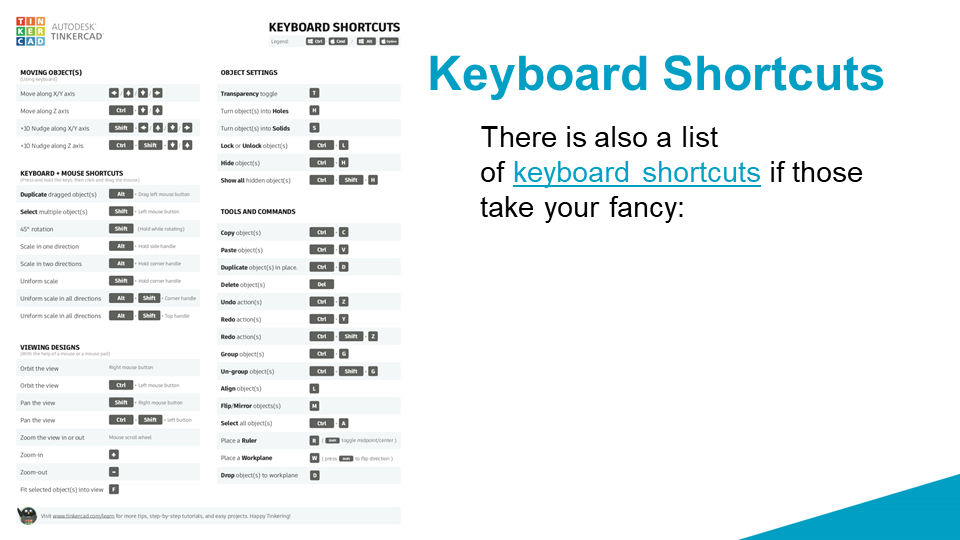 | https://blog.tinkercad.com/keyboard-shortcuts-for-the-3d-editor |
 | |
| Facilitator: check that you can see everyone in Classroom mode before leaving. |
Reflection after first Session
Discussion with the design and delivery team resulted in the following changes to be made to this course:
Structure
many changes made to the structure, resulting in the following:
Prior to session 1
- Participants complete general/hand tools induction (this could be the morning of as we run inductions before the Saturday workshops)
Session 1
- paper prototype
- limit materials to 1 board, x number fittings. Have more fittings available for purchase.
- vcarve vector basics
- investigate if we can scan hand drawn images and have vcarve trace them.
- need solution for matching fittings accurately between layers
In-between Session 1-2 (during open lab times)
- Check-in re design. Facilitator checks their progress/viability etc.
- Offer to help problem solve any 'found' objects (e.g branches, domes, etc) so that class time isn't taken up
- Offer help with VCarve
Session 2
- Online CNC induction
- Painting demo/start
- as participants are painting run VCarve practicals (cut same item, something with corners and curves for carpet practice)
- Get list of pipe lengths
In-between Session 2-3 (during open lab times)
- Offer for participants to come in and cut their own sheet
- Offer participants to come in and cut their own pipe
- (else facilitators do these)
Session 3
Demo the following (do these demos regardless of if everyone has finished everything)
- Finishing edges with files/rasps (not sand paper)
- Painting Edges
- Rope wrapping
- Carpeting
- remember to take WiP photos
In-between Session3-4 (during open lab times)
- offer time to continue any tasks, particularly for anyone lagging behind.
Session 4
- Finishing off anything remaining from week before
- Assembly
- Photos!
- how to extend learning from here, what they can now make. furniature, dog house, possum box, etc.


