2022 Laser cut covers, hand sewn spines - bookbinding
Background
In 2022 Mick & Sarah W were tasked with running this workshop series over the course of 3x 4hr sessions a fortnight apart.
Here are some notes we kept about adapting Billie's workshop for this context. There's a lot of labour involved in binding a book so we decided to limit how much we would bite off where we could. As such we limited it to creating a A5 Journal. 6x signatures of 6x sheets.
We discussed being up front with participants that when choosing how involved they would get, whether we're going to only going to attend the fortnightly workshops or could commit to coming to HtE as well.
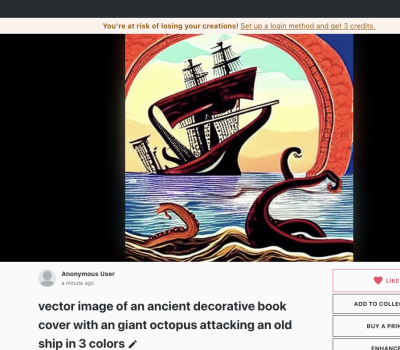
One way to generate artwork quickly (without the laboured creative decision making that can get people unstuck in workshops) is for us to introduce the idea of using an AI text to artwork generator for the cover artwork. We used Nightcafe
it took 2mins to come up with this.
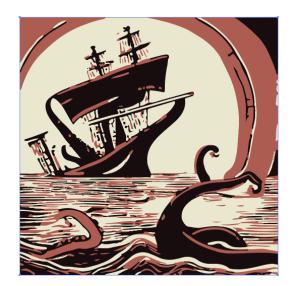
and another 2 mins to reduce it down to 3 colours in illustrator/ inkscape
or people can come up with their own artwork or adapt something else but it will all take time.
Materials
These are the materials that we have purchased, or drawn upon in our supplies throughout this process. We've shared links to where we have purchased ours, but there are many different places to source the below materials.
| Material | Quantity | Cost | Supplier | Alt. Supplier | |||
|---|---|---|---|---|---|---|---|
| Bookcloth | |||||||
| Ribbon for book mark | |||||||
| Cotton thread | |||||||
| Wax | |||||||
| End papers | |||||||
| Paper | |||||||
| Metal leaf | |||||||
| Headband | |||||||
| Mull | |||||||
| PVA glue | |||||||
| Sewing needle | |||||||
| Bone folder | |||||||
| Paint brush | |||||||
| Awl | |||||||
| Ply | |||||||
| TOTAL: |
Session 1 – bookbinding prototyping - 13/9/22
Sarah and Mick (with Chloe) went through the session two notes to learn bookbinding techniques and signatures. We started by adapting Billie's A4 Awl guide down to an A5 model awlguide_a5.pdf the dimensions arent quite right but it was ok as a start (guide came out 5mm longer than A5). then we folded our signatures our first signatures
Here are the key learnings:
- When creating signatures it is okay to fold in blocks if you take your time to be precise.
- Puncturing the holes at 45 degrees helps for the holes to be better aligned.
Then we started the stitching:
Key learnings:
- Tension is important when sewing – especially the kettle knots on the ends. Don’t over tighten these
- Thread only needs to be max two metres – otherwise it is too hard to handle
When running the workshop we actually think that the first two signatures should be test signatures for learning the process, that are then discarded - starting fresh for the real deal.
Session 2 – bookbinding prototyping - 14/9/22
got the fold over/spacers scaled down for the next part but we have some questions a5_spacers_etc.pdf
Questions for Billie
- does the “turn in template” and the “11mm spacer” need to scale down for an A5 (ie 20mm scaled down to 15mm, 11mm spacer down to 8mm) or should these stay the same and just the page length and width scaled down
Notes from chatting with Billie
On Friday we touched base with Billie online and chatted through the process of bookbinding to answer some of the questions we had about binding, and running the sessions. Below are the rough notes.
- Talk to preservation about co-facilitating the sessions
- Participants take home sewing to finish at home.
- Do a test and throw away is a great idea
- DAS bookbinding key youtuber
- Mull fabric - 6 cm either side of the spine.
- Wrap baking paper around to stop the glue going to the top and bottom side.
- Place mull on, masking tape it, clamp it to table and glue with PVA. Work it in with a hogs hair brush.
- Trimming off the pages - create clamps to hold books for working.
- Different edge treatments for paper is possible - gold guilding, splatter ink, watercolour etc
- Jo Sonya tannin sealer - glue - hit is with a hair dried.
– Mull (can add in bookmark and add to Mull - book mark first - and then head band → this head band is glued to the mull.
– Glue on spine lining - 250mm paper just wide enough for the signatures.
– Trim the pages
– End pages 3mm glue on the spine
– Timber spine is thickness of signatures
– Lay the template out and this is the size of the fabric.
– Set it all up, glue it all out the timber, then cut it out.
– Glue back, spine, and then put on cover
– Top and bottom first and then the sides for gluing down the cover fabric to timber
– Make sure the cover paper grain is running in the same direction with the spine.
Session 3 – bookbinding prototyping - 21/09/22
In advance of the third session, we undertook some research into book presses. Although we are lucky to have access to some very cool traditional presses through the library preservation team, we wanted to devise a way to create cheap and accessible presses that could be made at home by anyone
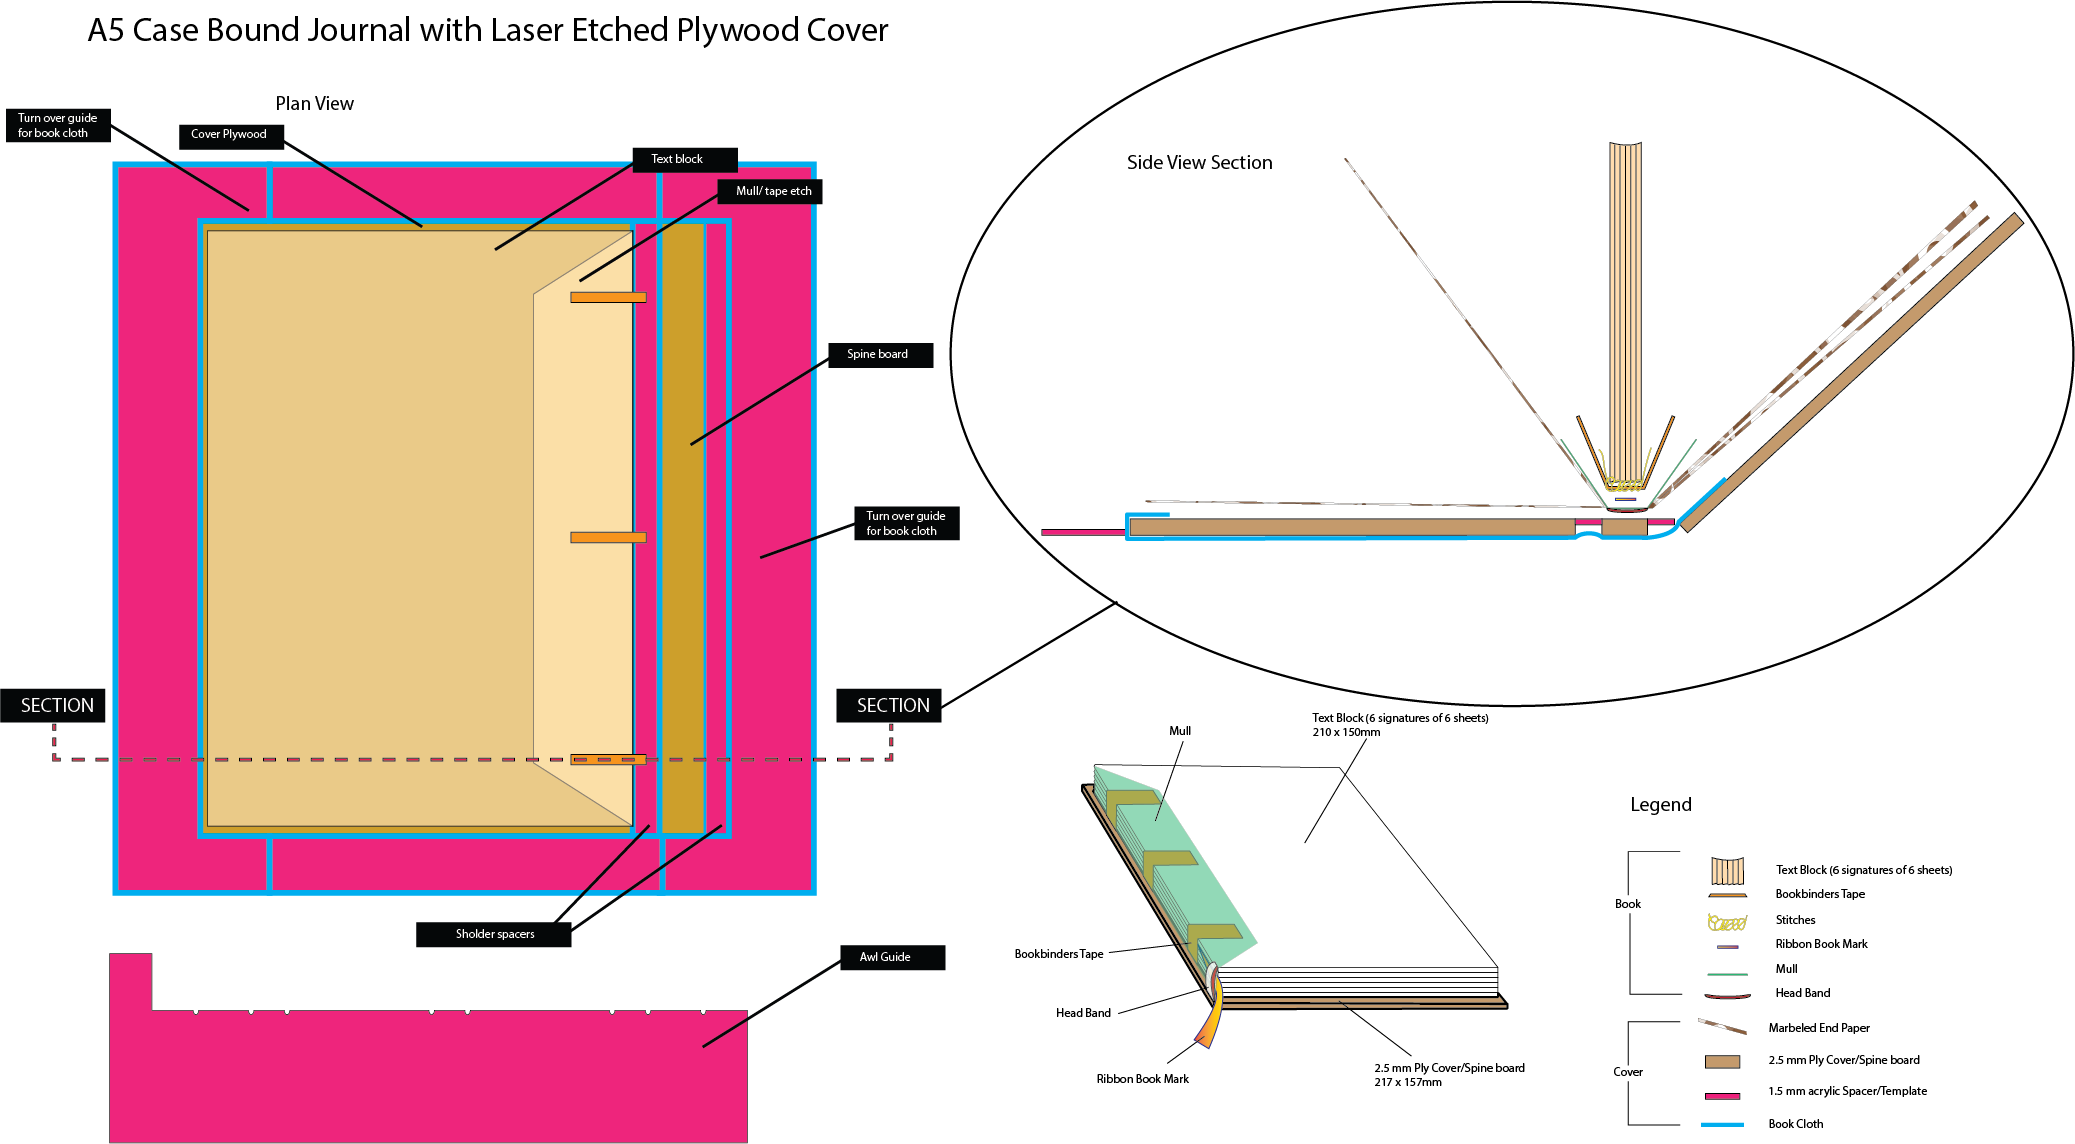
We als did some rough drawings to establish the dimensions for all the components and templates guides
This is mostly 1:1 scale so drawings can be used to laser cut guides, templates and the covers. An AI file is in the downloads at the bottom of the page.
Press
Purchase 19x90mm hardwood decking timber (less likely to bow) and some M6 100mm nuts and bolts to create a prototype of a simple book press. Press is very simple with 2 bolts for tightening Designed and 3D printed a M6 Sleeve ( stop timber jaws of press catching on thread of bolt and Thumb knob to go over the nut for hand tightening down the press. There is a chamfered side on one face for gluing and getting in close to the work. and a Flat side to stand the work up when required. Also features a lap knock for hooking press against bench when trimming text block manually with a chisel.
Downloads
scaled_assembly_diagrama5journal.ai
laser_book_bindingtemps_laidout.ai
Template/Jig for Laser Etching/Cuttin Covers
- Participant adds artwork and saves
- Load artwork in ruby and etch cover and cut (deselect majenta etch for inside of cover)
- Flip (horizontally) over cover and place back in ply sheet.
- Deselect artwork and etch majenta etch(inside front and back covers)
Laser Cut & Etch settings for Cover and Spine
Deep etch on 3mm Plywood from Plyco Coachwood
Etch
Power 90%
Speed 90%
3 passes 20 minutes per cover
Cut
Power 100% Speed 1.6%
3 fortnight plan
| Prep 1 | |||
| Workshop 1 | Intro to Inkscape Laser Cutter Induction | | | Homework 1 | Finish Design | | | Prep 2 | Cut Covers | | | Workshop 2 | Learn Text Block Stain Cover (Dry) Make text Block Assemble Book (Dry) | ||
| Homework 2 | Add Colour | ||
| Workshop 3 |
Learnings from 18 Oct
- Do a propa clean of etching with iso ( dont get your thing dirty )
- Template angle to be cut on one of the template bits
- measure spine [placement before applying glue
- truncated 45 for front cover overlap
- need bag o rag or paper towel
- move bolts on press to outside ( balance forces)
- stanley not chisel
- seal cut timber on press
- superglue on thumb screws
- when you are staining cover don't forget to also do edges and the bit of the inside of the cover you can see.
- is the lack of bowing down to the orientation of the grain???
- Complicated cover used in this workshop to incorporate laser etched design caused weird sitting spine, and breaking end papers. Instead of this complicated cover arrangement to incorporate Laser etched design, use a standard cover design with artwork inset into the front cover.
A resource page for participants was created and can be found here… Laser-cut covers, hand-sewn spines - Participant resource page
Week 2 email to Participants Week 2 email to Participants


