Paper Boutique
Acknowledgement
We acknowledge Aboriginal and Torres Strait Islander peoples and their continuing connection to land and as custodians of stories for millennia. We respectfully acknowledge the land on which we all meet today, and pay our respects to elders past, present and emerging.
Summary
During this workshop you will learn the basic skills of vector design using Inkscape.
You will get to design your own two paper ornaments (minimum) for cutting on the laser cutter by your workshop facilitator.
If you're not too confident in your computer design skills, there are many designs to choose from below to make up your personalized paper holiday designs.
Skills Introduced
- Basic vector design
- Inkscape 101
- Three dimensional design and cutting on a laser
Materials
- Card stock (minimum 200gsm)
- Laser cutter (could use a cricut)
- Dimensional board, foam dots, squares or tape cut into small pieces. Glue dots could also work.
- Glue or adhesive suitable for paper/card
Tools and Preparation
- Laser cutter
- Small craft knife
- Cutting mat
Preparation
Before the workshop you can think about what type of holiday designs you would like to focus on, take a look at State Library's Christmas collection items -
Session Plan
This is a four hour workshop.
1pm to 2.30pm - Inkscape 101
2.30pm to 3pm - Continuing to create individual designs
3pm to 3.15pm - Break
3.15pm to 3.30pm - Make sure to have at least 2 designs provided to facilitator for cutting
3.30pm to 5pm - Cutting and assembling
Workshop Walk through
Step 1
Inkscape 101
Run through the 101 workshop here
Our main focus during the Inkscape training is to learn the bezier curve tool effectively to trace or create our own vector design.
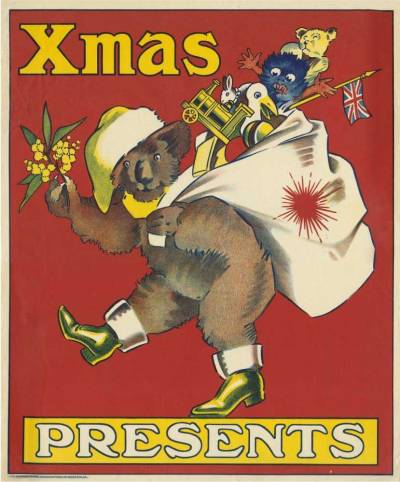
We have provided an example using one of the State Library's collection items, a Christmas poster featuring a koala dressed in Santa hat and boots ca 1920. This has already been traced and test cut on paper and plywood.
We will be using a kangaroo from our collection images to trace and use in our decoration designs (replacing the many deer options that are in our pre designed cut files below!).
A Christmas card sent by Sargeant Walter Guess, 41st Division, U.S. Army, Rockhampton. 1942
Step 2
Design your own paper ornaments and provide the files to your facilitator to cut.
Now that you have some basic skills and understanding of cutting for the laser, let's pull together some designs.
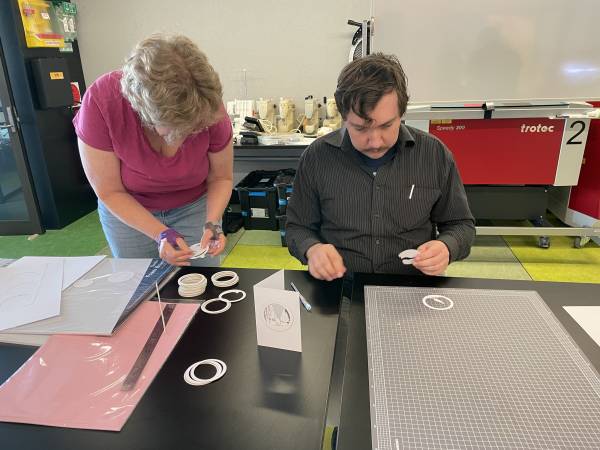
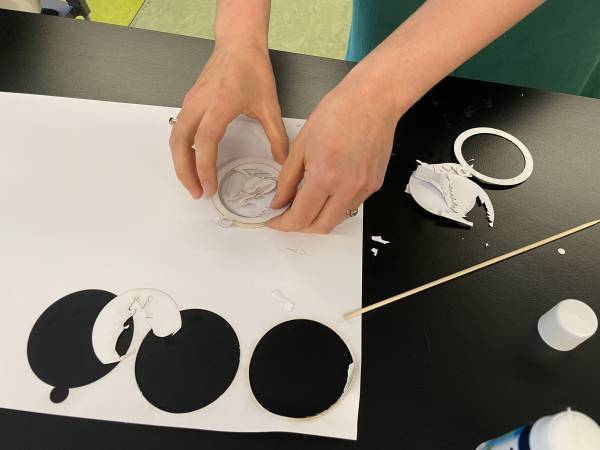
Participants will each get an A3 white card that they can fill with whatever they'd like to design and cut.
Many of the vector designs below can be used for various different objects, options include;
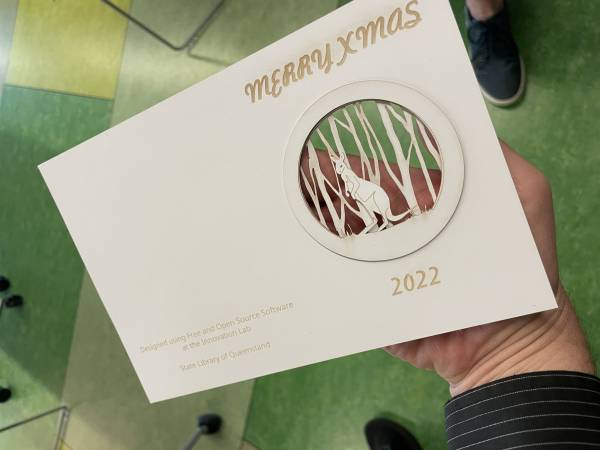
2D - Hanging tree ornaments, greeting cards
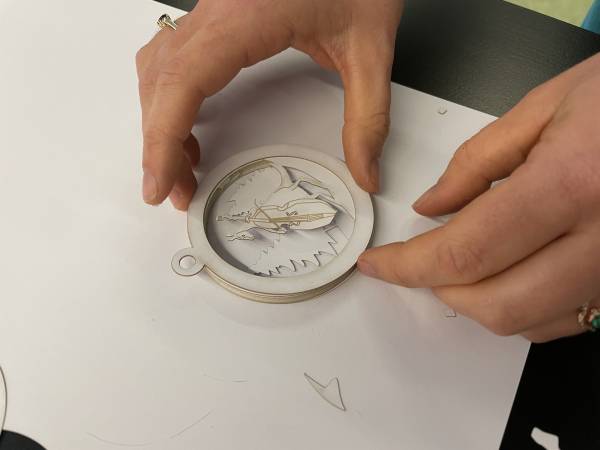
3D - Round layered ornament, shadow box or globe
Measure and resize your designs to make sure you get the right end result.
We're using white card and paper to keep things focused on the designs themselves rather than colour or pattern.
Step 3
We've outlined the process below for a card and hanging ornament design, but it's up to you on what else you might want to create from our downloadable designs below.
Download the Xmas Card Designs PDF and choose a 'front' and 'back' design from the selection. The front is the main focus so you could choose one of the animals designs and for the back use one of the tree designs.
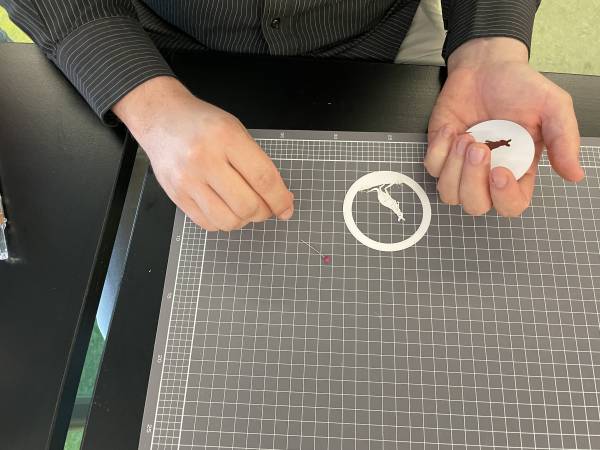
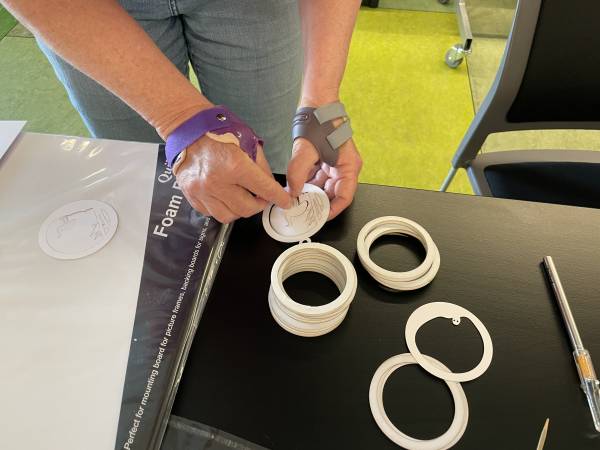
You will need up to 4 'spacers', which are the plain 'circles' used to help build up your design as a three dimensional piece.
For a greeting card you will need the Card Template PDF, and if you are making an ornament you will need a hanging loop (bail) template piece also, which is in the Xmas Card Designs file.
References
Here are links to many free SVG (vector) files that you can use to get designs to use or alter;

