~~REVEAL~~
Iconic Queenslander Fretwork

Created by Andrei Maberley on 2019/04/11 11:34.
contributors
Summary
Capture a design from an image and turn it into something beautiful using clever software and a CNC routing machine. This workshop includes an induction that gives you access to our CNC technology.
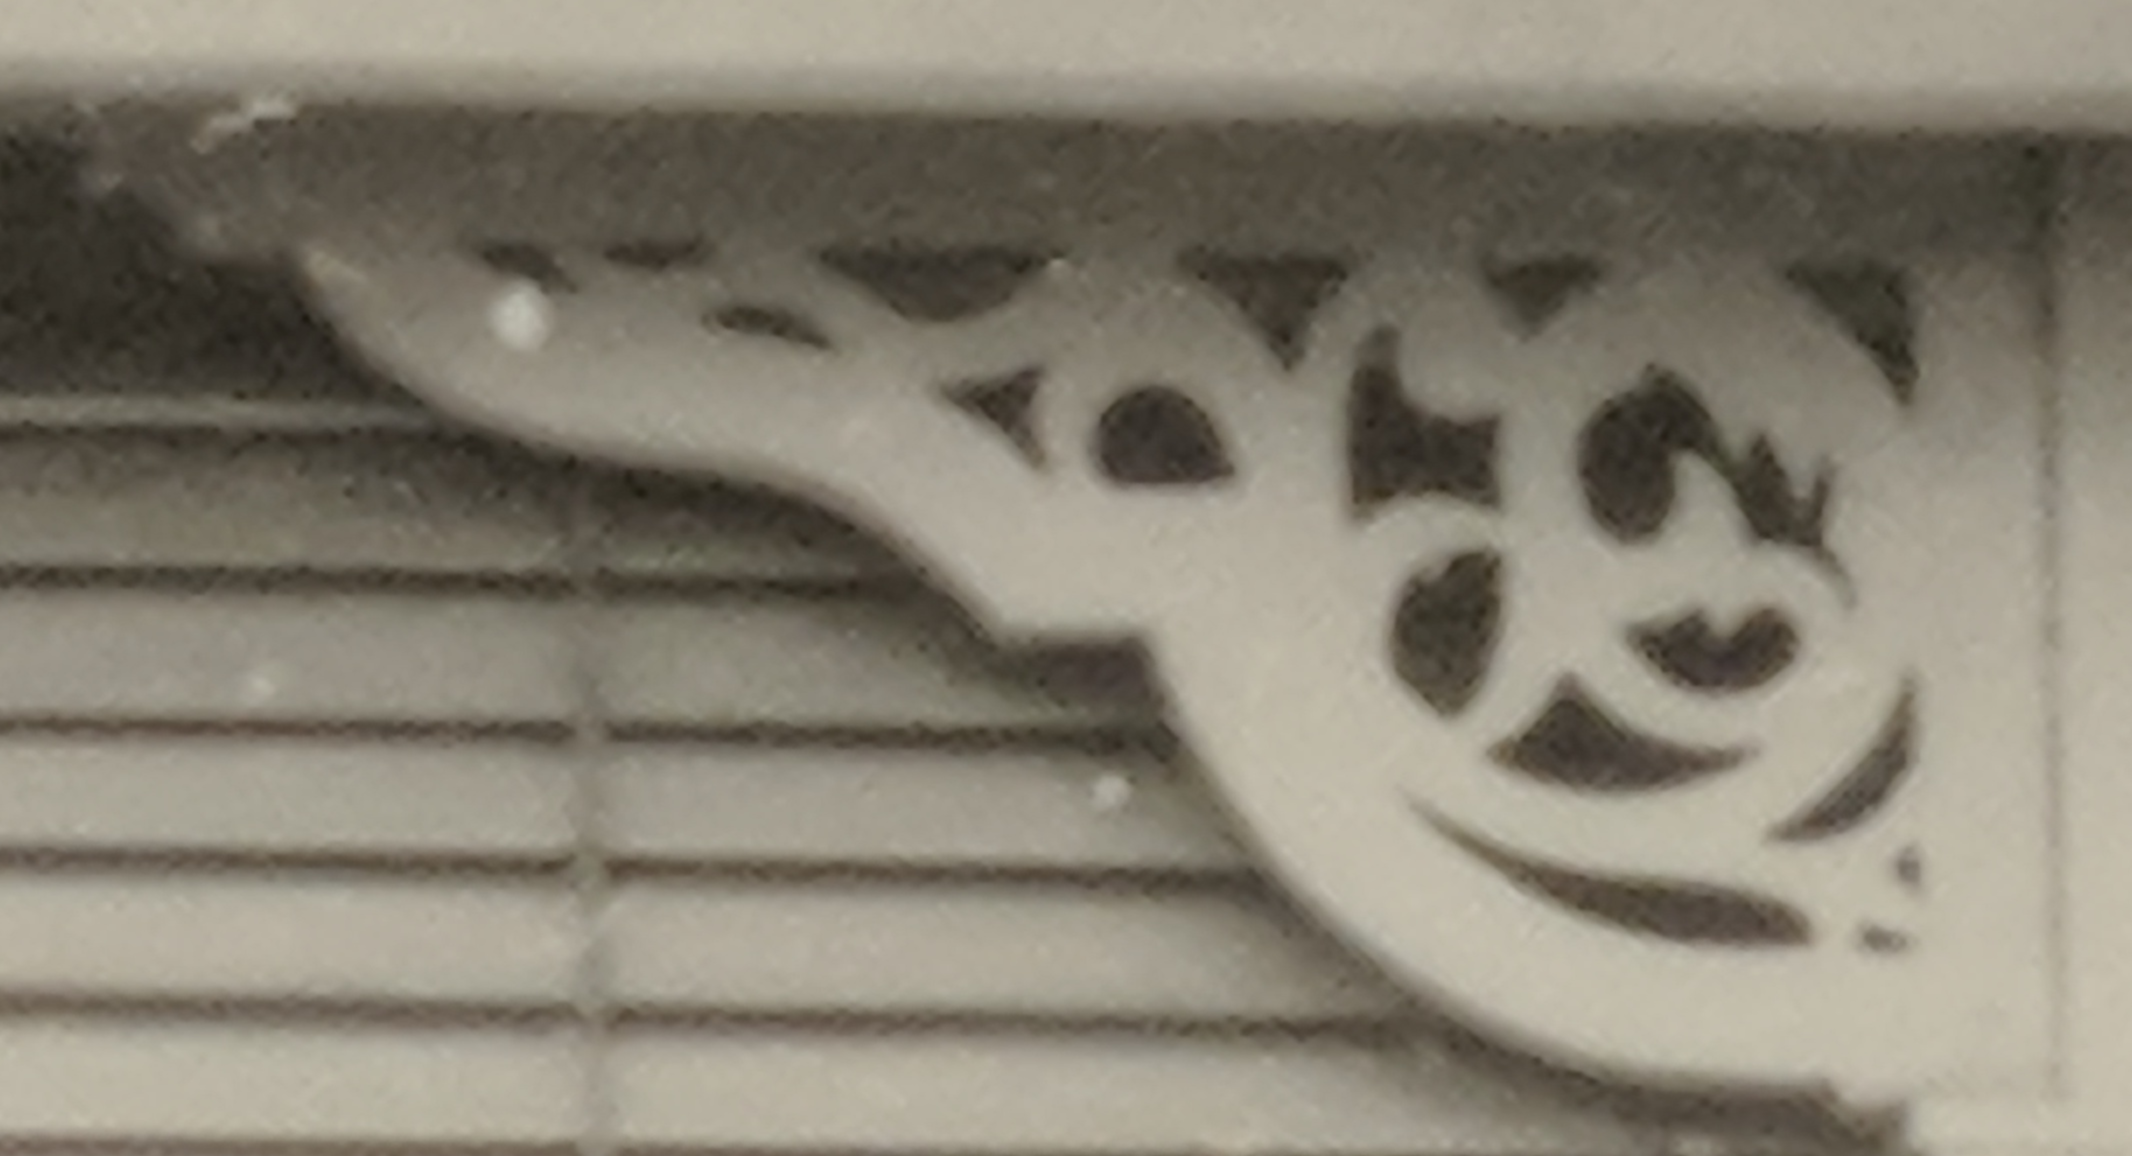
Part of what makes for unique Queensland architecture is the individual decorative fretwork seen in many traditional Queensland wooden houses.
State Library has made a vast store of historical images available online as part of the Home Exhibition and in this workshop you will learn how to reproduce an example of this Queensland style by combining clever software tools and modern advanced manufacturing techniques.
Workshop Outcomes
- Overview of design for simple CNC Routing
- Introduction to the State Library of Queensland Collection
- Overview of basic bitmap image processing
- Introduction to bitmap to vector conversion
- Induction for CNC Router
- Assembly and take-home of a Fretwork book-end.
Tools
- The Corley Explorer and SL One Search
- Gimp for image clean-up and processing
- vcarve for
- bitmap tracing
- vector editing
- CNC Router toolpaths
CNC Router Basics
A CNC Router is a simple machine, with a rotary tool (bit) moving along a path controlled numerically by a computer - ie. Computer Numerical Control (CNC). The diameter and cutting depth of the tool are key considerations when designing for routers, as we will explore in your induction.
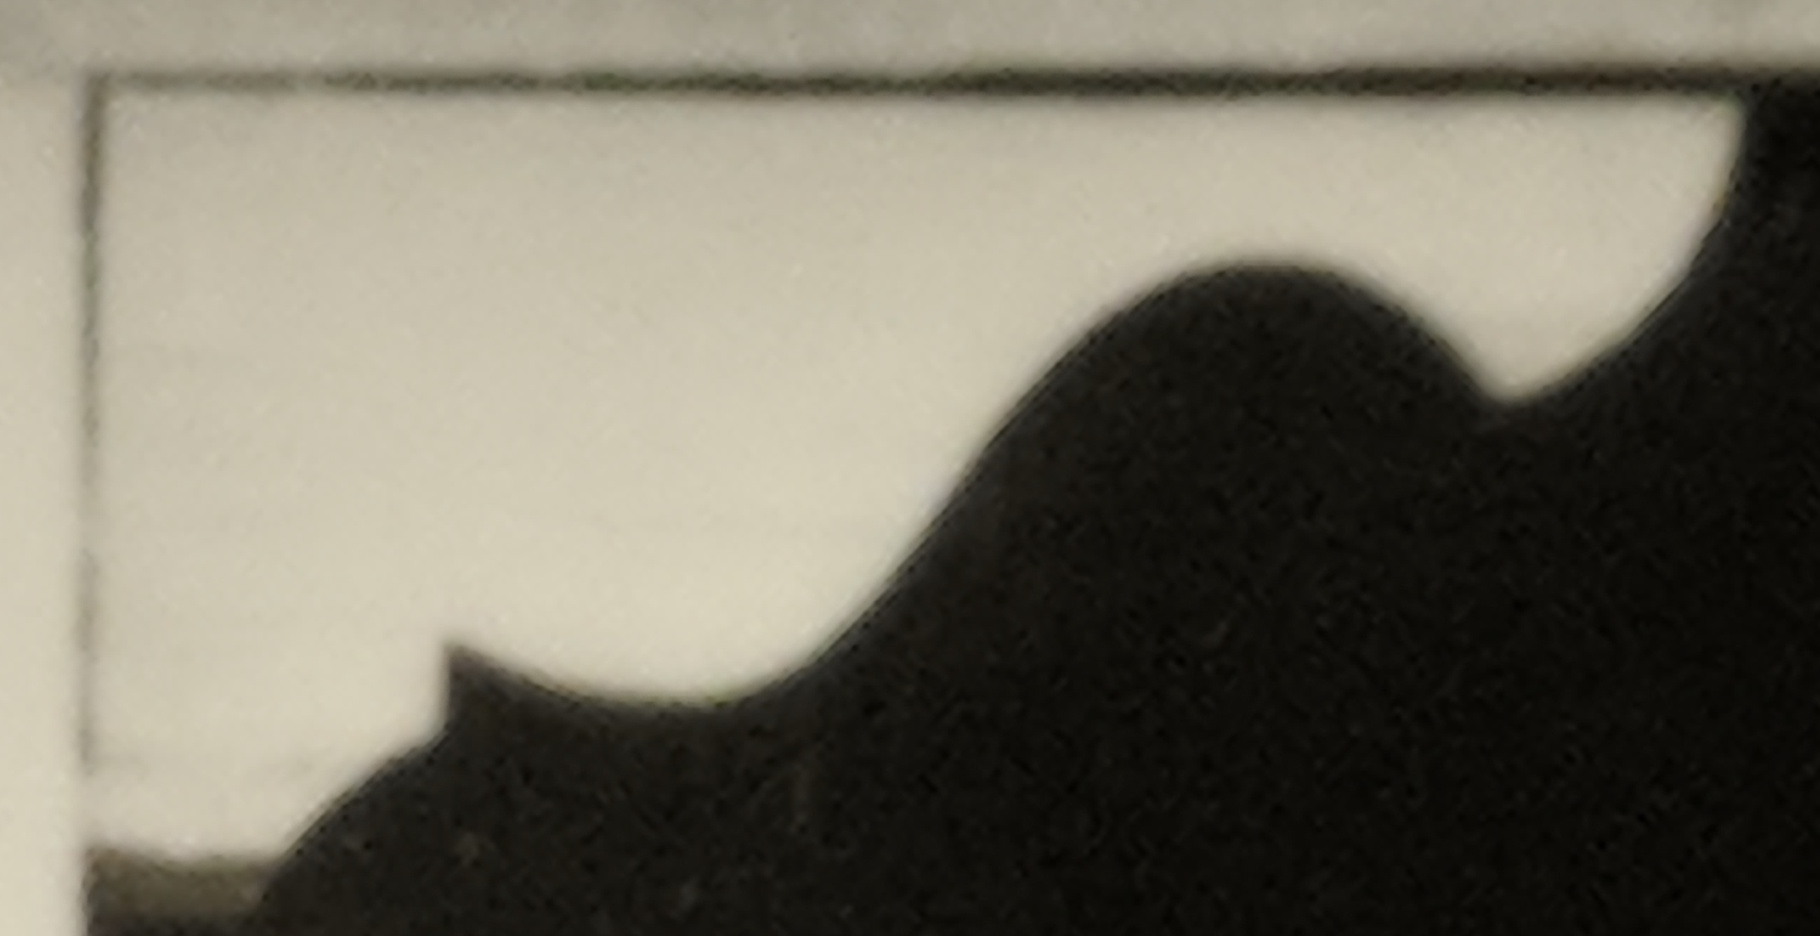
Vector vs Bitmap
To cut files on a CNC Router, we need to describe a path for our router move on. The most efficient way to do this is to use vector graphics. 2D points can be joined to create lines, curves, form polygons and other shapes to describe our path, which can then be converted to Numerical Code (NC), simple co-ordinates our machine understands.
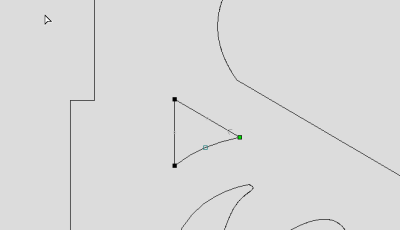
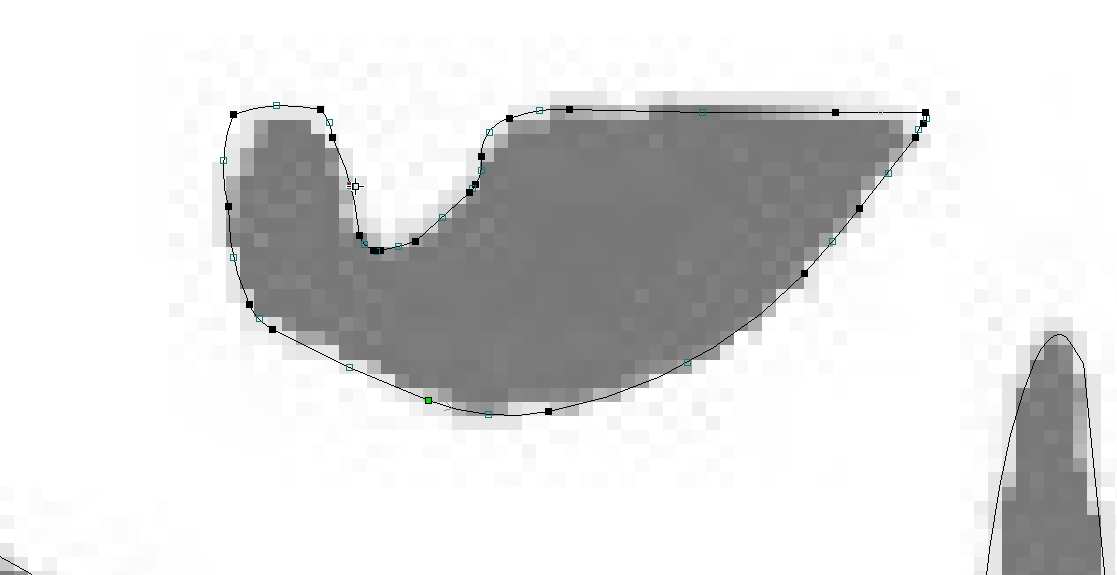
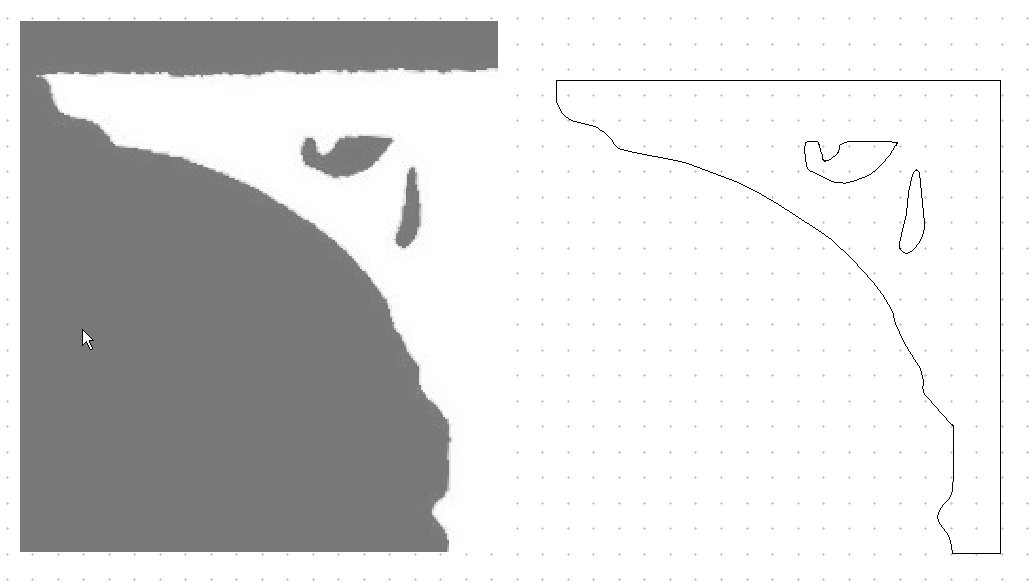
Below is one of our fretwork examples - represented as vectors.
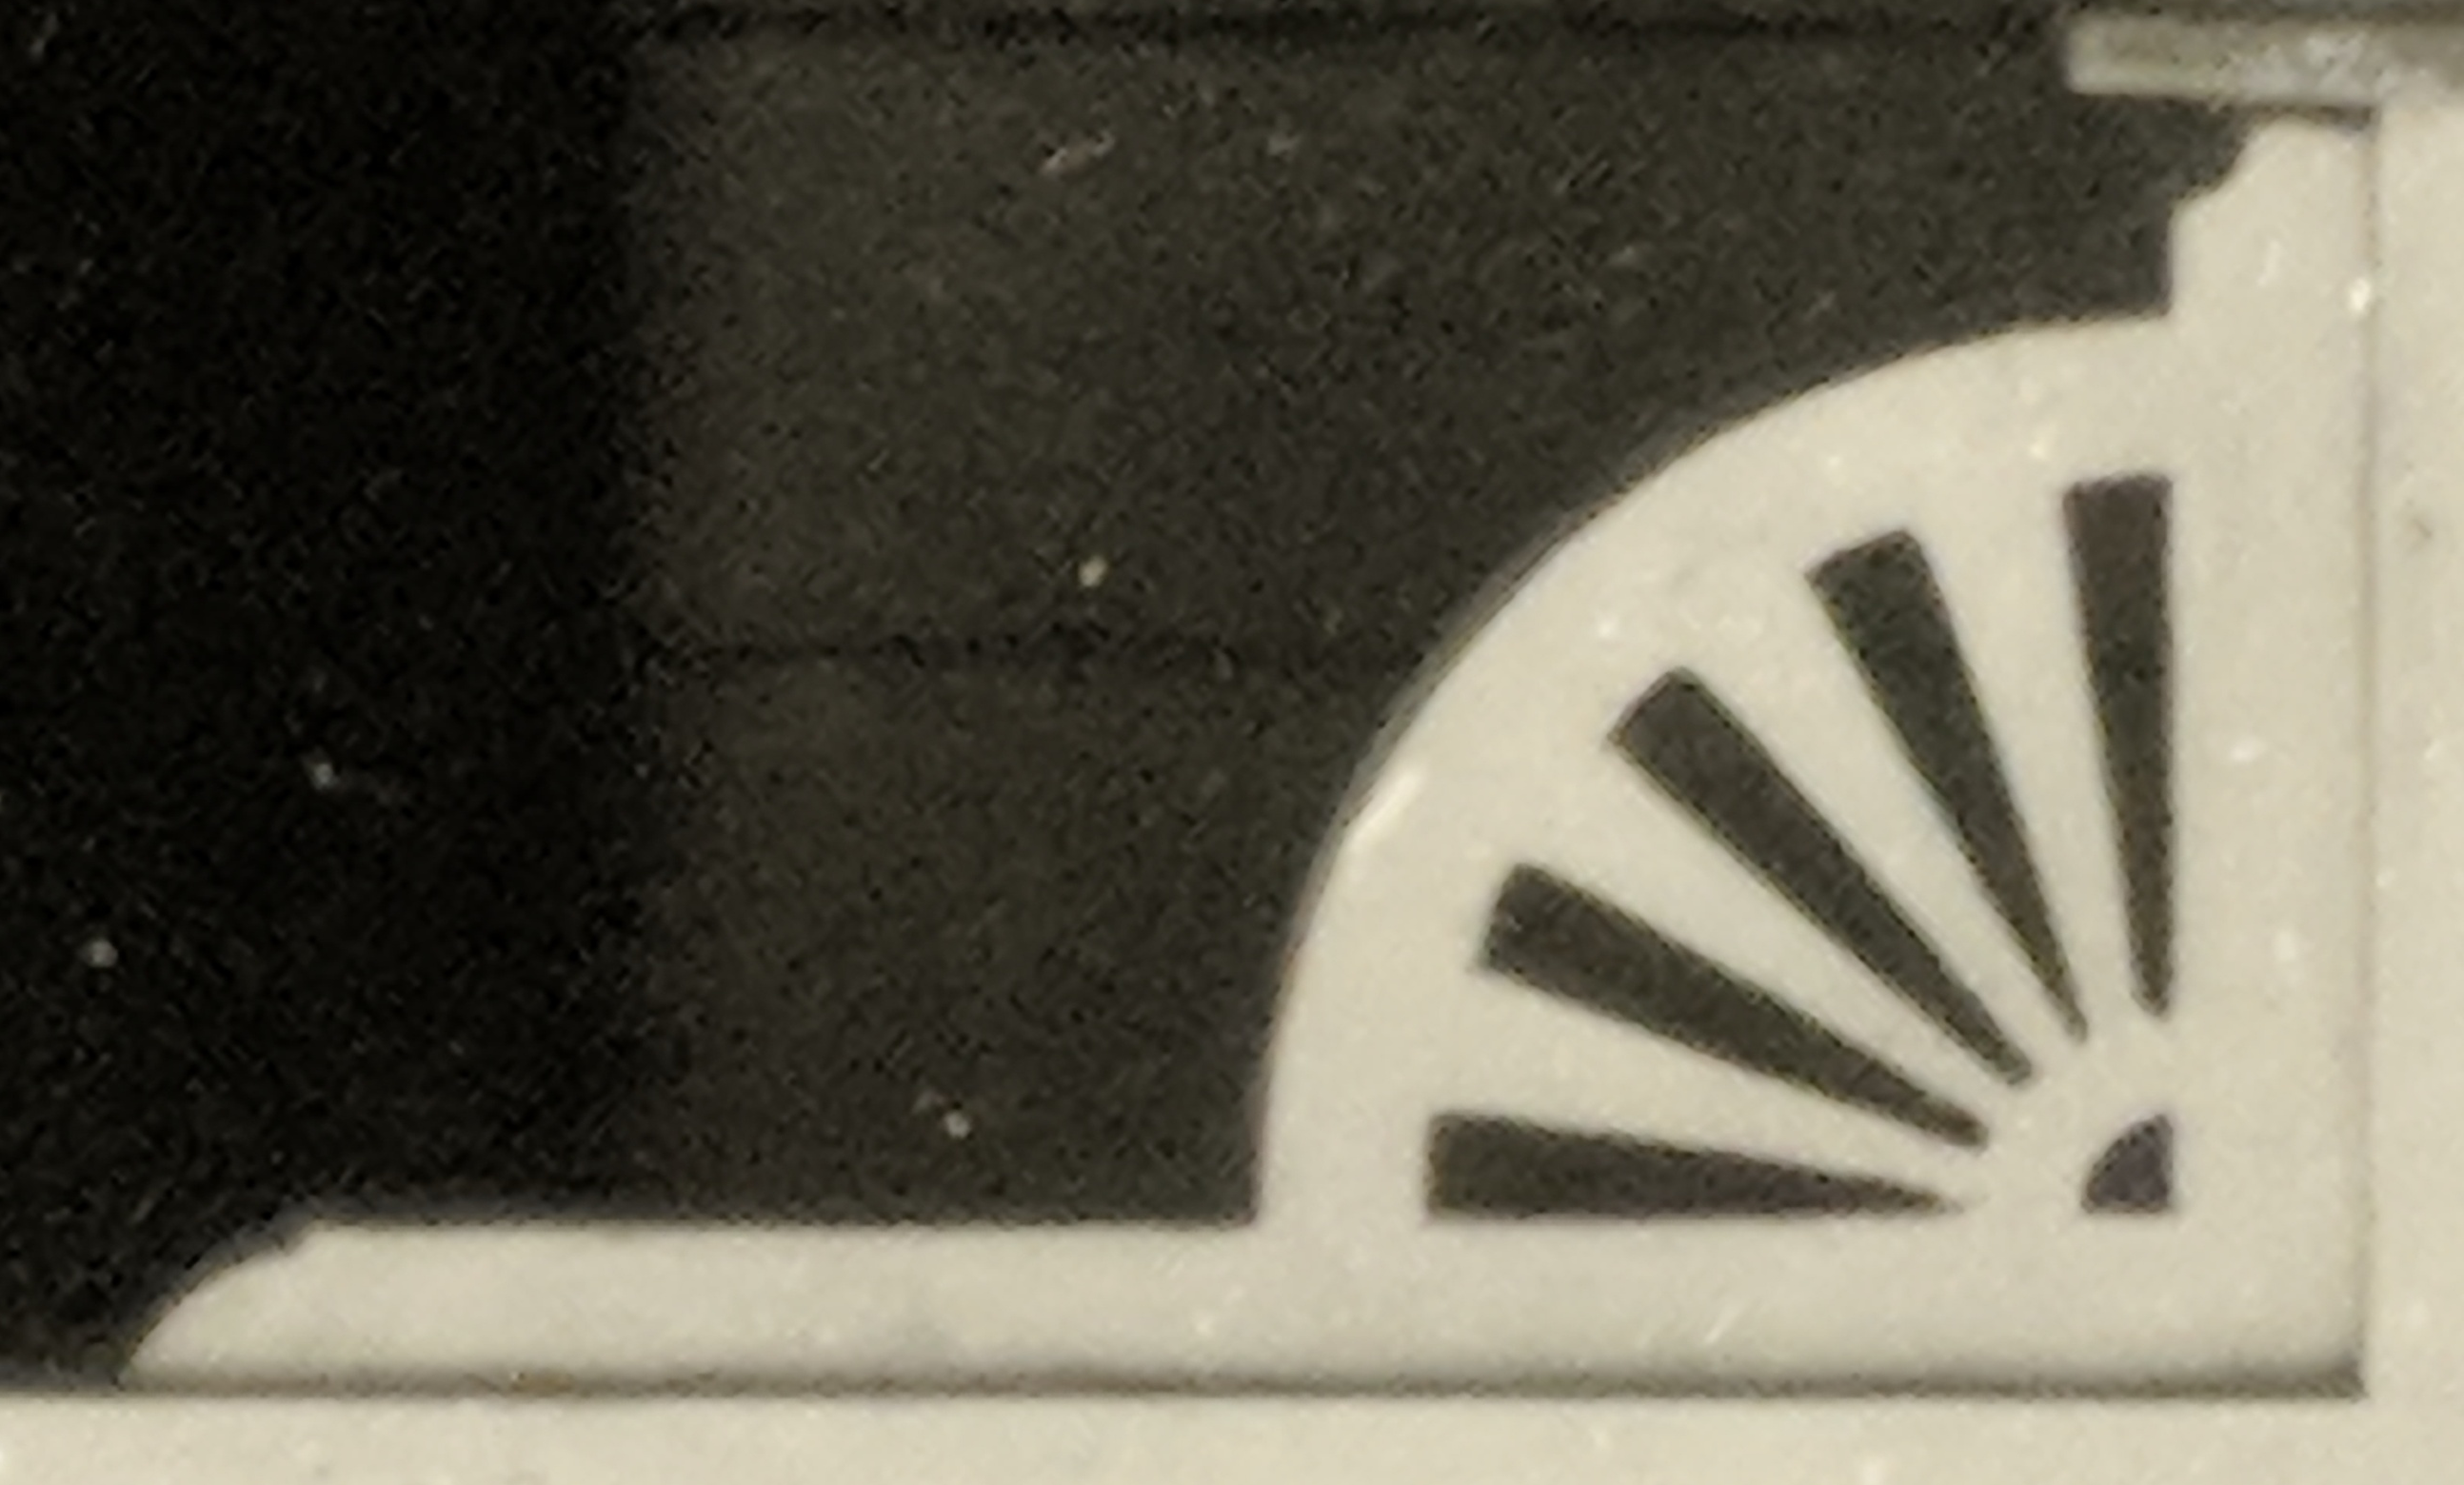
However - the natural way to display photographs digitally is to use bitmaps - a rectangular grid describing pixels - in a raster graphic file like jpg or png.
Below is a a zoomed in extract from the original jpg used for our fretwork example.

We will explore the bitmap to vector process below.
From Bitmap to Vector
The fret work images we will be working with are all grey scale, downloadable as a high resolution jpeg file. While not ideal, this does give us enough detail to convert well-chosen, properly processed images to vector in a couple of ways, either algorithmically, or by redrawing (tracing) shapes.
Finding A Design
The first step is to find a design you like - we will use the Corley Explorer to find a fretwork, you can follow the links below to go through the steps.

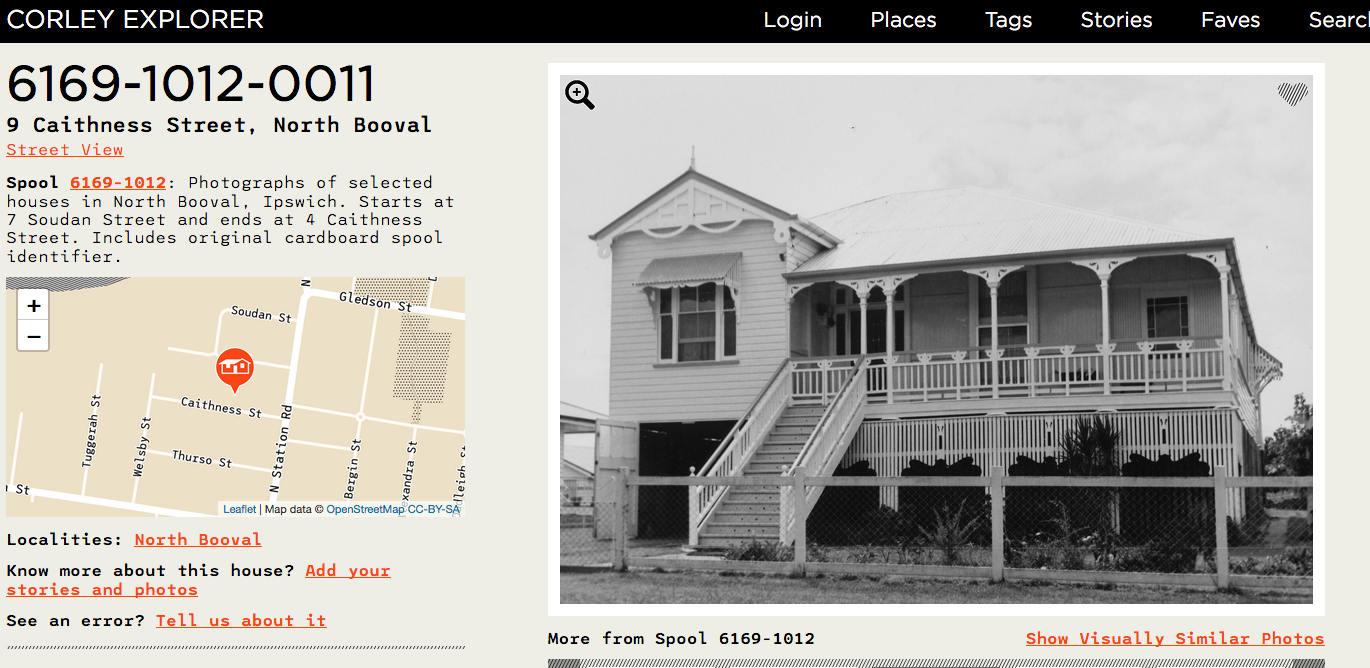
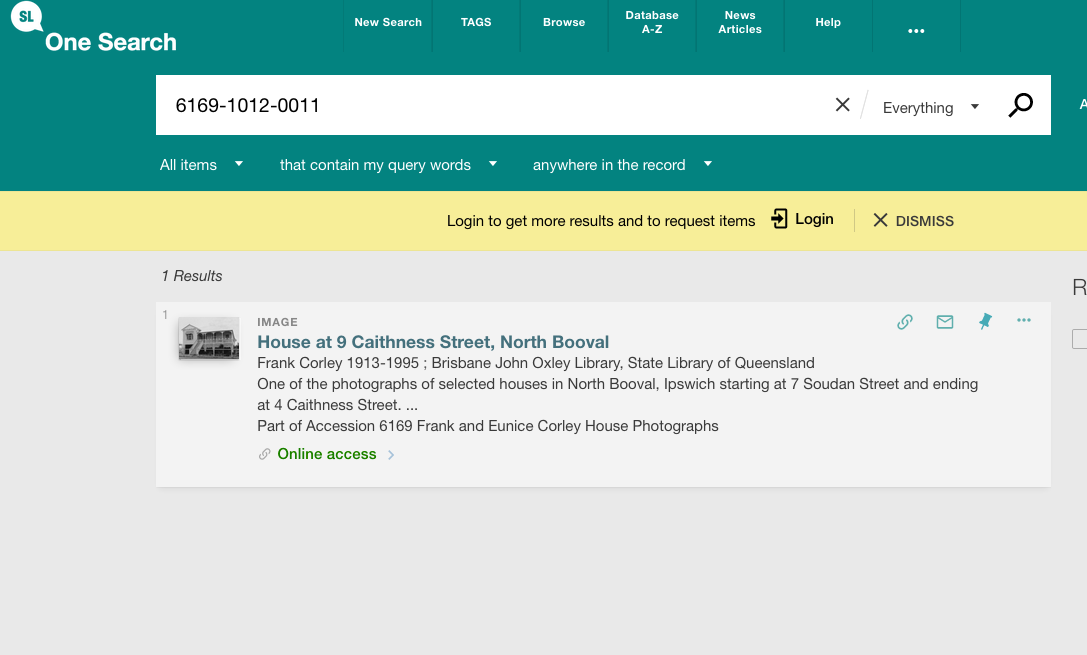
Search the Catalogue using the Onesearch - starting will the spool number - in this case 6169-1012-0011.

Download at high resolution

Bitmap Image Preparation
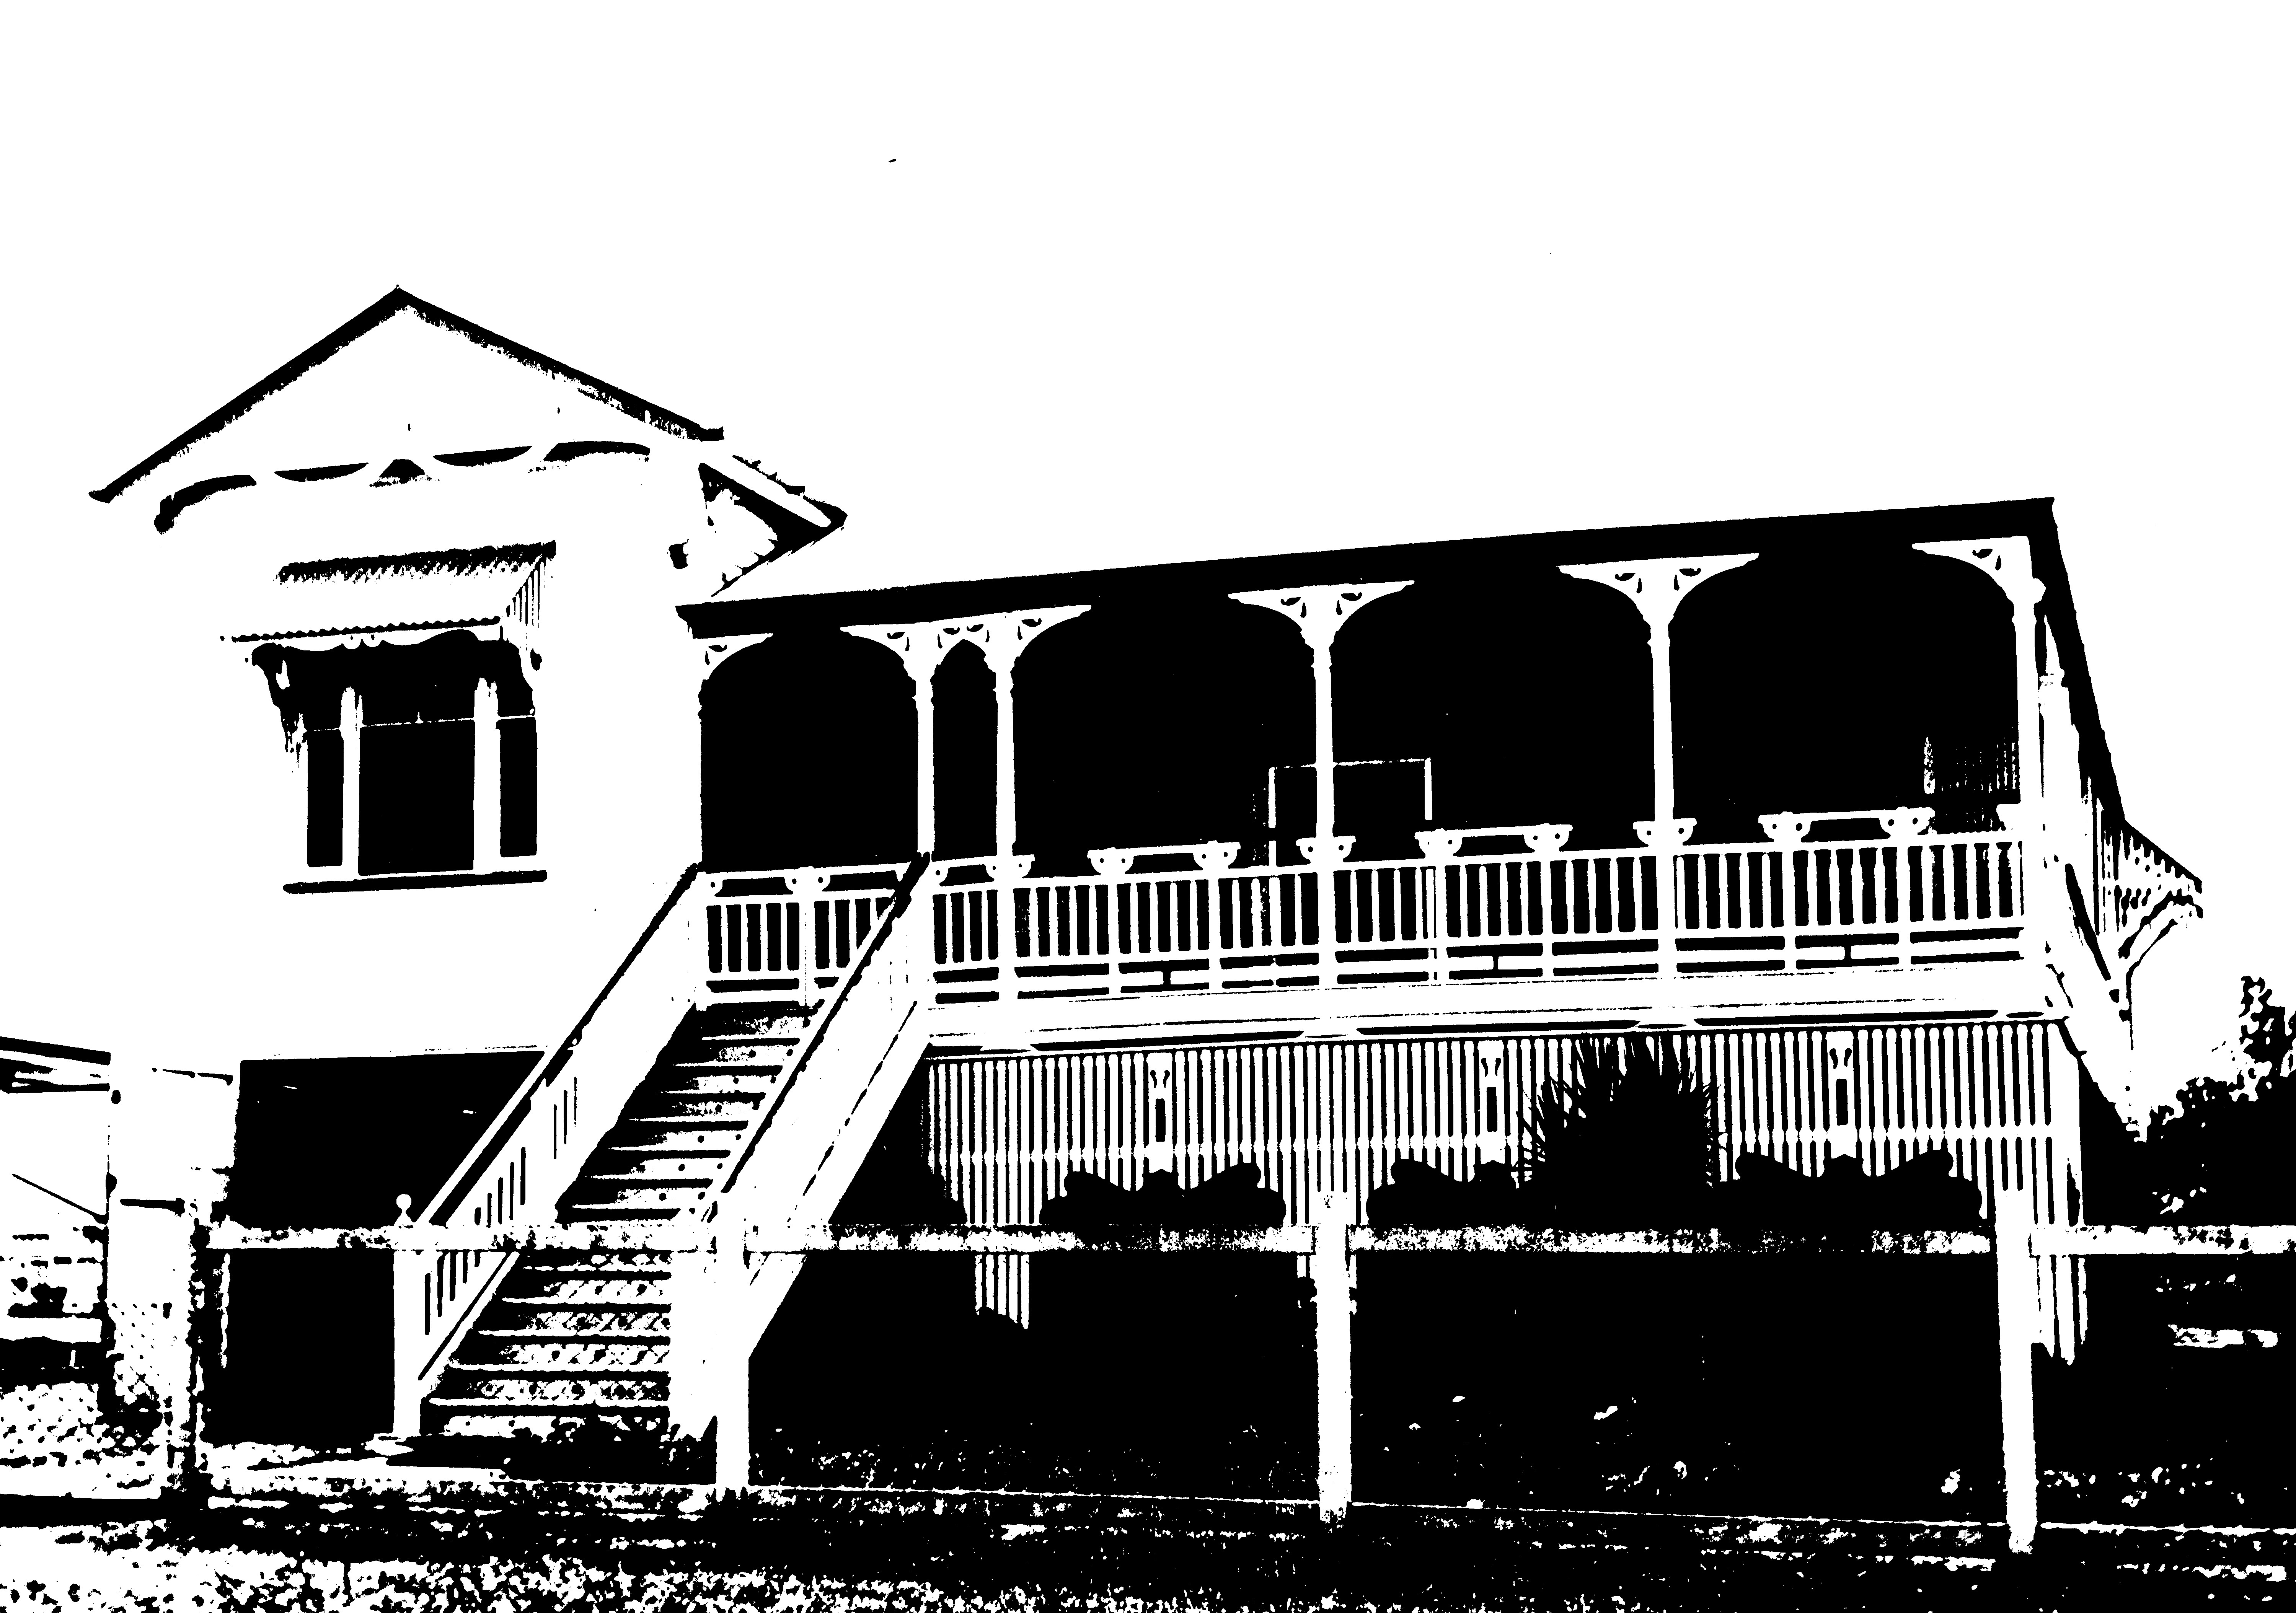
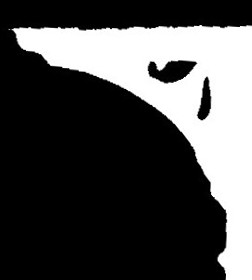
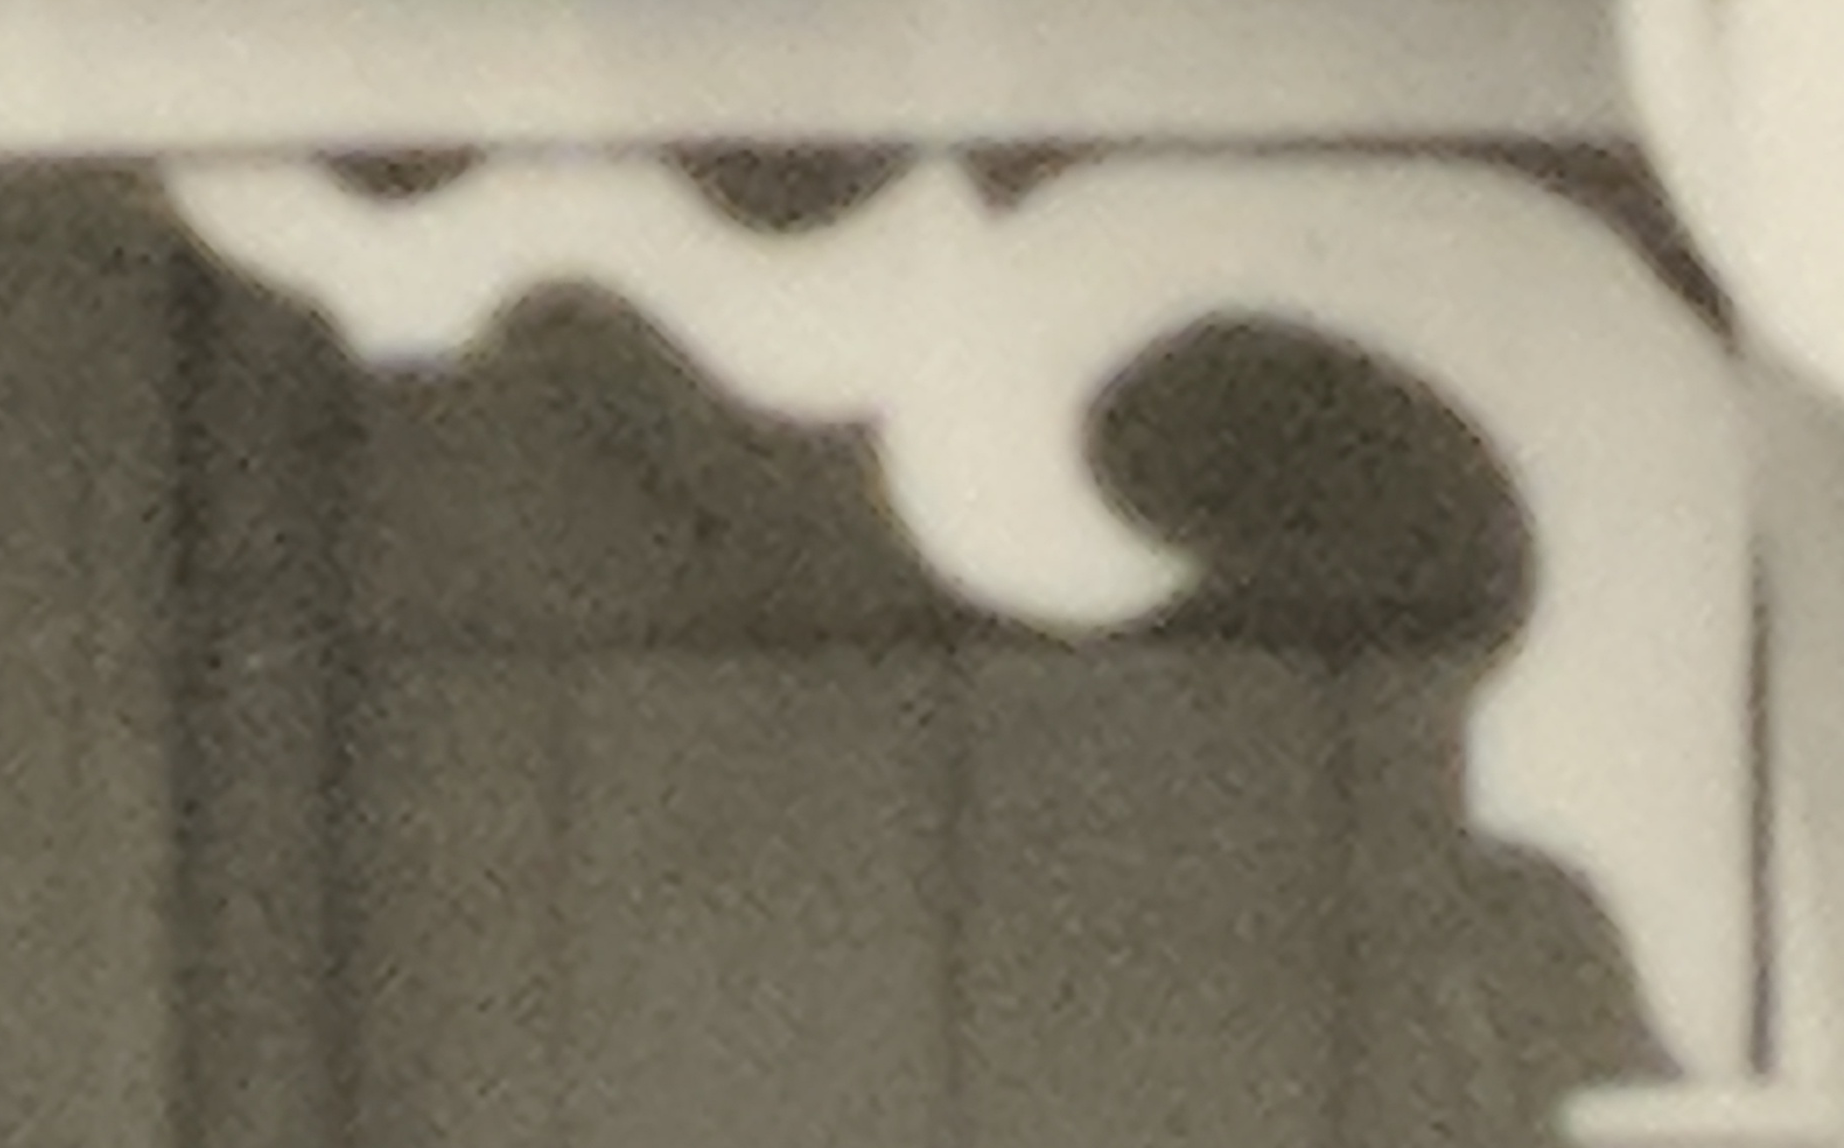
The image we've chosen is challenging, but not because of the complexity of the design - but the fretwork is small in the picture, and the photograph is on an angle - obviously Frank was driving by as he shot the house, so this is a common perspective.
The classic adage of “garbage in, garbage out” definitely applies here. To make sure we can cover the whole process in our workshop we will step through this file to show what is possible, but we have provided better examples to use, along with some “pre-cooked” vector files for your induction.
The first thing we need to do is simplify the image, its quite large in dimensions, and has more colours (greys) than we really need. Then we will correct the perspective and shear in the image, and crop it down to just our area of interest. We will be using GIMP for this, but you can use any decent raster graphics editor.
Reduce image palette
Below we have reduced the index (number of colours) in our image to 1bit of information. This just means black and white.
Crop
Next we will select just the section of image we find interesting, there is a few veranda - make your select fit the perspective of the photo,

Shear
Next we will distort the image using shear and perspective - trying to get the frets straight to the eye.

Choose our Fret
Finally we will isolate the best example.
Bitmap Tracing in Vcarve
Its time to convert our bitmap in Vcarve. We will use a combination of Vcarve's algorithmic “Trace Bitmap” tool, with some manual tracing and correction.
You can use this file to get started with the jpg imported straight away, set up on the Fabrication Lab standard material. Lets zoom in (use the mouse scroll wheel) and get started.

Select the bitmap - then from the create vectors menu, select “Trace Bitmap”
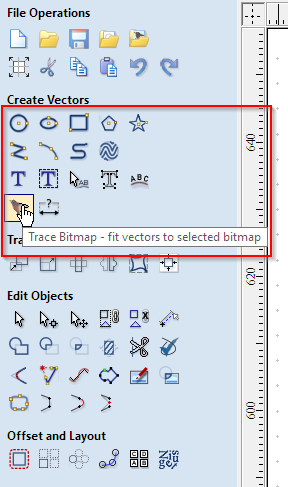
Set your tracking type to black and white to fit our image, then the tolerance to loose, and un-check “Group Vectors”
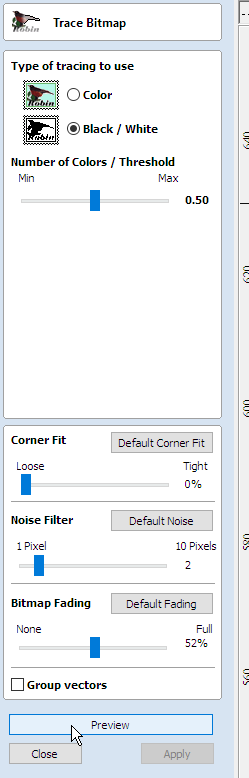
Now click “preview” - this will give us an idea of what Vcarve thinks the shapes look like.
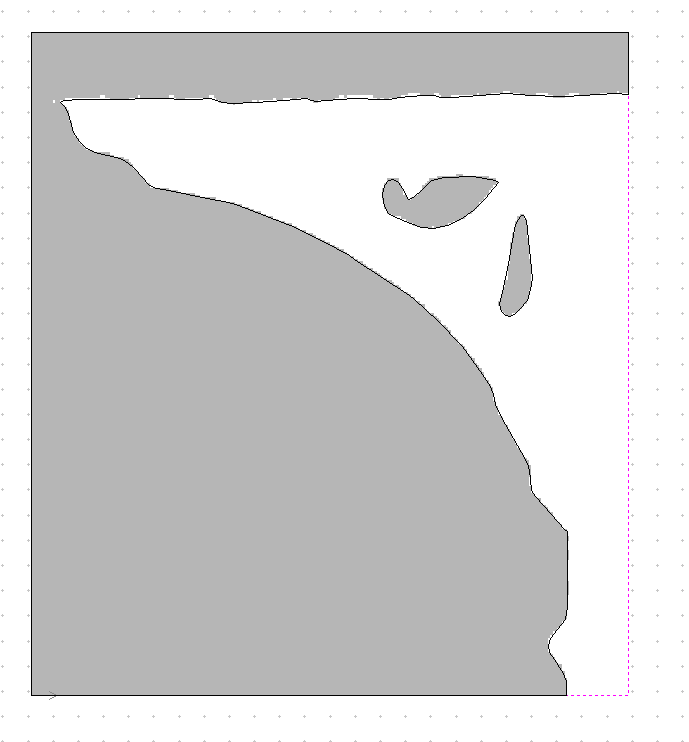
Not bad - but not great. You can experiment with the settings, but this is probably as good as it will get. Click “apply” the “close” and lets move on.
Next we will try the curve fit tool. This will reduce the number of points, and give us some simpler shapes to nudge about.
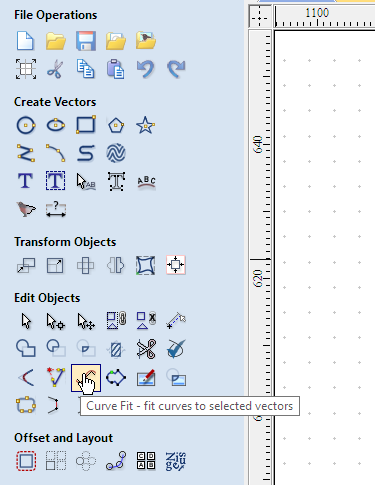
Using “circular arcs” and a tolerance of .1 mm - click preview.
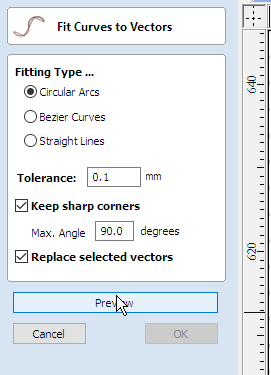
This looks OK - but we are losing the style of the shapes - its time to go manual and edit the point (Vcarve calls them nodes) directly. Click cancel to exit the curve fit tool.
Enter node-edit mode,
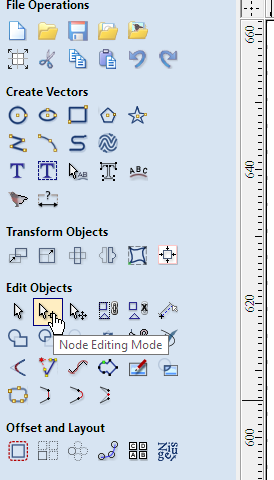
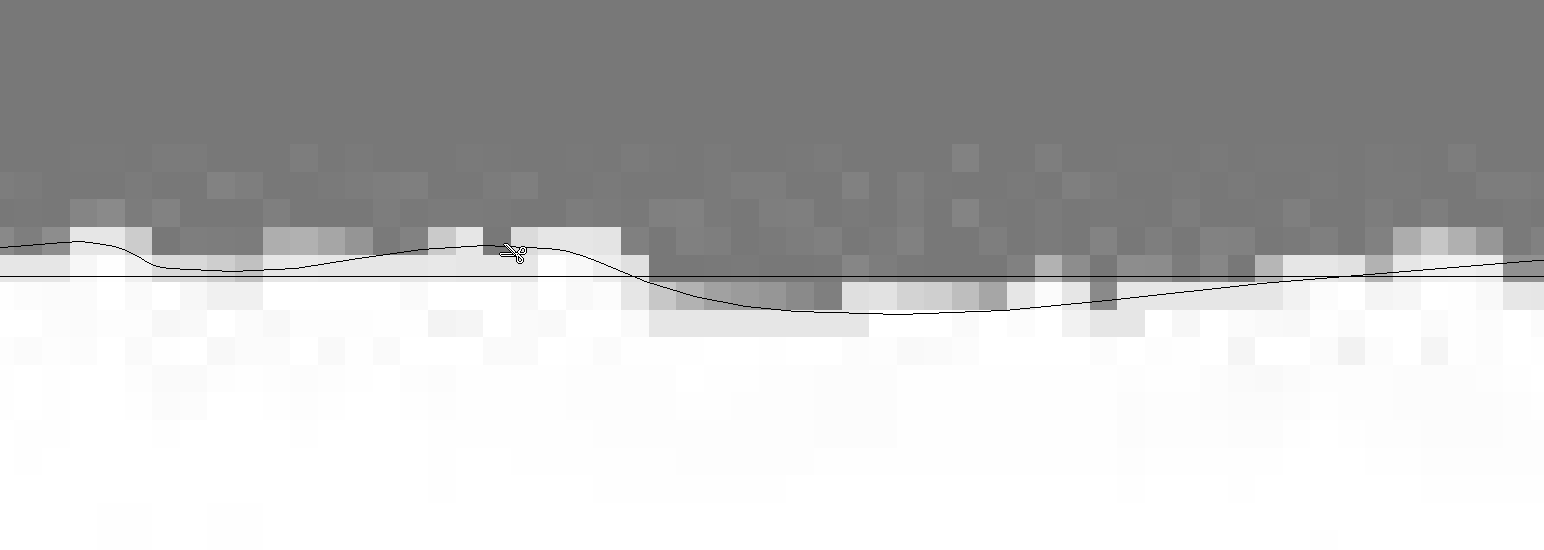
then select the middle vector and zoom right in. You will see points that you can now select and move around.
Try grabbing just a couple of points at a time, nudging them with the arrow keys, until you get a better fit with the jpg.
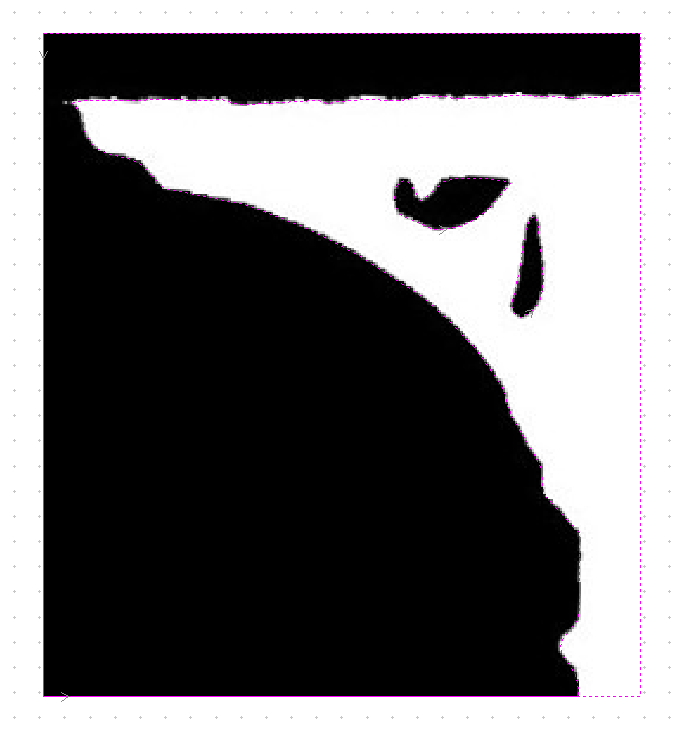
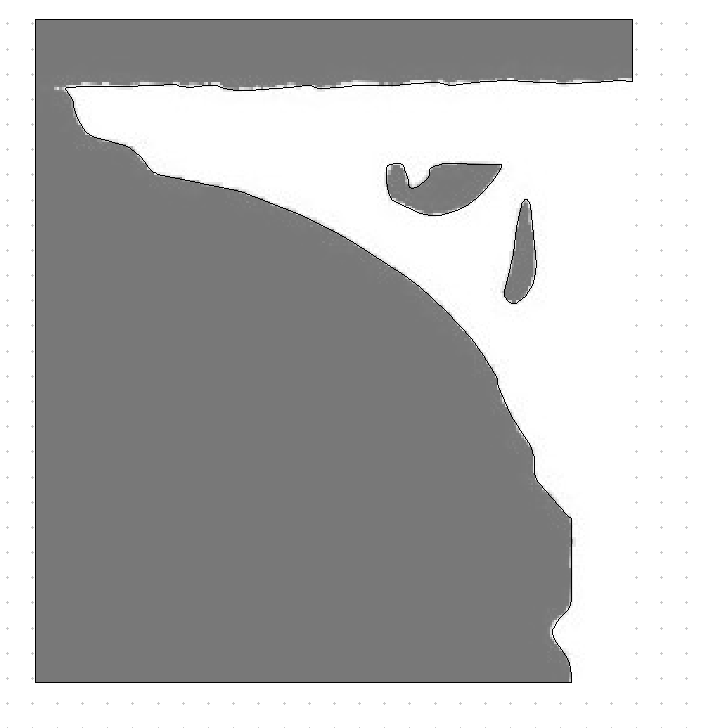
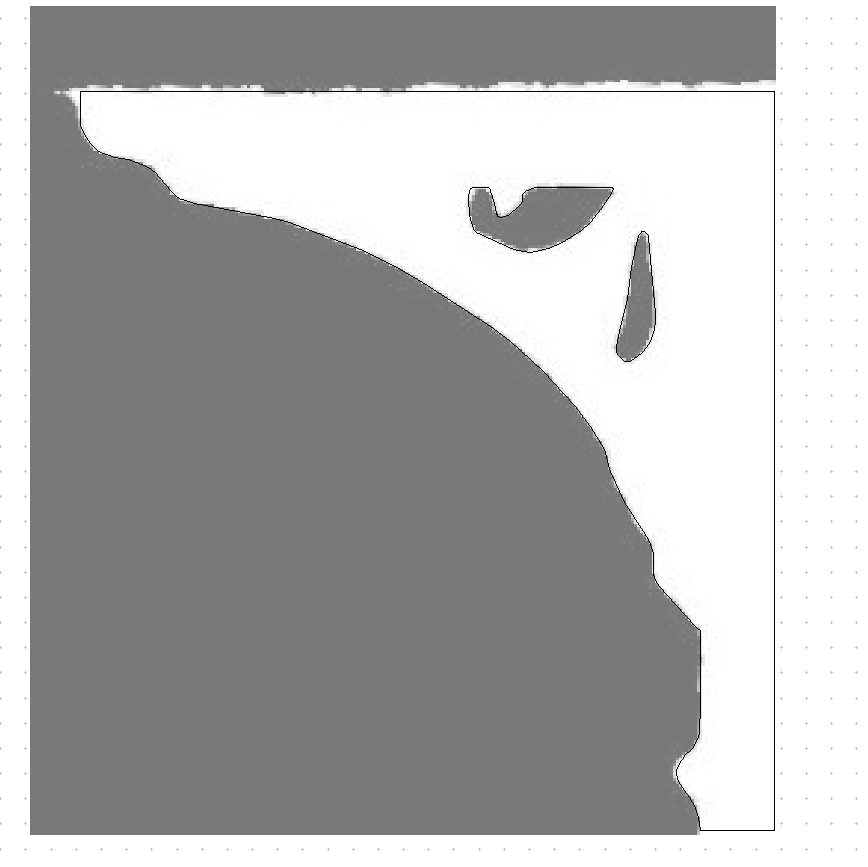
Zoom out to check your work - this looks OK - but we need to trim off the extra garbage at the top of the image.
The easiest way to do this is draw a box, the then trim the offending bits - create a box with the draw rectangle tool.

And drag out out so the scraggly bits are on the outside of the box, but the box intersects all our vectors at the botton and right hand side.

Now we can use the “interactive trim” tool to snip off the vectors we don't want.

Zoom right in - then snip the unwanted vectors.
You should end up with a nice clean shape like this
Now you can drag away the bitmap to check your shapes - if you are happy you can group your vectors (ctrl+g) and move on.
If not - repeat the process of curve fitting and node editing until you get a shape you are happy with.
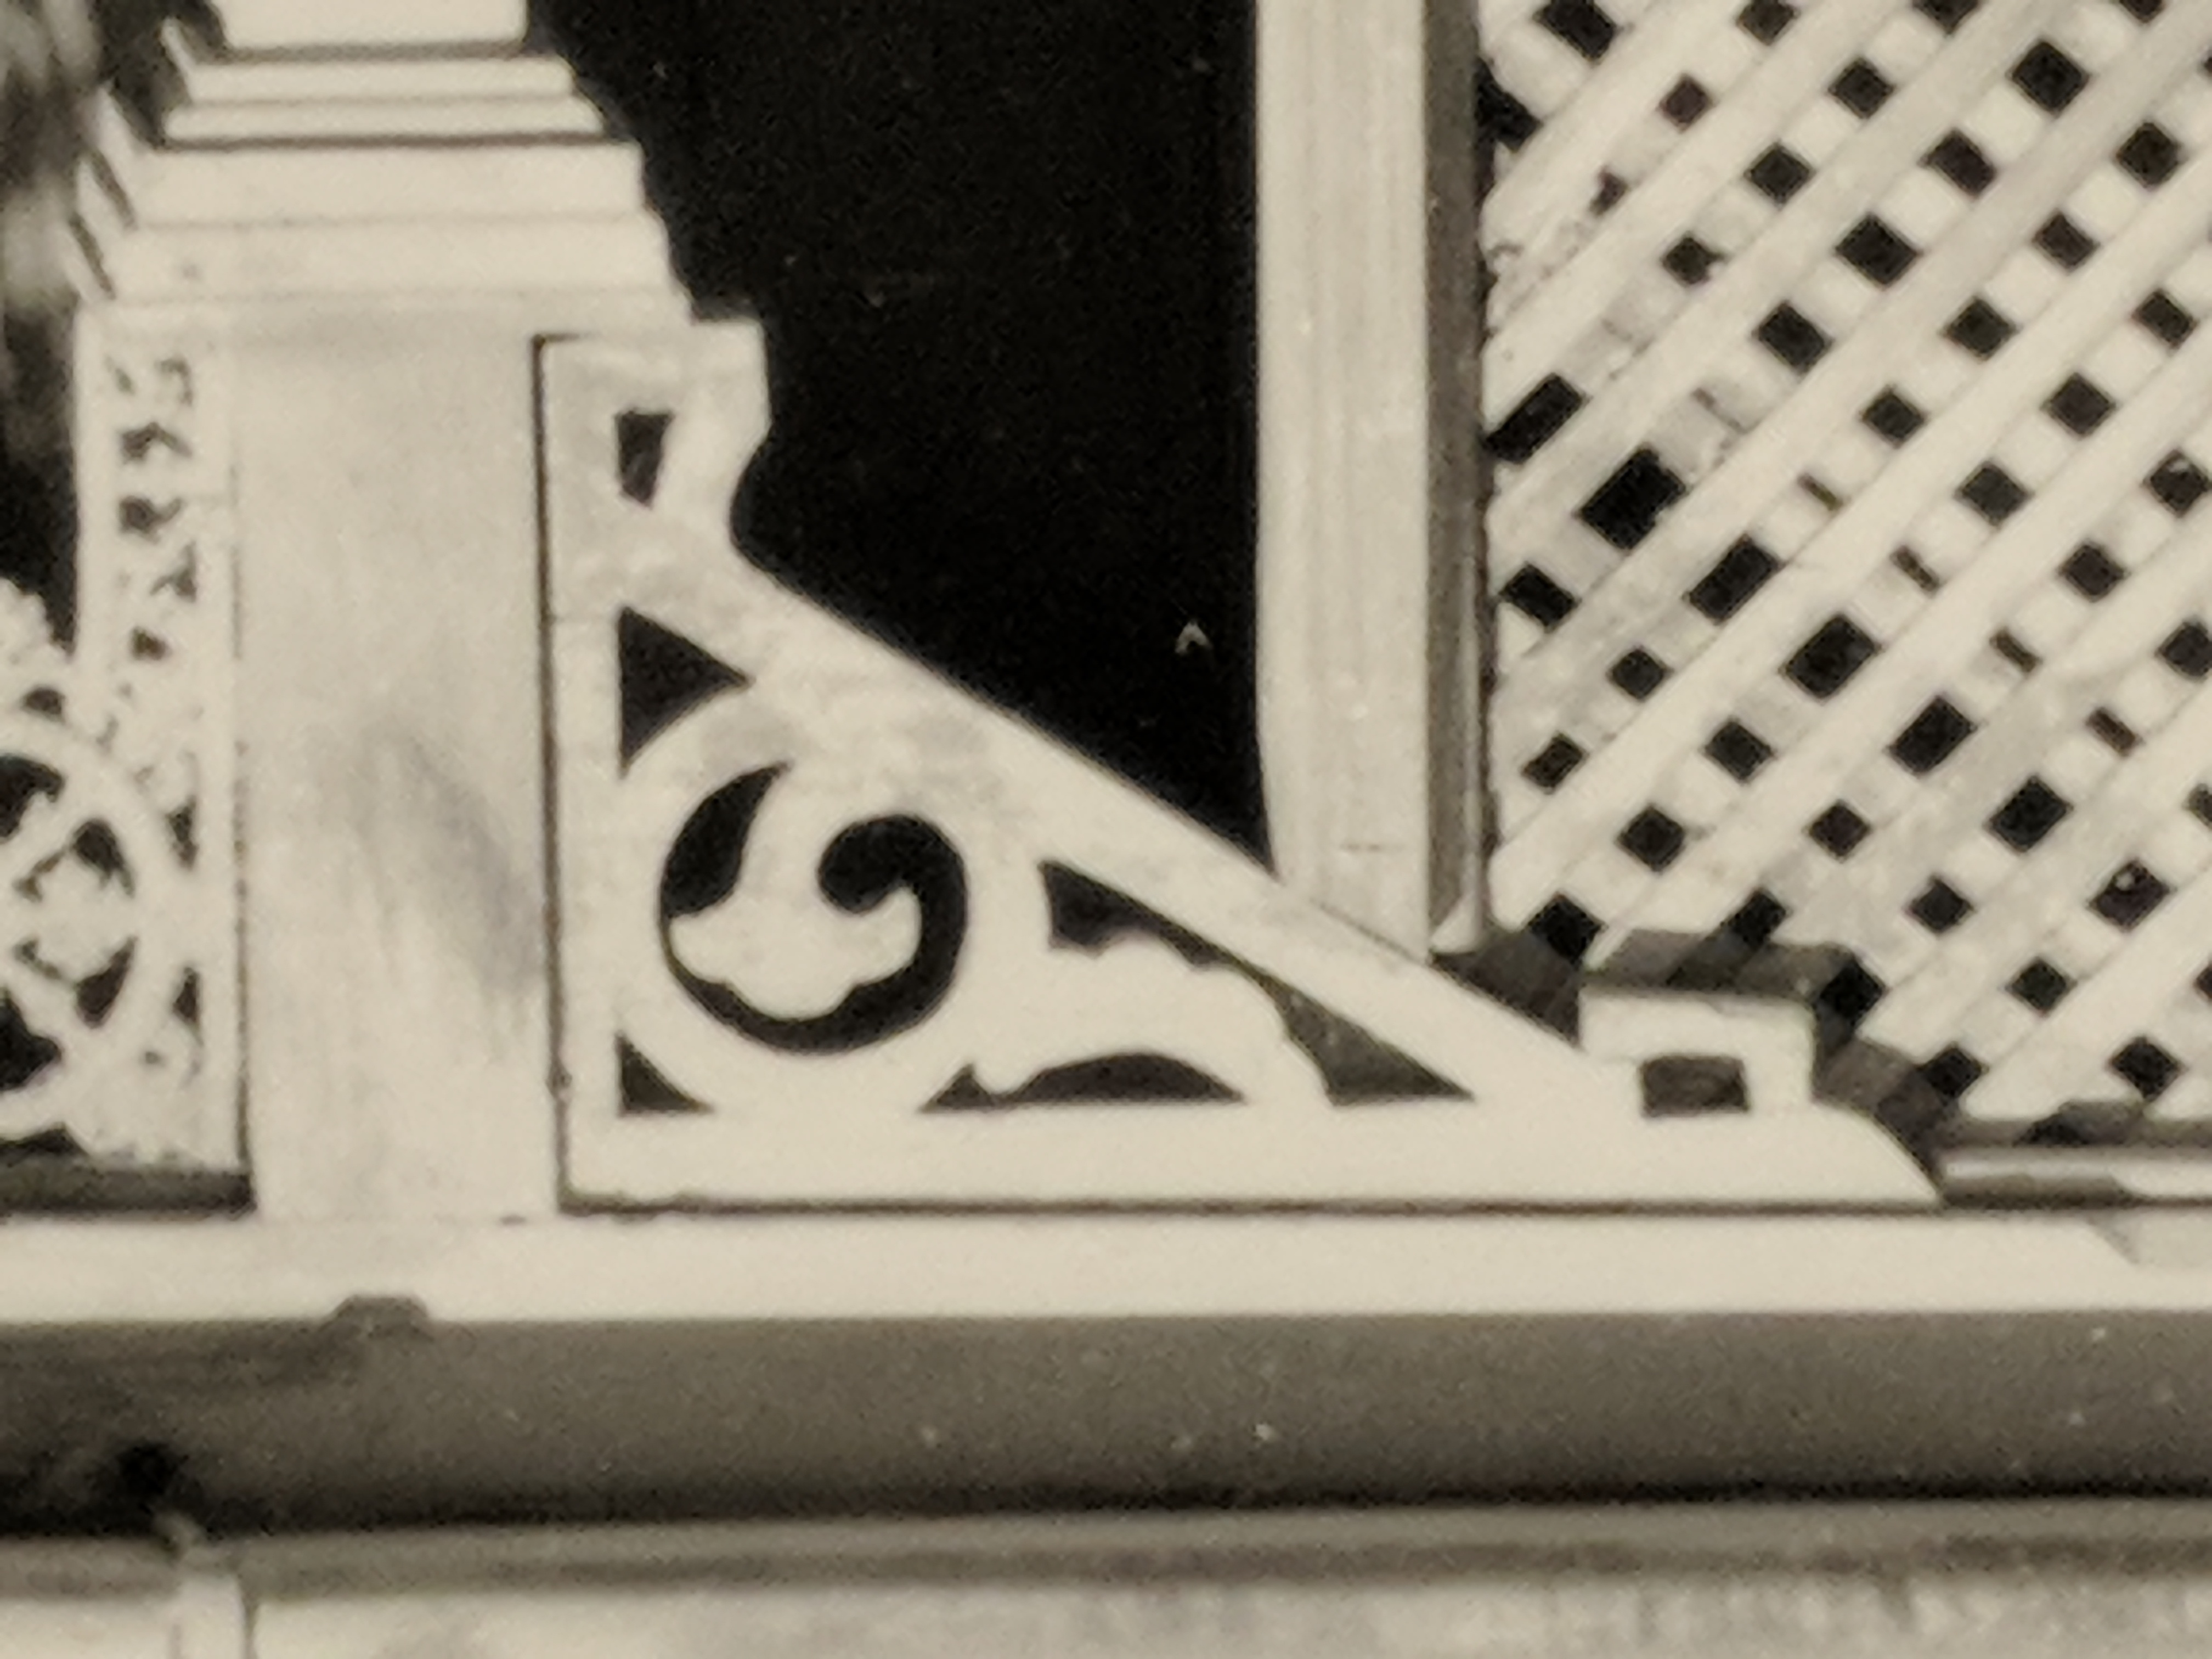
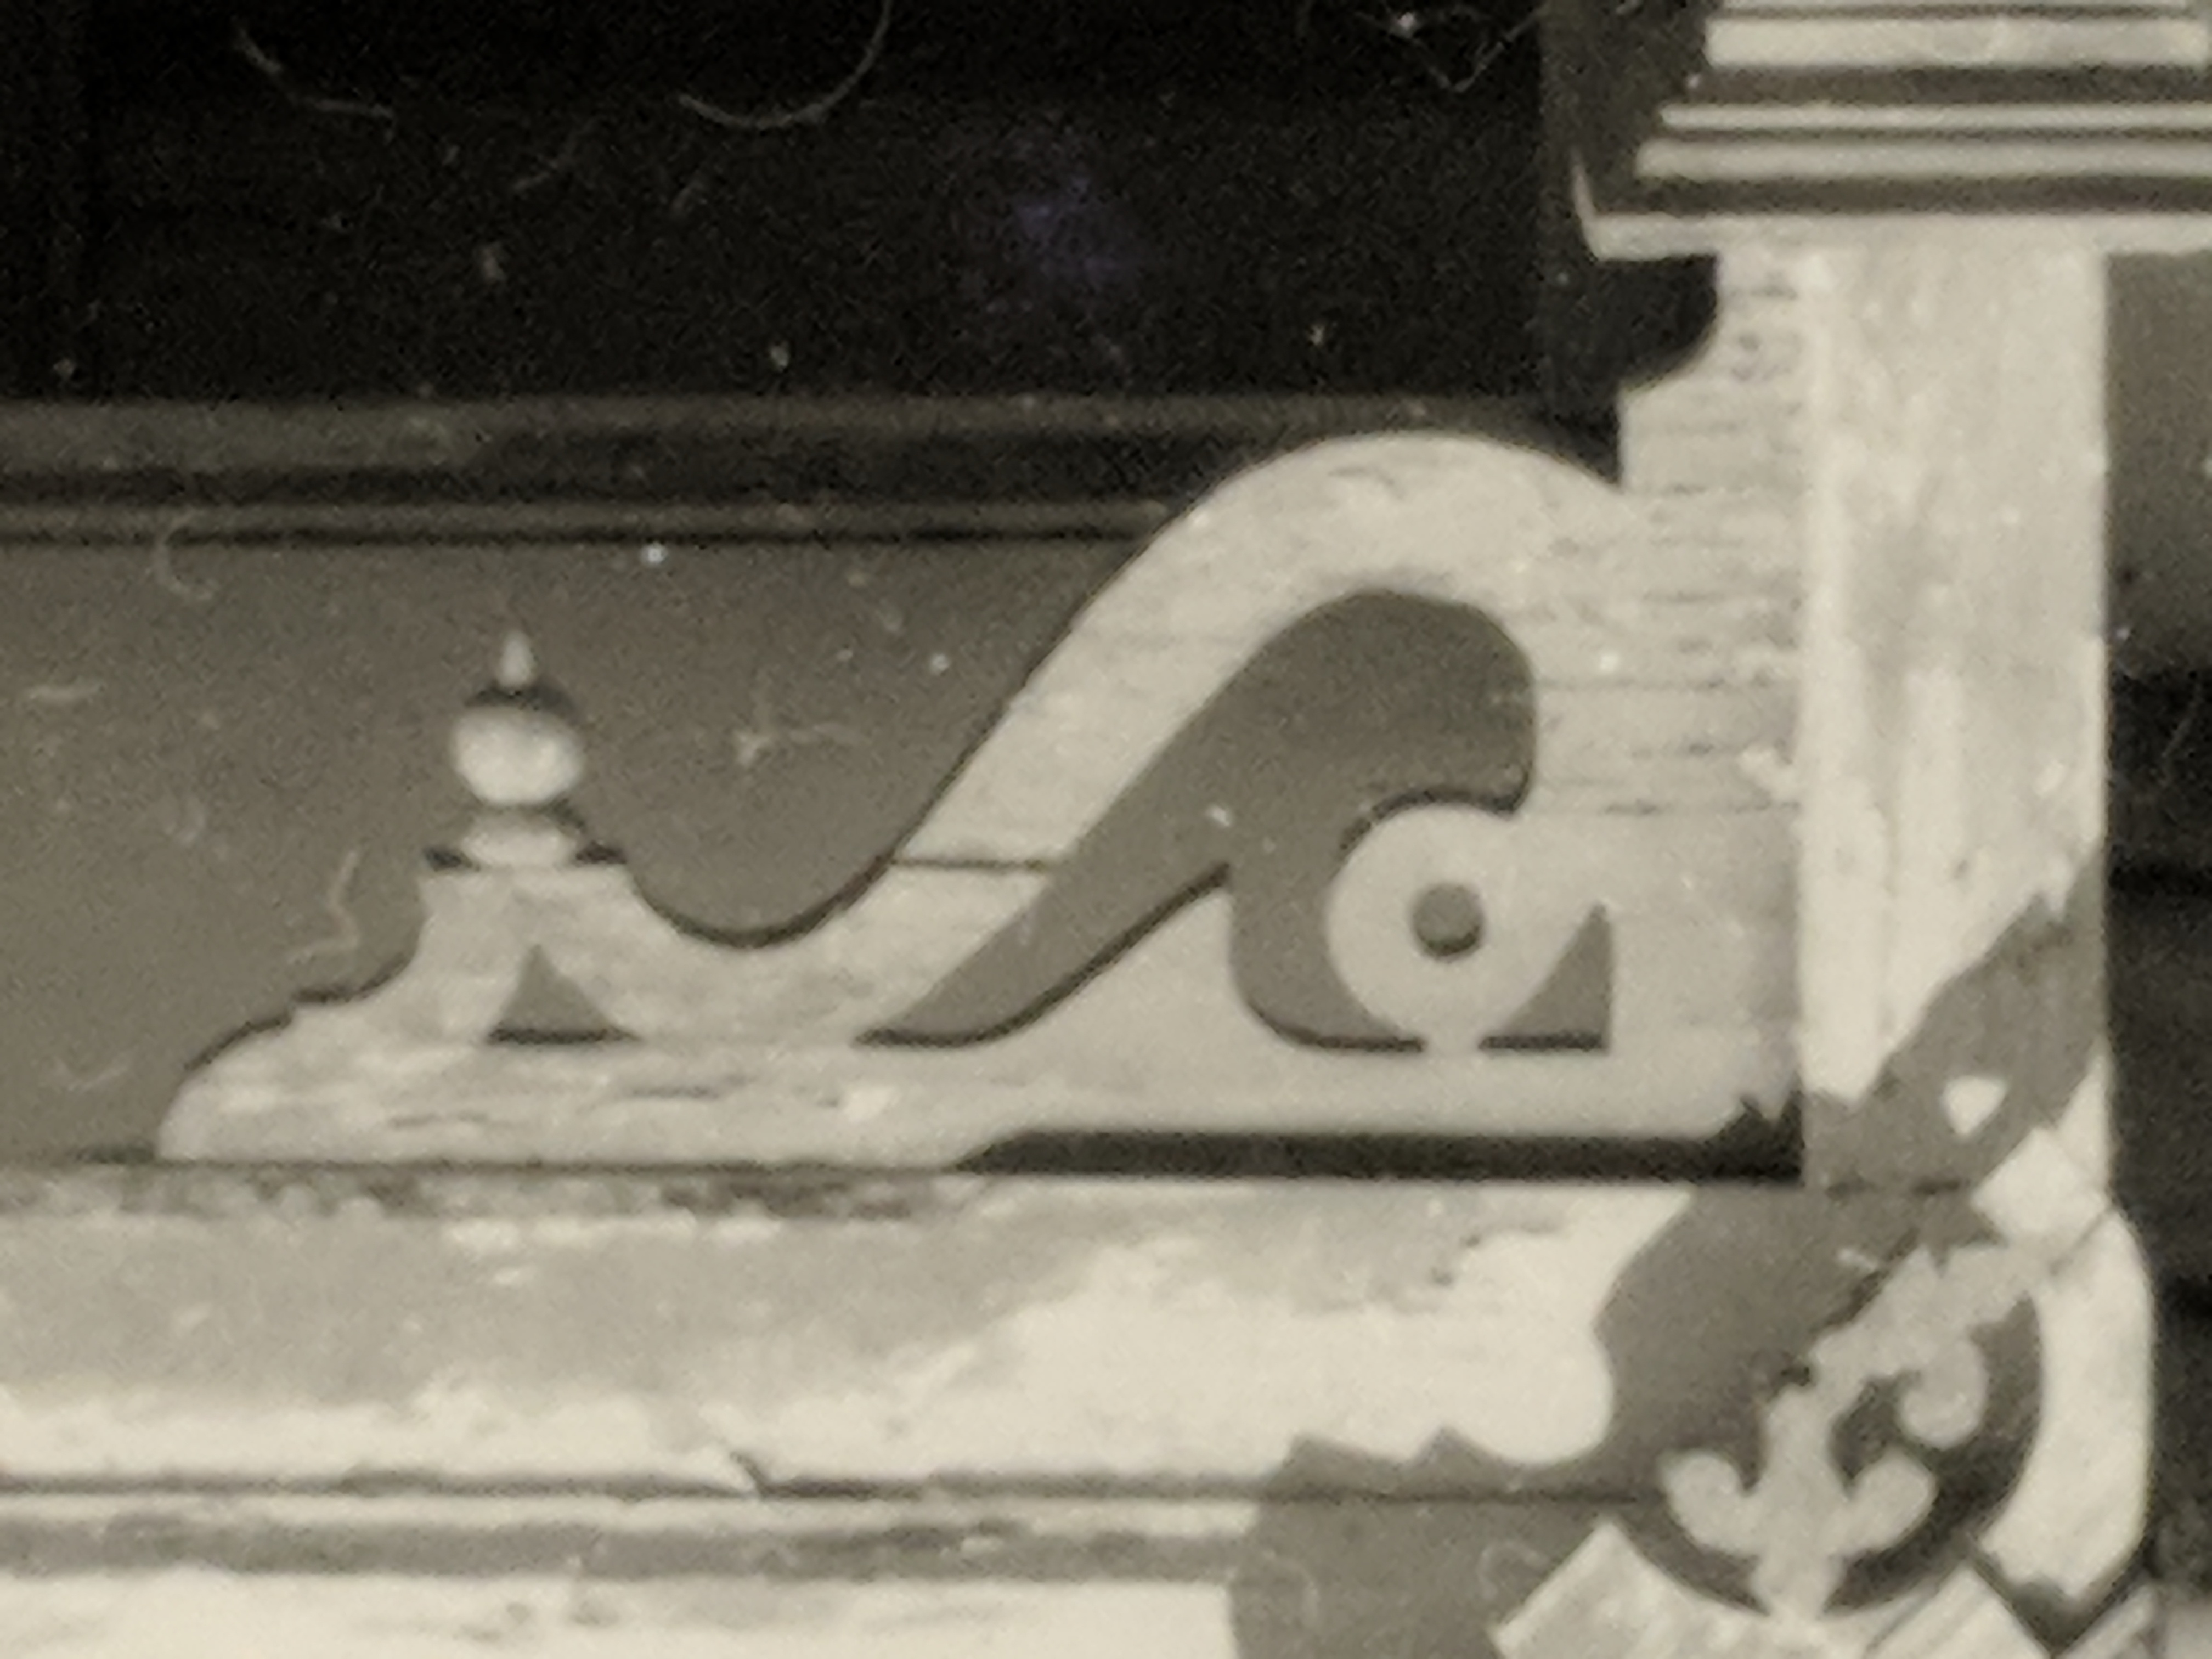
Fretwork Examples - Raster Files (JPG)
Below are a selection of examples you can practice your vector conversion on. Be aware that it can be a long process, and we do have some vector examples pre-prepared.
Fret Work Vector Files (DXF)
You will find three examples in this DXF file - ready for your induction. It also contains the side and base for each bookend.
Vcarve Example file
This zipped Vcarve file contains three examples above ready for toolpaths.
This zipped file contains the final Vcarve document and the NC file ready for cutting on the Fabrication Lab Multicam CNC.
Fusion360 Models
You can also access and download the Fusion360 models used to design the book-ends online:


