Pi Maker
This a guide for making Raspberry Pi OS systems using the Pi-Maker in the Fabrication Lab
Using the PiMaker
We cover making custom video looper images for video playback or simple digital signage. You can also make the standard pi images.
Video Player
The first step is to make an SD card that the pi can use as an Operating System. The pi uses the SD as its main file system, and we've got a couple of options here for video playback.
To do this we write a disk image to an SD card using a disk utility - remember - This wipes the SD card!!
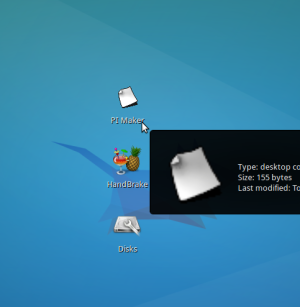
(1) Insert your SD card and double click the shortcut ' pi maker' on the desktop

See Video Format Guidlines for a spec sheet on file formats.
See make a pi case out of 3mm acrylic for instructions on cutting a case
Making a Pimaker
The pimaker is a re-purposed old desktop computer running Xubuntu 14.04. It is a customised install for making rasperry pi (or any other disk image) using a basic rough and ready script GUI.
Video Looper for RPi 3
So there were issues with the RPi 3 and the image we have on the pimaker box. I've had to build a new image and adjust some of the scripting to make it work. I also loaded the files onto the SD Card and eliminated the step with the USB Stick (as the USBs that QM have for QANZAC don't register on the RPis; weird.
I used Tim Swartz's RPi Video Looper Image which seems to work fine the the RPi 3. I made a change in the startvideo.sh (used nano startvideo.sh) modifying the omx setting listed in the (somewhere in the bottom third of the script) from -o hdmi to -o local, which switches the sound playback to the 3.5 jack.
- #/usr/bin/omxplayer -r -o hdmi $FILES${vids[$current]} to
- #/usr/bin/omxplayer -r -o local $FILES${vids[$current]}
After finalising this, ran the RPi Config and expanded out the file system to make use of the whole disk
- sudo raspi-config (then follow the instructions).
From the terminal used the following command line to copy files;
- cp /mnt/usbdisk/filename.mp4 /home/pi/video
- sudo reboot
Pull the USB at end of shutdown and the RPi is good to go.

