STORY LAB: APP ANIMATION MASH UP WORKSHOP
A workshop for participants aged 8-16
This workshop was created by the Young People and Families team for State Library of Queensland’s Summer Festival: Tech+ Stories + Play program in December 2017.
Description
Remix free-use digital images to create loop-based animations with your fingertips. Using the live animation and VJ* app ‘Tag Tool’ it’s easy to manipulate and re-contextualize historical images and illustrations, combined with your own drawn creations, to create visual mash-ups that can be exported and shared.
Duration
5 hours, including a 45 minute and 15 minute break.
Participants
- Maximum 15 people aged 8-16,preferably in groups of 8-11 and 12-16.
- Participants work individually on their own creation.
Facilitator experience required
Facilitation of this workshop requires
- A working understanding of the Tagtool app.
- A working understanding of the iOS operating system on iPad.
Completing this workshop resource in full yourself as preparation for the workshop will act as adequate training for all of the above.
Once you've learnt the basics of Tagtool, experiment to learn more and make adaptations to the workshop plan as required. The software feels tricky at first, and has quite an innovative user interface, but once you’ve understood it’s functionality it feels very intuitive.
Outcomes
- Engagement with concepts of remix culture, and how free use digitized materials from cultural collections can be used to create new art and ideas.
- Working understanding of Tagtool, and how it can be used to create artwork and animations.
- Creation of a short loop based animation using digitized collection materials
- A serious amount of fun
Venue requirements
- Flat floor workshop room or auditorium, minimum 7m x 12m minimum floor space
- 5 x Workshops Tables with chairs
- Large projection or LED screen.
- Audio playback and speakers.
Material Requirements
- 10 x iPads with ‘New Tagtool’ app, activated with ‘Tagtool Pro’ (in-app purchase, $9, required iOS 9 or higher).
- 1 x iPad for presenter with ‘New Tagtool’ app setup in ‘Demo Mode’
- 10 x Name Tags & a sharpie
- 1 x Apple TV (or a compatible video output cable for your iPad)
- 1 x Music Stand - to put the presenters iPad on whilst they are demonstrating.
- 1 x Projector or digital display w/HDMI input.
- A surface to project onto.
- Assorted print outs of free-use collection materials, like these compiled PDFs (1 and 2) pulled from the these State Library of Queensland Flickr Commons.
Workshop Summary
4 hours total, plus 1 hour of breaks.
| 15 minutes | Introduction & Safety Briefing |
| 20 Minutes | Project Briefing & Discussion |
| 60 Minutes | Exploring Tagtool |
| 15 minutes | Snack Time! |
| 40 minutes | Creating with Tagtool Part 1 |
| 45 minutes | Lunch Time! |
| 60 minutes | Creating with Tagtool Part 2 |
| 25 minutes | Sharing & Debrief |
Setup
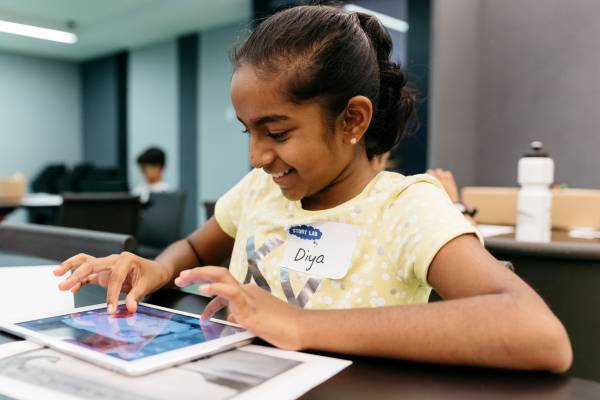
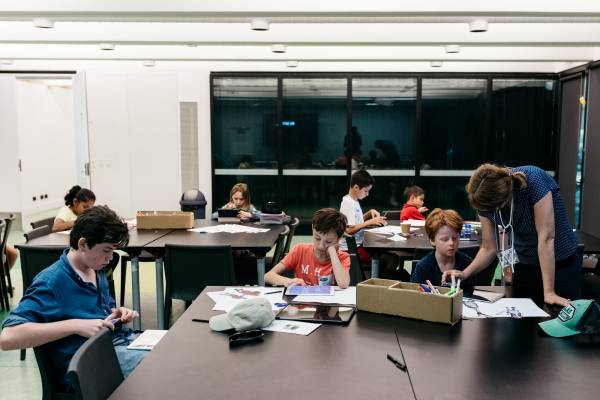
I set this room up with multiple stations for individuals to work, with several participants per table, all with proximity to the front of the room where the screen was positioned.
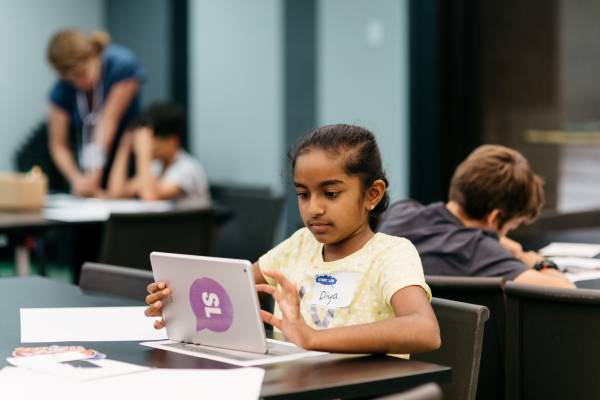
I made sure the Tagtool app was pre-installed and then tested on all iPads. Please note that the app requires software iOS 9 or higher. To upgrade from the 'Free' version to the 'Pro' version, inside the app on one of the iPads purchase ‘Tagtool Pro’ whilst logged in to your Apple account. This purchase will then be available on any device logged in on the same account. When you then go in to upgrade on your other devices, click 'Restore Purchases'.
Connect the presenter iPad to your Apple TV and use it in ‘Screen Mirroring’ mode. Then, in the Tagtool app, turn on 'Demo Mode' by selecting it in the Menu. If 'Demo Mode' is not turned on then you will see the Tagtool canvas output screen rather on the projector rather than a mirror of the Tagtool workspace.
I also pre-printed all the digitised collection materials from public domain collections, printed in an A4 format, having scaled images to fit the maximum size possible on each A4 page. Here are the files that I used.
app_illustration_mash_up_1.pdf app_illustration_mash_up_1.pdf
DETAILED WORKSHOP BREAKDOWN
Step 1: Introduction & Safety Briefing
(10 minutes)
Introductions
Upon entry to the workshop, I ask participants to sit on the floor in a circle in a clear space away from workstations. I also ask them not to touch any of the equipment on the workstations until the are instructed to do so.
A strong and through introduction is important for:
- Setting up a positive working environment
- Builds a feeling of trust
- Letting go of any nervous energy
- Building the foundations of a consistent and clear way of working - that there will be two types of working.
Introductions can include:
- Acknowledgement of country
- Introduce yourself as the presenter, your background, experience and interest in the workshop topic.
- Introducing any other staff that might be in the room.
- Unpack the ‘ground rules’ for collaborating together in a positive work environment. (Come up with these yourself - mine are Kindness, Generosity, Respect, Do your best).
- Explore ways of working: A: Instructional, where they are expected to listen, and respond when asked to. B: Free-working, where they will be required to self-lead their work in groups, and are able to freely chat and converse.
Play a game!
I like to choose a game that everyone will have the opportunity to succeed at, regardless of their athletic ability. I also try to choose a game that is based on a process of focus and concentration, rather than one based on physical exertion.
Safety Briefing
The safety briefing for this workshop can run as follows:
- Safety is the most important aspect of this workshop.
- Do not touch any of the equipment without being instructed to.
- Be careful with the equipment - iPad screens are delicate.
- If something is broken, don’t pick it up. Get a staff member immediately.
Step 2: Project Briefing
(20 minutes)
A clear briefing helps participants understand what they are in the workshop to achieve, an allows them to self-direct their focus as they work through each step of the workshop process. Participants who don’t understand what they are working towards and have no means of figuring out where they are up to in a greater process are more likely to lack focus.
So - I briefly unpack each part of the process. Having the workshop schedule breakdown somewhere in the room will help participants orientate where they are up to in the process an where they are heading next (or when lunch is happening - very important information).
This workshop can be unpacked through the following steps.
- Workshop Briefing
- Tagtool - Demo & Learning
- Tagtool - Experimenting
- Sharing
Workshop Briefing
Facilitate a discussion to give context to the content that you will be creating throughout the workshop. Start with exploring the idea that animation is no longer the domain of the professional, and that GIF animations have permeated internet culture. Some talking points could be:
- Animation is for everybody, and ranges from super simple, to super complex.
- GIFS are a simple form of animation that have been popularised and shared on the internet.
- The key things about these forms of animation are that they are not made by professionals; they are often made by hobbyists who are remixing other people’s content.
- GIFS are often about taking something old to make something new.
Discuss what content is available on the internet for us to freely use and transform. Talking points could include:
State Library of Queensland is a collector of all things to-do with Queensland. SLQ has millions of items in their collection, including lots of awesome images that are:
- Out of copyright - which means we are free to use, edit an adapt them into whatever we want, and
- Digitised, so they are in a format that we can edit them using digital tool.
Discuss the idea that creative people all over world are already making amazing new animations from old images found in libraries and show some examples from a competition for this kind of animation called GIF IT UP. Use your iPad connected to the projector or display and browse through GIF IT UP page on GIF HUB and look at some examples of GIF animations created using remixed collections.
Step 3: Exploring Tagtool
Gestures.
Tagtool is a multi-touch gesture based interface, so it’s important to have a good grasp of a variety of multi-touch gestures before you even pick up an iPad. Before you hand out iPads to start the hands on session of the workshop, teach the gestures that you’ll need to the participants. This seems like simple stuff, but really comes in useful down the line!
Gestures to cover include:
- One finger tap
- One finger hold
- One finger drag
- Two finger tap
- Two finger pinch
- Two finger drag up/down
- Two finger drag left/right
- Three finger tap
Tagtool is an app that requires two hands to operate, and often you will be required to do two gestures at once, on each hand. Ask the participants to respond to your instructions. For example.
- Left hand = One finger hold. Right hand = Two finger pinch.
- Left hand = One finger drag. Right hand = One finger hold.election
Discovering the interface
Learn mode
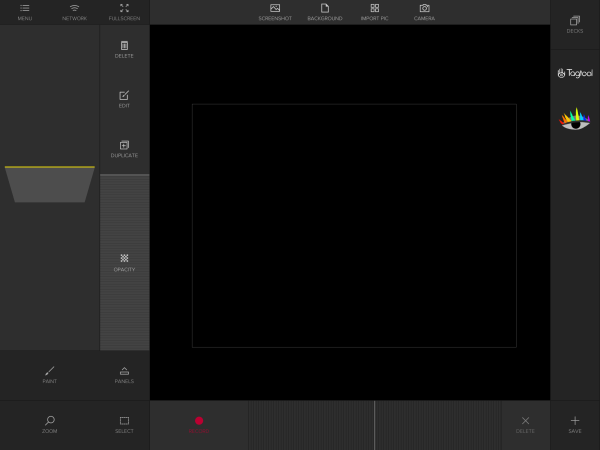
For this section of the workshop, make sure ‘Learn Mode’ is selected. This will cause Tagtool to show you the functionality of the interface whilst it is in use. Encourage participants to tap around the pane and read the text that appears to learn different functions.
Paint Mode
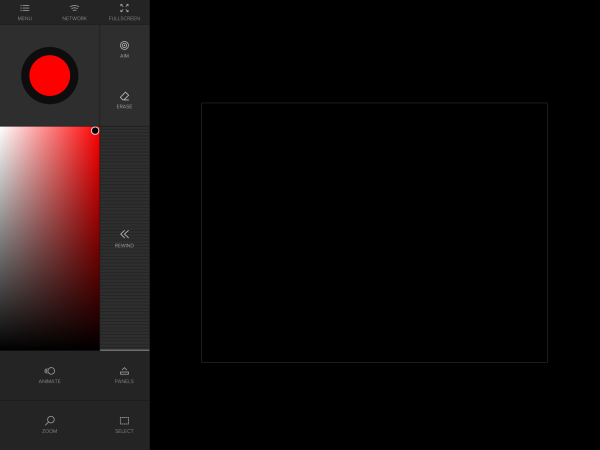
There are two interfaces to Tagtool, Paint Mode which shows your paint pallete pane and paint functions, and Animate Mode which shows your animation layers pane, and animation functions.
Discuss paint mode as the illustration aspect of the app, an interface for creating visual content to animate. Learn the following functions.
- Colour selection
- Hue selection
- Transparency selection
- Brush Size selection
Instruct participants to draw a shape with their chosen color, and to fill it in.
Creating New Layers
Discuss the concept of layers, the idea that you can have different elements of your image in different layers, so they can be edited and animated independently. Demonstrate layers by:
- Do a 3 finger tap in the colour selection pane box. The screen should flash to indicate a new layer has been created.
- Choose another colour and add two dots to your shape to make eyes.
- Do a 3 finger tap in the colour palate pane. The screen should flash to indicate a new layer has been created.
- Choose another colour and add a line to create a mouth or smile to the shape. Your end result should look like a face.
Animate Mode:
Ask participants to press the ANIMATE button to toggle to the Animation mode of Tagtool. On the left, they will see the Layers pane, with the three layers they have just created (shape, eyes, mouth). These layers will be visualized as rectangles.
Ask the participants to drag the layers up and down to re-arrange the layers, where they should notice that the top of the pane is the rear of the image, and the bottom of the pane is the front of the image. Ask the m to resort the layers to make sure the head shape is at the rear of the image, with the mouth and eyes on top.
Ask participants to tap the layers, either in the layers pane, or on the image themselves, and notice that the layer selected turns yellow in the canvas pane, whereas the deselected layers are grey.
Animate Layers.
Instruct participants to tap and hold the PANELS button with one finger, then with the other, tap on the arrow buttons to ensure that the panels around the canvas pane are not hidden.
Participants can then follow these instructions to animate their first layer (the shape/head).
- Tap the shape/head layer so that it turns yellow in the canvas screen.
- With one finger, tap and hold the record button on the bottom panel below the canvas pane.
- With the other hand, tap and drag, or pinch the layer in the canvas pane to move it around, and resize it.
- You will see a dotted circle appear whilst you are moving the layer. When this dotted circle is red, remove both hands to set a smooth animation loop.
- Notice that the animation loop is shown in the bottom panel and can be scrolled through.
Ask participants to repeat these steps with each of the two other layers to separately animate both the eye and mouth. The end result should be an animated face with eyes and mouth that move separately. If they wish, they can add additional layers and animation loops to the image. You can create more than one animation loop on a single layer.
To preview animations, ask the participants to tap the FULLSCREEN button in the top menu row, and hold up their iPads to show each other their progress.
Group Layers
The Group function allows you to group layers together so they behave as a single animated layer. This allows for complex layers animated in sync to be connected, and re-arranged, duplicated, or saved. To use the group function participants can:
- Make sure that you’re in Animate Mode.
- With the left land, tap and hold the SELECT button.
- With the right hand, tap the layers you would like to group, in this case, the head, eyes and mouth. They should all turn yellow once selected. Remove your finger from the select button you were holding.
- Press the GROUP button. All the selected layers will now be connected as one grouped layer. Notice that these layer are now stuck together in the Layer Pane.
- If you wanted to un-group that layer, you could do so by selecting the grouped layer, then pressing UNGROUP.
Save to Decks
Deck is a functionality that allows you to save components of, or the entire animation for future use. You can save individual, or grouped layers to your Decks. To save to decks, instruct participants to:
- Ensure you are in Animate Mode.
- Select your grouped ‘face’ layer that we have been working on. You’ll know it’s selected because it will have turned yellow.
- Press the + SAVE button in the bottom right hand corner of the screen. You will now see an icon of your grouped layer in the Decks pane. Drag and drop your saved layer to you canvas pane to add it to your canvas.
- Note: When you drag and drop saved layers to you canvas from a Deck, it will automatically be set at 100% opacity. To make the layer visible, turn your opacity up using the OPACITY bar next to the Canvas Pane.
Import Image
Tagtool not only allows users to paint and animate content created inside the app, but to edit and animate content such as photographs created outside the app. This is where the potential for remixing free-use collections comes into play.
Ask participants to:
- Choose one image from the printed materials you’ve supplied them, that has a figure, object or building that could be cut out and animated in the foreground of their animation;
- Lay the background image on a flat surface with even light.
- Press the CAMERA button on the top pane above the canvas.
- Take an in-focus image of the printed image. To focus the camera on the iPad, tap the screen on the surface you are photographing, and hold the iPad as still as possible.
- Preview your photograph, and if it is not sharp and in focus, take it again until you get a better result.
- When the image imports into your canvas pane, it will automatically be set at 100% opacity. Turn down the opacity using the Opacity Bar to make it visible.
Editing Layers
Once a layer has been created or imported, it can then be edited using Paint Mode. Ask participants to follow these instructions to learn how to edit layers.
- Make sure you are in ‘Animate Mode’.
- Using your left hand, hold the SELECT button, then with your right hand tap the layer you would like to edit. You’ll know your layer is selected because it will appear Yellow in the canvas pane. Remove your finger from the select button you were holding.
- Now tape the EDIT button. You will see that Tagtool takes you straight to Paint Mode, but rather than be creating a new layer, you will now be able to edit the layer that you had selected ready to edit.
- You can now paint and erase your image as you wish.
Erasing parts of a layer
Once a layer has been made available for editing in ‘Paint Mode’ by following the above process, it is possible to erase the parts of the image that you do not require in order to animated specific parts of the image. For example, and using an image containing a butterfly, the butterfly can be extracted by erasing the rest of the image. That butterfly can then be animated as a layer. Ask participants to follow these instructions to extract the foreground object/figure from an imported image.
- In ‘Animate Mode’ choose the layer that you would like to edit and follow the previous ‘Editing Layers’ process to make that layer editable.
- Change your paintbrush size by pinching in the colour palette. The size of your paintbrush will also equal the size of your eraser. A larger brush size is great for erasing large sections of an image, whereas a smaller brush sized is great for erasing small detailed sections of the image.
- One you’re editing that layer in ‘Paint Mode’ and have your desired brush size, with your left hand tap and hold the ERASE button.
- With your right hand, hold and drag on the image to erase the desired portions of the image.
- A handy function to use when erasing smaller detailed sections of image is to use the Zoom function. You can tap and hold the ZOOM button with one hand, then pinch the Canvas Pane with the other to zoom in or out of your canvas, to get more detailed to your image and do finer erasing.
- Once you’ve erased the sections of the image you wanted to, you can tape back to ‘Animate Mode’ to animate this new foreground layer.
- It’s a good idea to save these extracted layers to your Decks, for easy access later on.
At this point, participants know all the functions they need to, and are now ready to be given the brief for their collection remix task.
Step 4: Snack Break!
(15 minutes)
Snack Break. An extremely important aspect of any workshop.
I always make sure my groups take the snack break in a different space, preferably outside, to keep your workshop space focused, and allowing for any high energy randomness to take place elsewhere.
Before the participants re-enter the room, I often get them to shake off their outside energy, and reconnect with their indoor focused energy. I also remind them not to touch anything when they re-enter and to wait for instructions.,
Step 5: Creating with Tagtool
(40 minutes)
Now it's time to give the participant their creative task.
- Choose two images from the printed materials you’ve supplied them that has a figure, object or building that could be cut out and animated in the foreground of their animation – this could be the object they’ve already extracted using the Erase technique, or it could be a new image.
- Choose two images that would complement the foreground images to make an interesting background image.
- Use the processes you have learnt to edit and animate your chosen images to create a short animation.
Ask them to think about:
- How do your images fit together in terms of their look, and their concept?
- What simple story will your animation tell?
- As you’re animating, keep pressing ‘FULLSCREEN’ to preview your process.
Step 5: Lunch Break!
(45 minutes)
Step 5: Creating with Tagtool (continued)
In this time, support and assist participants for the next as they complete their task.
If participants have completed their task, you can assist them in exporting animation
Exporting Animations
There is no in-built video export function in Tagtool, however it’s possible to use the in-built screen recording function of the iPad to export the animations.
If you’re not already aware of how to screen record from your iPad, follow these instructions to learn how!
If you’re using an older iPad model you may need to look into other processes for exporting the videos, using Quick Time Player and a PC or Mac Computer.
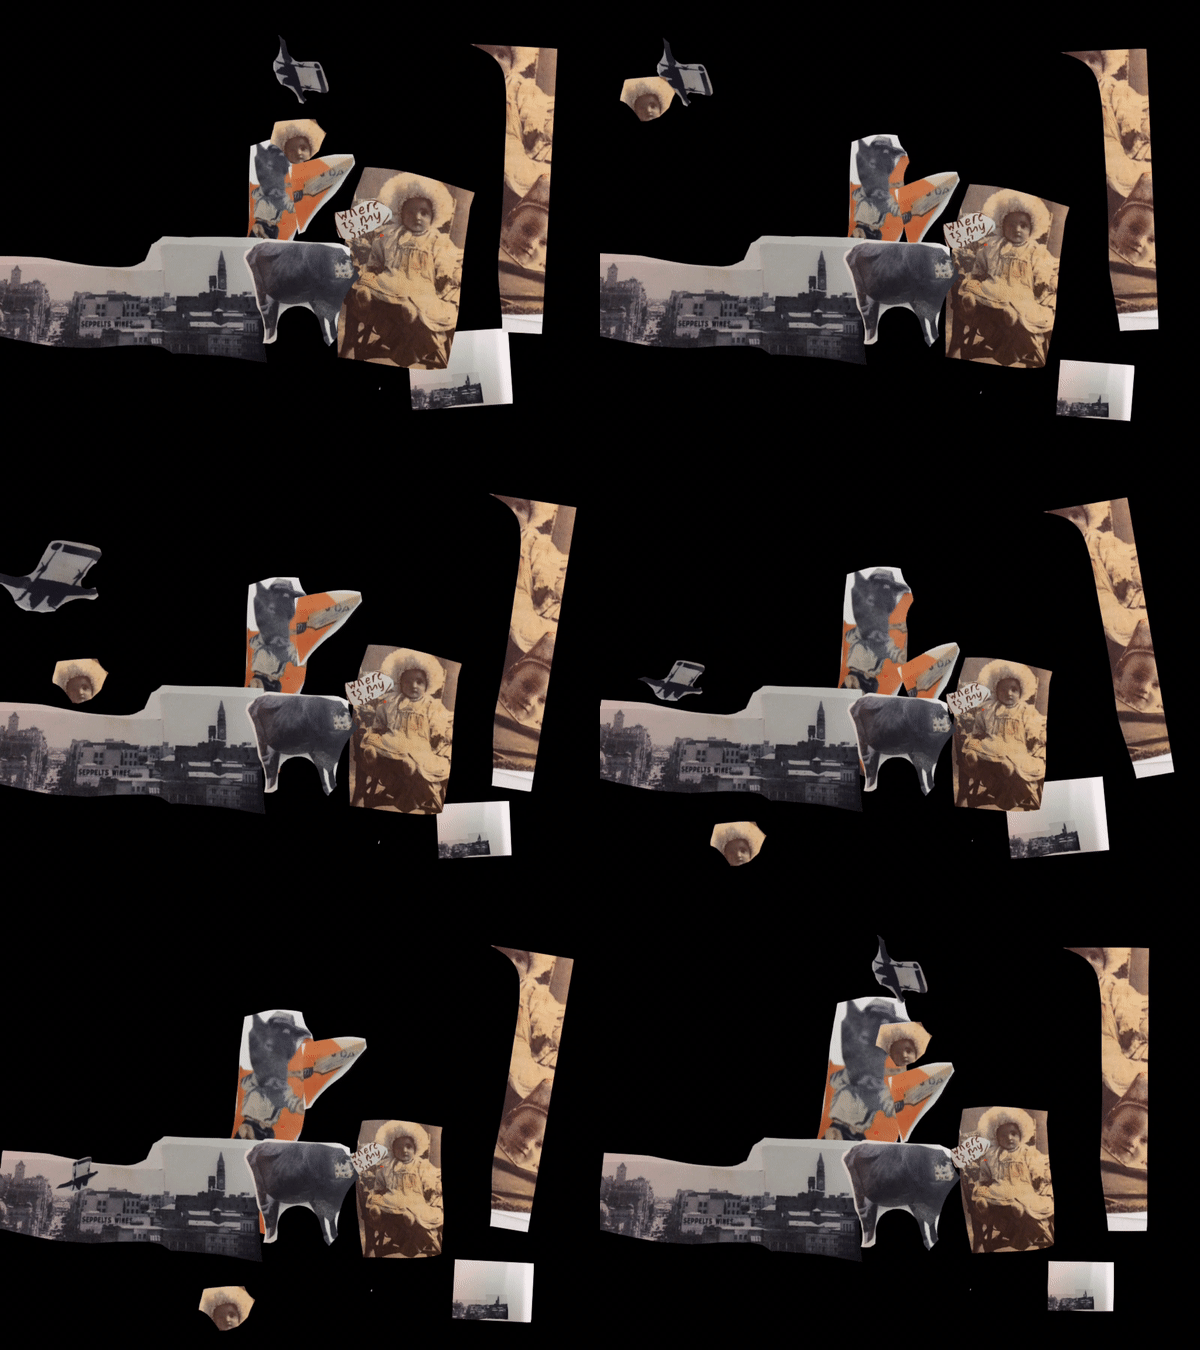
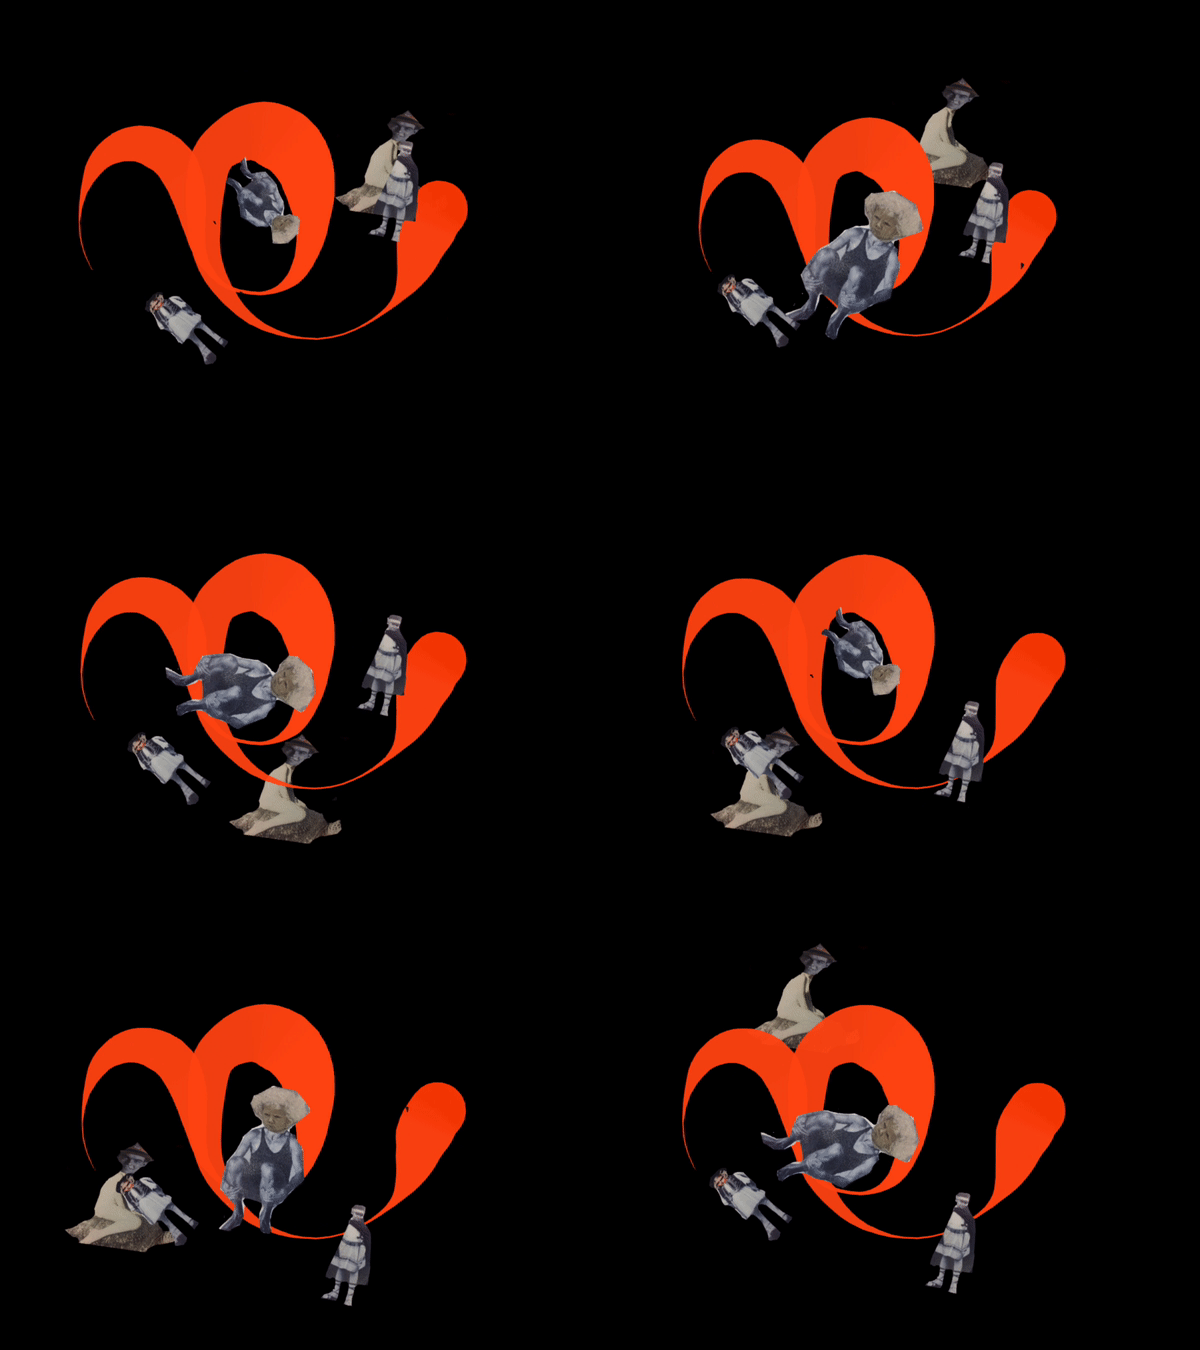
These recordings will export as .MP4 video files. You can convert these .MP4 files to GIF using a website like the http://www.ezgif.com, allowing animations to be shared easily on social media. If you do share them on socials, please tag SLQ or use the hashtag #appanimationmashup so we can check out your amazing creations!
Examples of previous outcomes!
THE END
That is the end of this App Animation Mash Up workshop resource. We hope you find it useful!
For questions in regards to this resource please contact the Young People and Families team at State Library of Queensland on ypf@slq.qld.gov.au or on 07 3842 9876.
