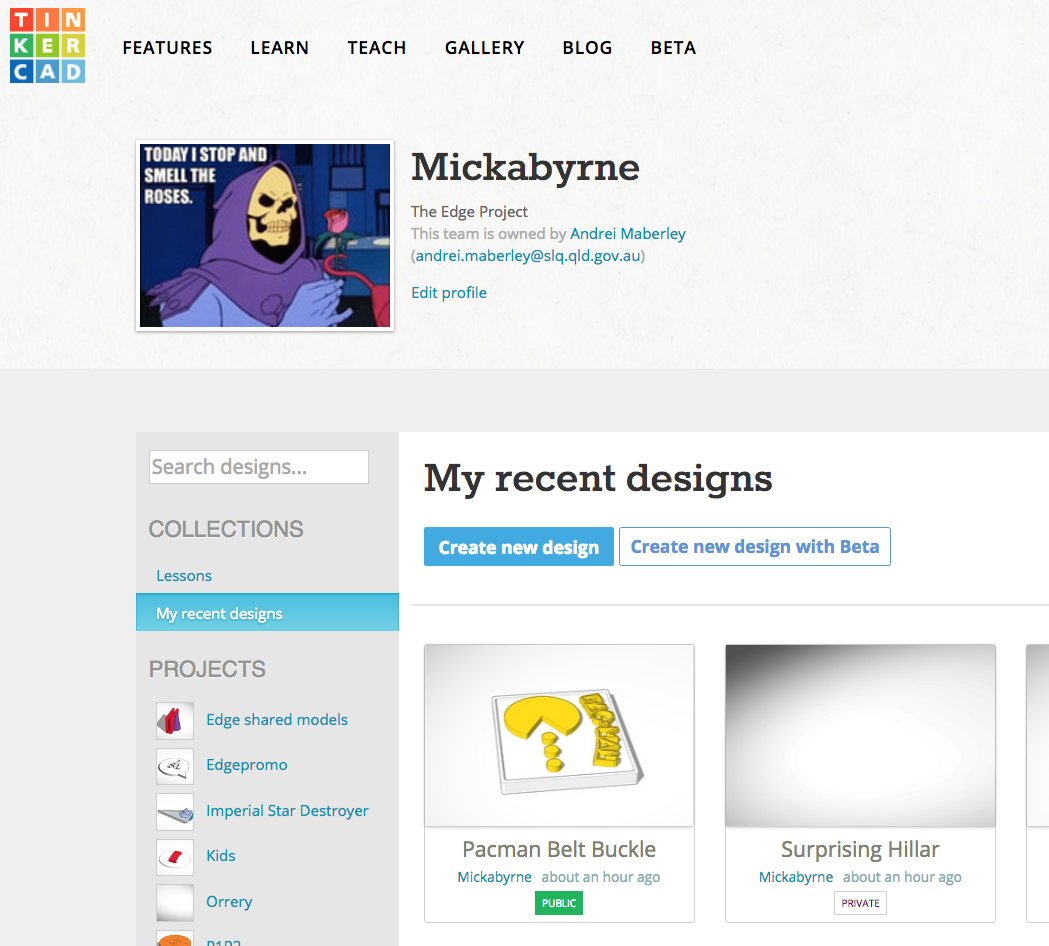
3D Printed and Cast Belt Buckles
Background
This workshop is being developed as a TryIt with the intention of delivering a 3d printing and casting short course for the 2017 Core WS program. The hype over 3D printers peaked a year or two ago and is tapering off - across The Edge team, our regular users and our communities. It may not be as click baity anymore for the average Edge Punter or melt VIPs brains as they Tour the edge but our mission is not just to chase flashy ideas or retweet the latest viral thought bubble. The Edge provides for people to experiment across art science, technology and enterprises and there are still a great number of experimental vectors in which we can support punters to creatively use 3d printing across these disciplines.
One piece of rhetoric that The Edge has repeated is that “3D printing is a tool mainly for rapid prototyping. not for mass production” this is part of the reason that since the Laser arrived we been using it to produce multiples.
SIDE NOTE i'd argue that most of the resources provided ( if not all ) are primarily offered as support for experimental or development purposes. If you are a professional recording artist..? pay for a recording studio. If you a commercial jewelry producer pay to have your parts cut out by a commercial cutting service. (i think this philosophy has to some extent been lost at time but its still relevant.
With 3D printing we have often talked about how reproducing a model from a cast is the next stage in the continuum of prototyping to full production. But we have never followed thru on this pathway. The Edge also needs more Core WS that activate the equipment we have will draw new audiences to engage with technology.
Brief
Who - creatives types who want to make stuff for the friends or small entrepreneurial projects ( anyone who wants to make more that one of something)
What - This workshop should give participants an overview of the whole workflow from designing the original in tinkercad, printing it on the 3d printer, making a cast of the 3d printed model and copies of the cast in resin. Participants need to walk away with a finished product When - before end of cal year Where - Edge Why - make good on the 3d printing rapid prototype (only rhetoric )
- activate 3d printers and FL
- introduce new audiences Edge FL and more broadly the joys of making
- Test new ws content for Core WS
How - was originally going to be squeezed into 2hr session but was expanded out to a 4 hr session and the tweeked to 2 x 2hr sessions.
Workshop session Plan- How Do You Do It
Session One
Welcome/setup
10 min what we are going to do in the session - sign up for edge account and sign up for TinkerCad Account
Intro to 3d printer
5 min
- go and have a look at a machine printing
- Show them how to get the finished product off the perfboard
- show them how to heat the bed
Intro to TinkerCad
15 min
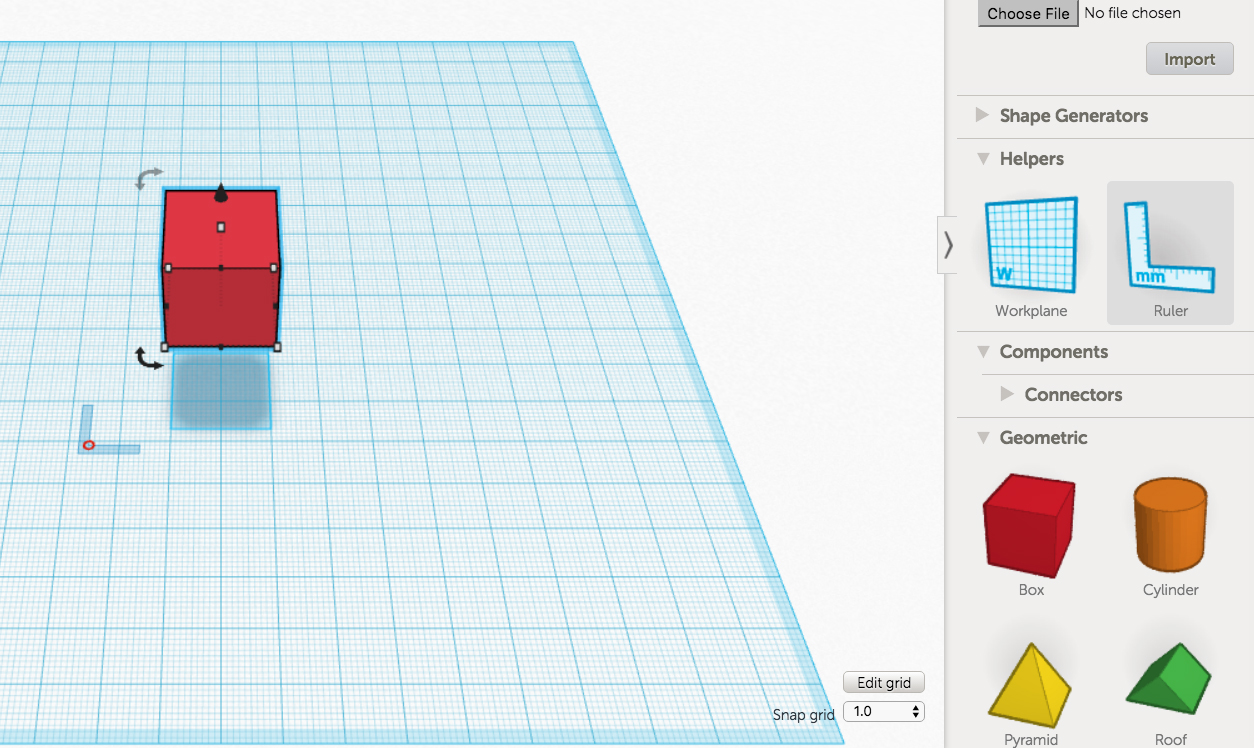
- New Design
- Geometric polygon
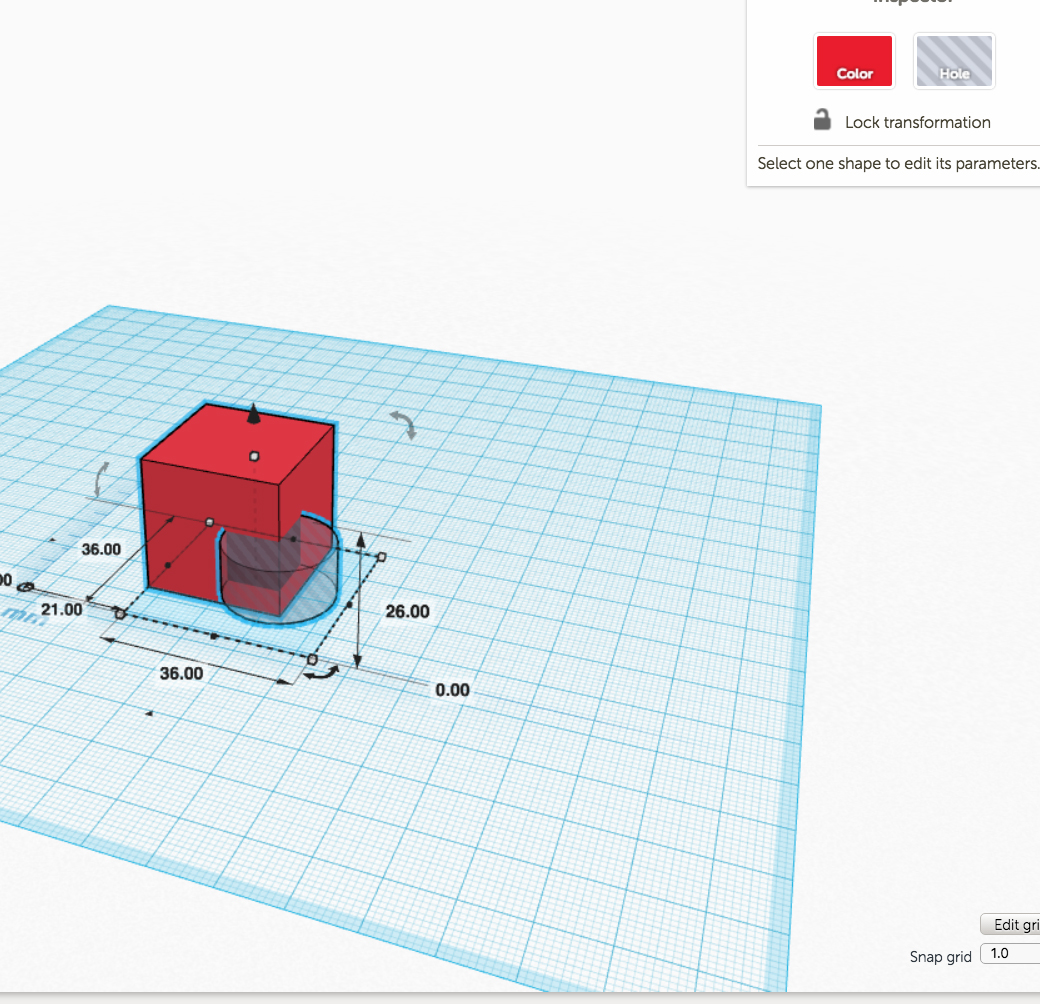
- Constrain proportions when dragging handles ( demonstrate how to drag out a polygon primitive and reshape it using the resize handles. Hold shift to constrain proportions )
- navigate space with mouse, scroll wheel and home button ( right mouse button to pan and tilt, scroll wheel to zoom, click home icon to return to default isometric view)
- elevation handle
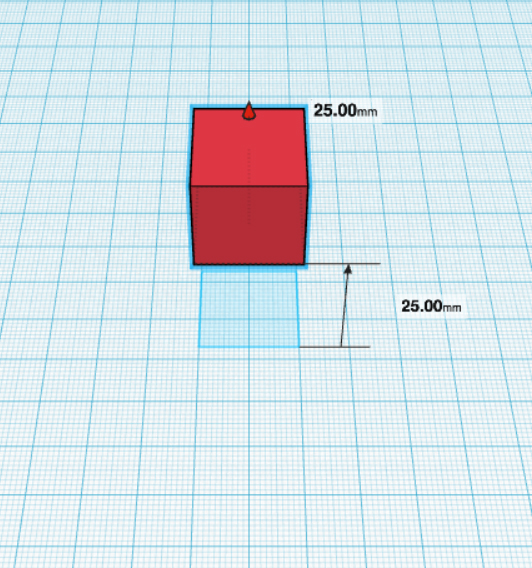
- use ruler to adjust dimensions
- redefine workplane
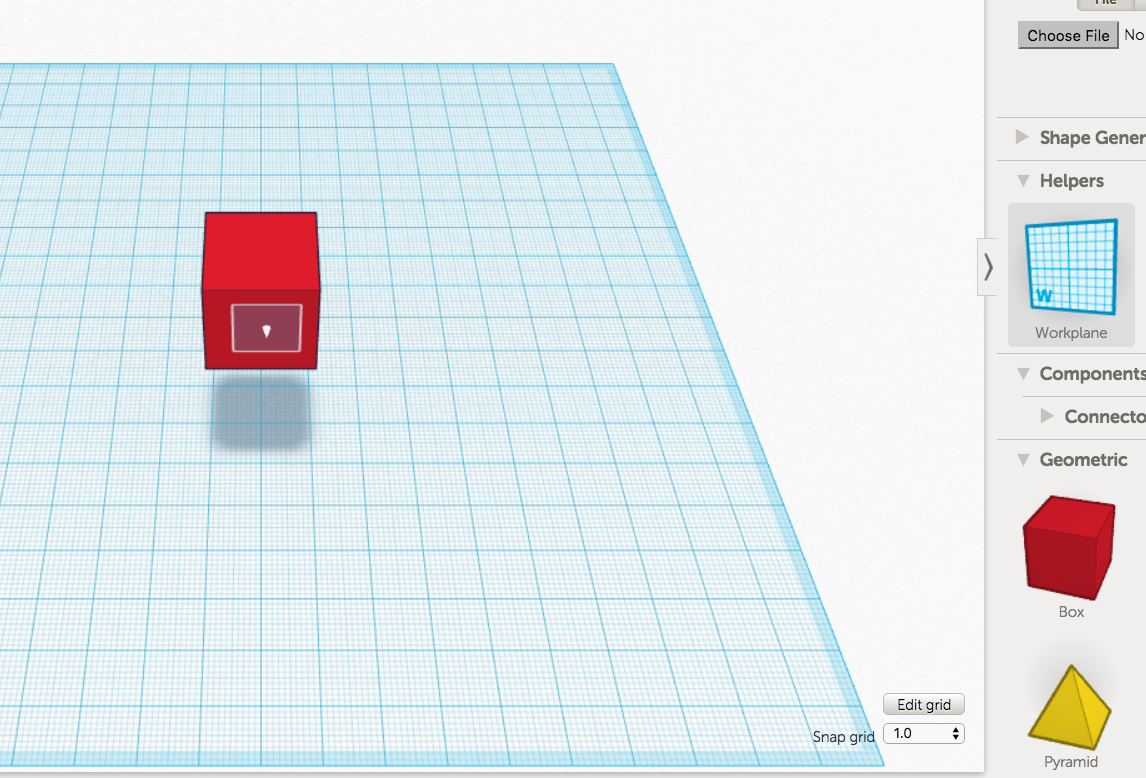

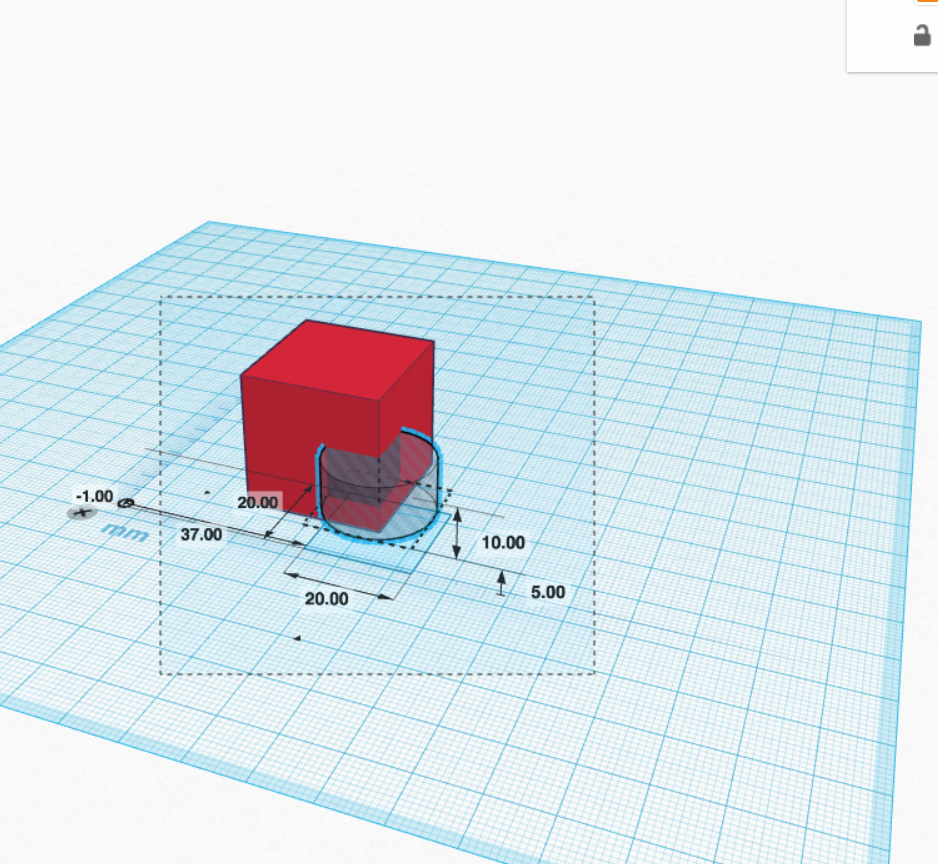
- Make a hole

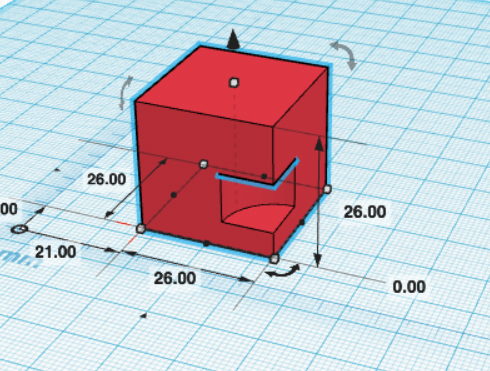
- group polygons
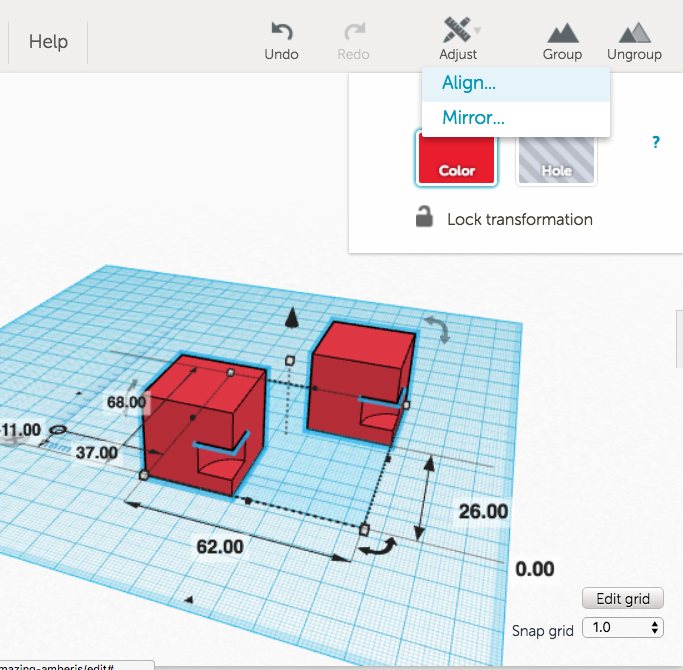
- Align tool

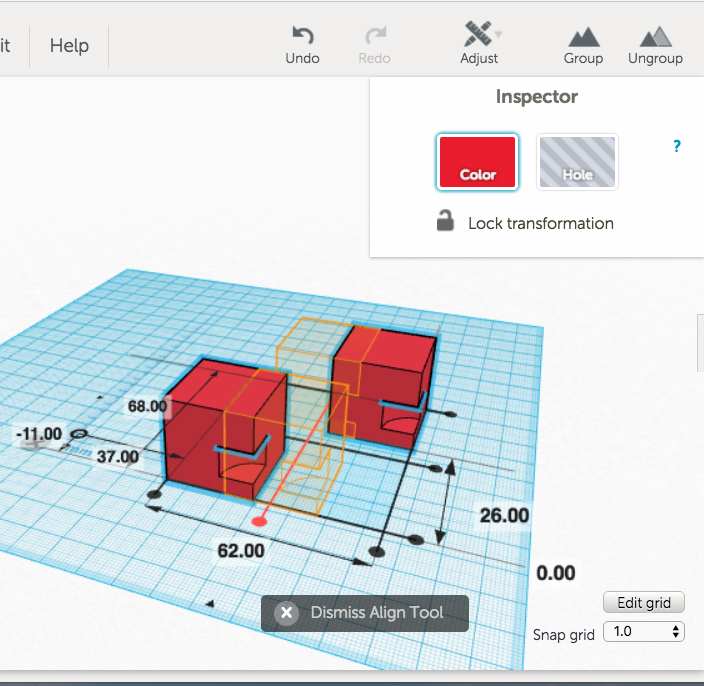
- Snap Parameter

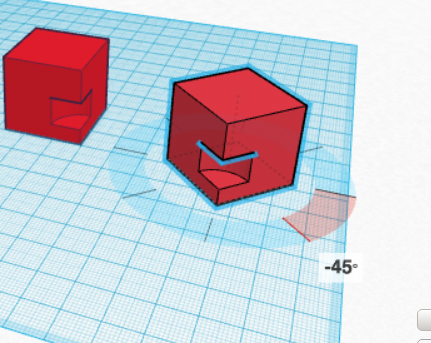
- Rotate

- Rename
play with TinkerCad
5 min Participants have play. facilitator circulates and answers question
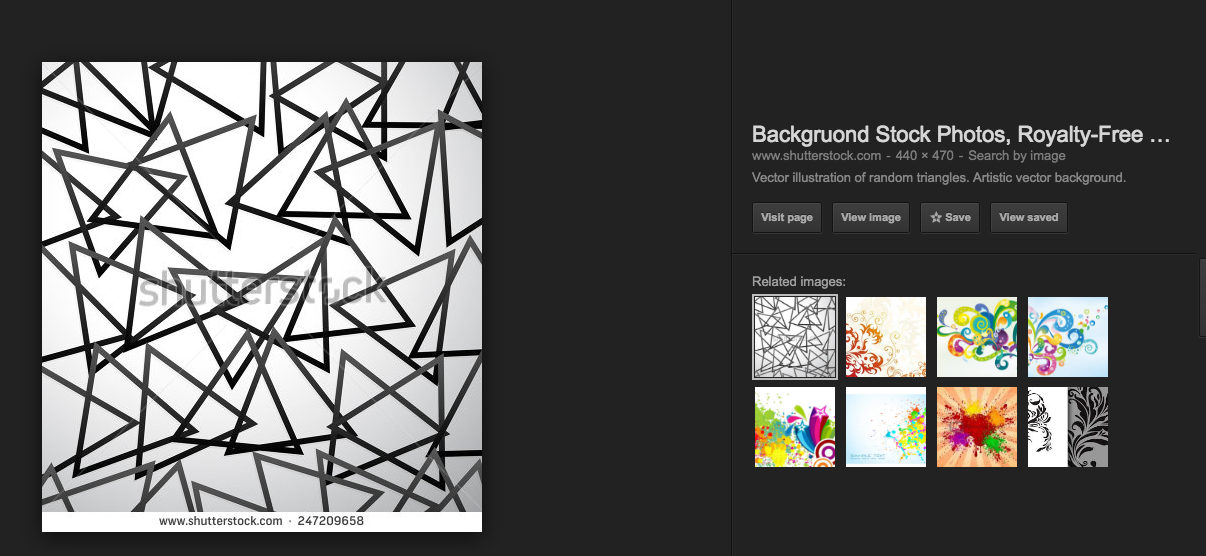
Find a suitable Vector
5 min use google image search for vector
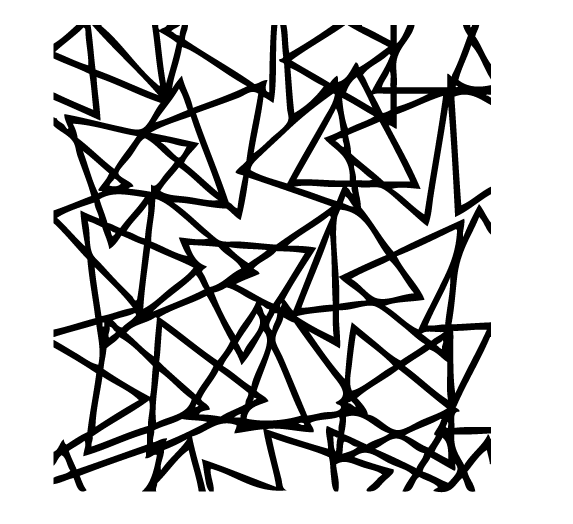
walk through converting vector to buckle design in Illustrator
10 min
- new file
- Place vector
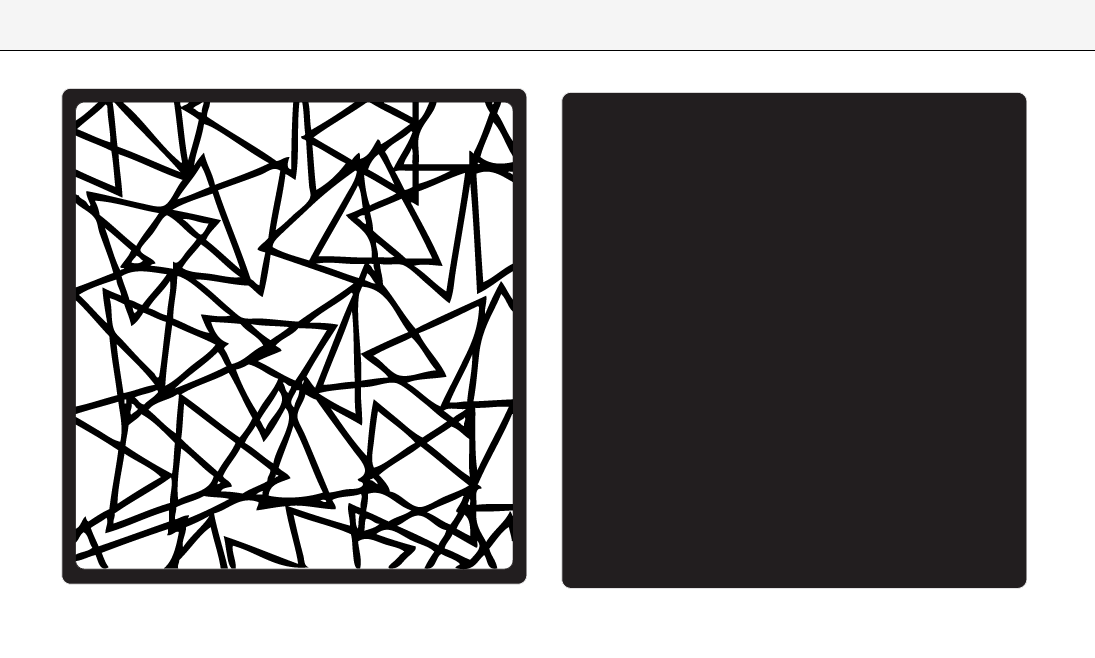
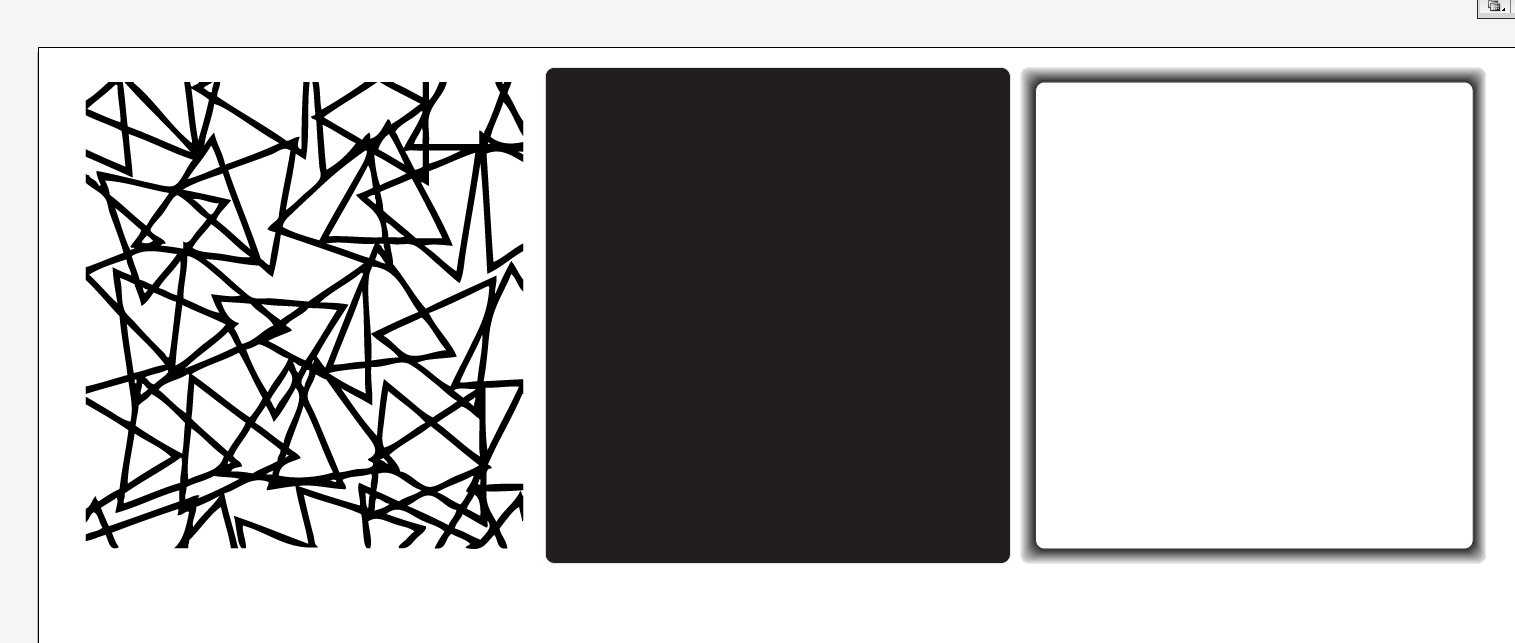
- convert to 2 colour logo
- make buckle back shape
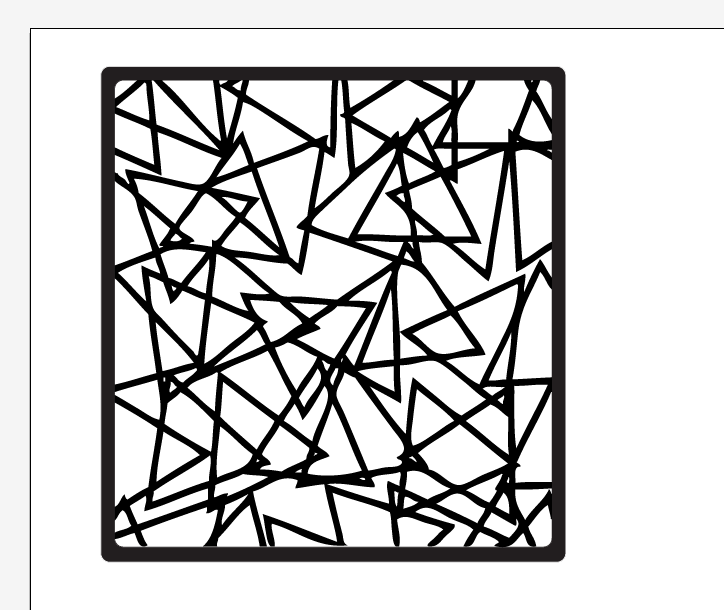
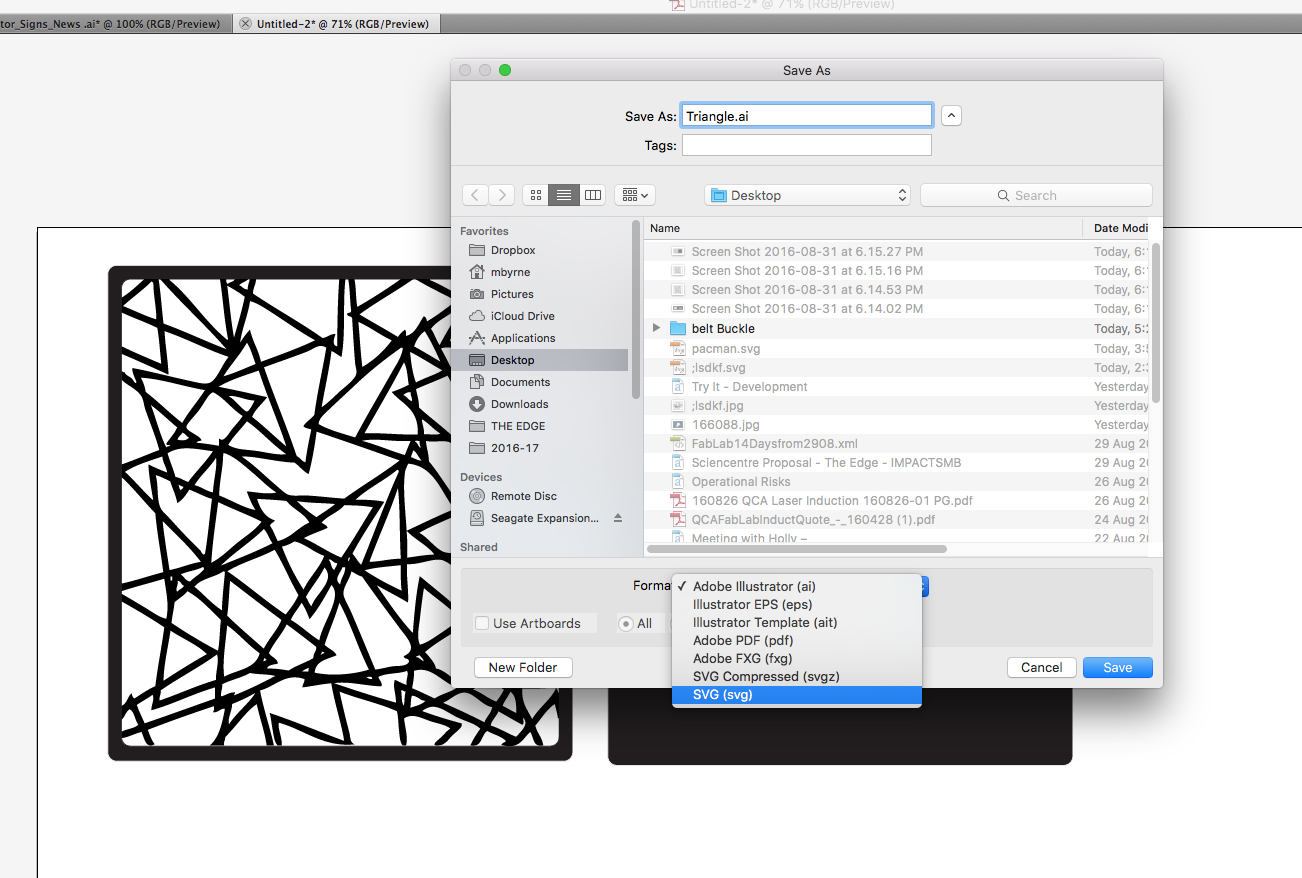
- Save as SVG
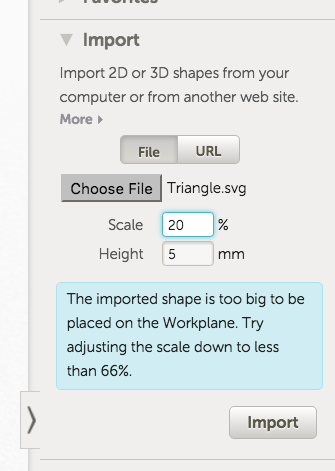
walk through extrude svg in Tinkercad
10 min
- import Svg into new file
- separate feature and Buckle back layers

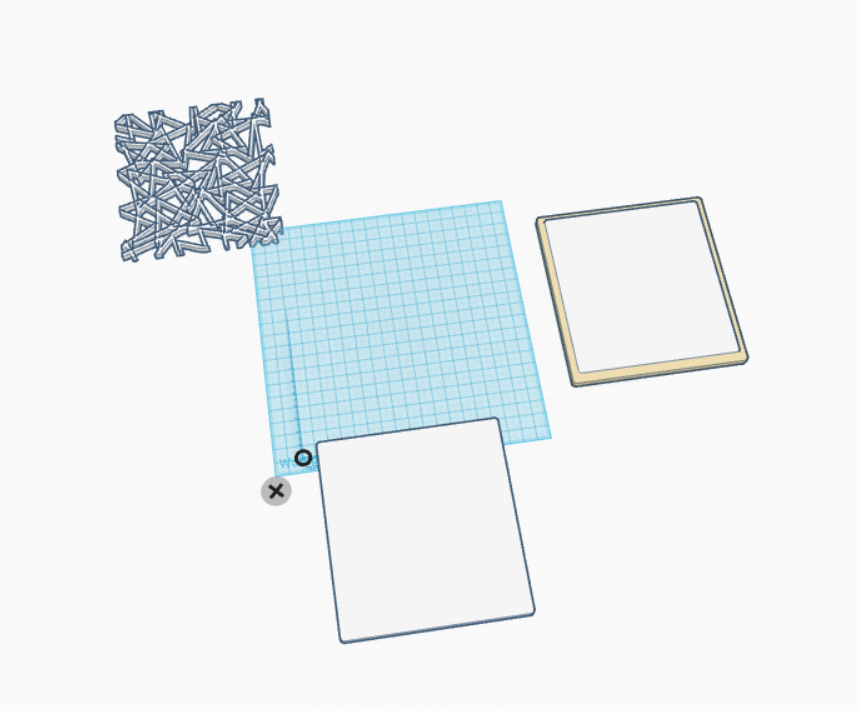
- align 2 layers

- save and export for 3d printing as STL
3D print models and complete Induction
10 min
- extrude filiment
- Place model
- print settings
- Print - 30 mins job
10 min
- Complete Induction Paperwork
Session Two
Welcome back & importing 3d models into TinkerCad
10 min
- look at using 3d models
- look up thingiverse
- supports for overhanging structures
Tidy Up original
10 min
- knife safety.
- pla particles and respiratoryHealth and safety
Cast with Putty
10 min
- be prepared and move fast
- put a “north mark” on your original showing orientation
- side walls of cast and no holes priority
Cast with Pinksil Demo
10 min
Demold and Pour Resin Copy
10 min
Demold and Spray Base colour
10 min
roll on feature Colour
10 min
Materials and resources
Session 1
* 3D printers * Usb sticks * Laptop/ participant
Session 2
Finishing
- Acetone decanted into glass jars
- Cotton tips
- Dermel
- Cordless DustBuster
- Acrylic paints and brushes
- Spray p•aint caps metho for cleanup
- Dust masks
Casting
- Syringes for measuring out volume of easy cast
- Easycast ~40ml inc* per participant (*20mlA 20ml B)
- Greensil ~40gm inc* per participant prepackaged in polybags
- Paddle pop stick for mixing ~2-3 per participant
- Plastic cups stick for mixing ~1-2 per participant
- Silicone cupcake moods (optional instead of plastic cups
- Scales
- Vinyl gloves
- Sparky tape for syringes
- Pinksil for demo 60ml
- Badge backs and belt buckle blanks
- Blutac