Brisbane State High - fabrication report 21 -25 Sept
Form Information
| This workshop was facilitated by: | Mick Byrne |
|---|---|
| Name of any other State Library staff present: | Tiffany Beckwith-Skinner, plus Pauline, Peter, Billie, Hellen, Sam, Chenoa, Zac, Rozina |
| Workshop Date: | 21 25 Sept |
| Workshop Location: | Clean Lab & Machine Shop |
| How many Designed Things were sent into The Well? | 0 |
| Notes regarding Designed Thing Submission |
Dragon Body layout i the space
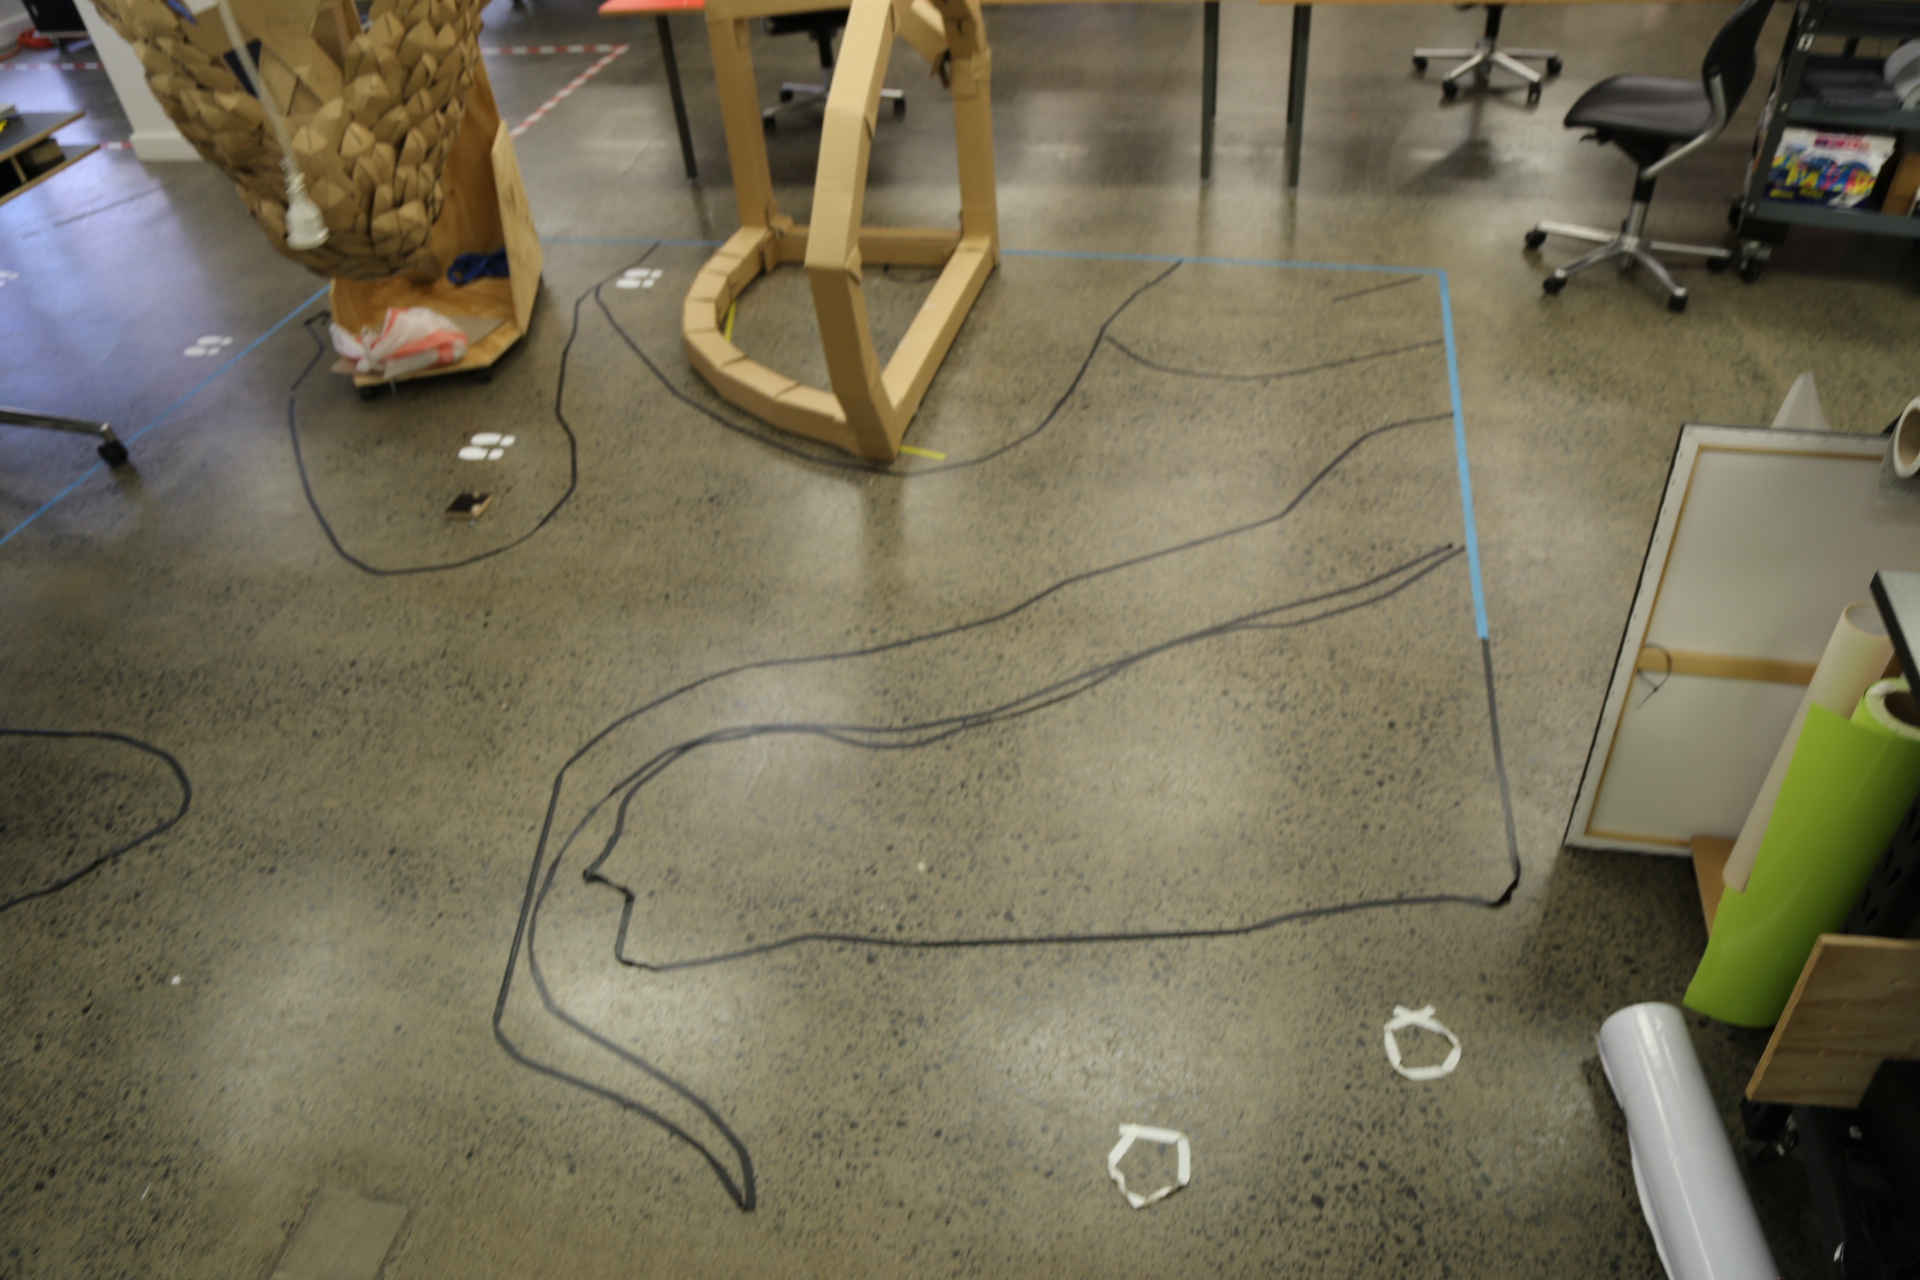
After discussion with Daniel re making the dragon's pose more dynamic - essentially raising the front 1/4 of body off the ground- i started the process of the fabricating body by laying 1:1 markings on the ground of the plan view of the installation. 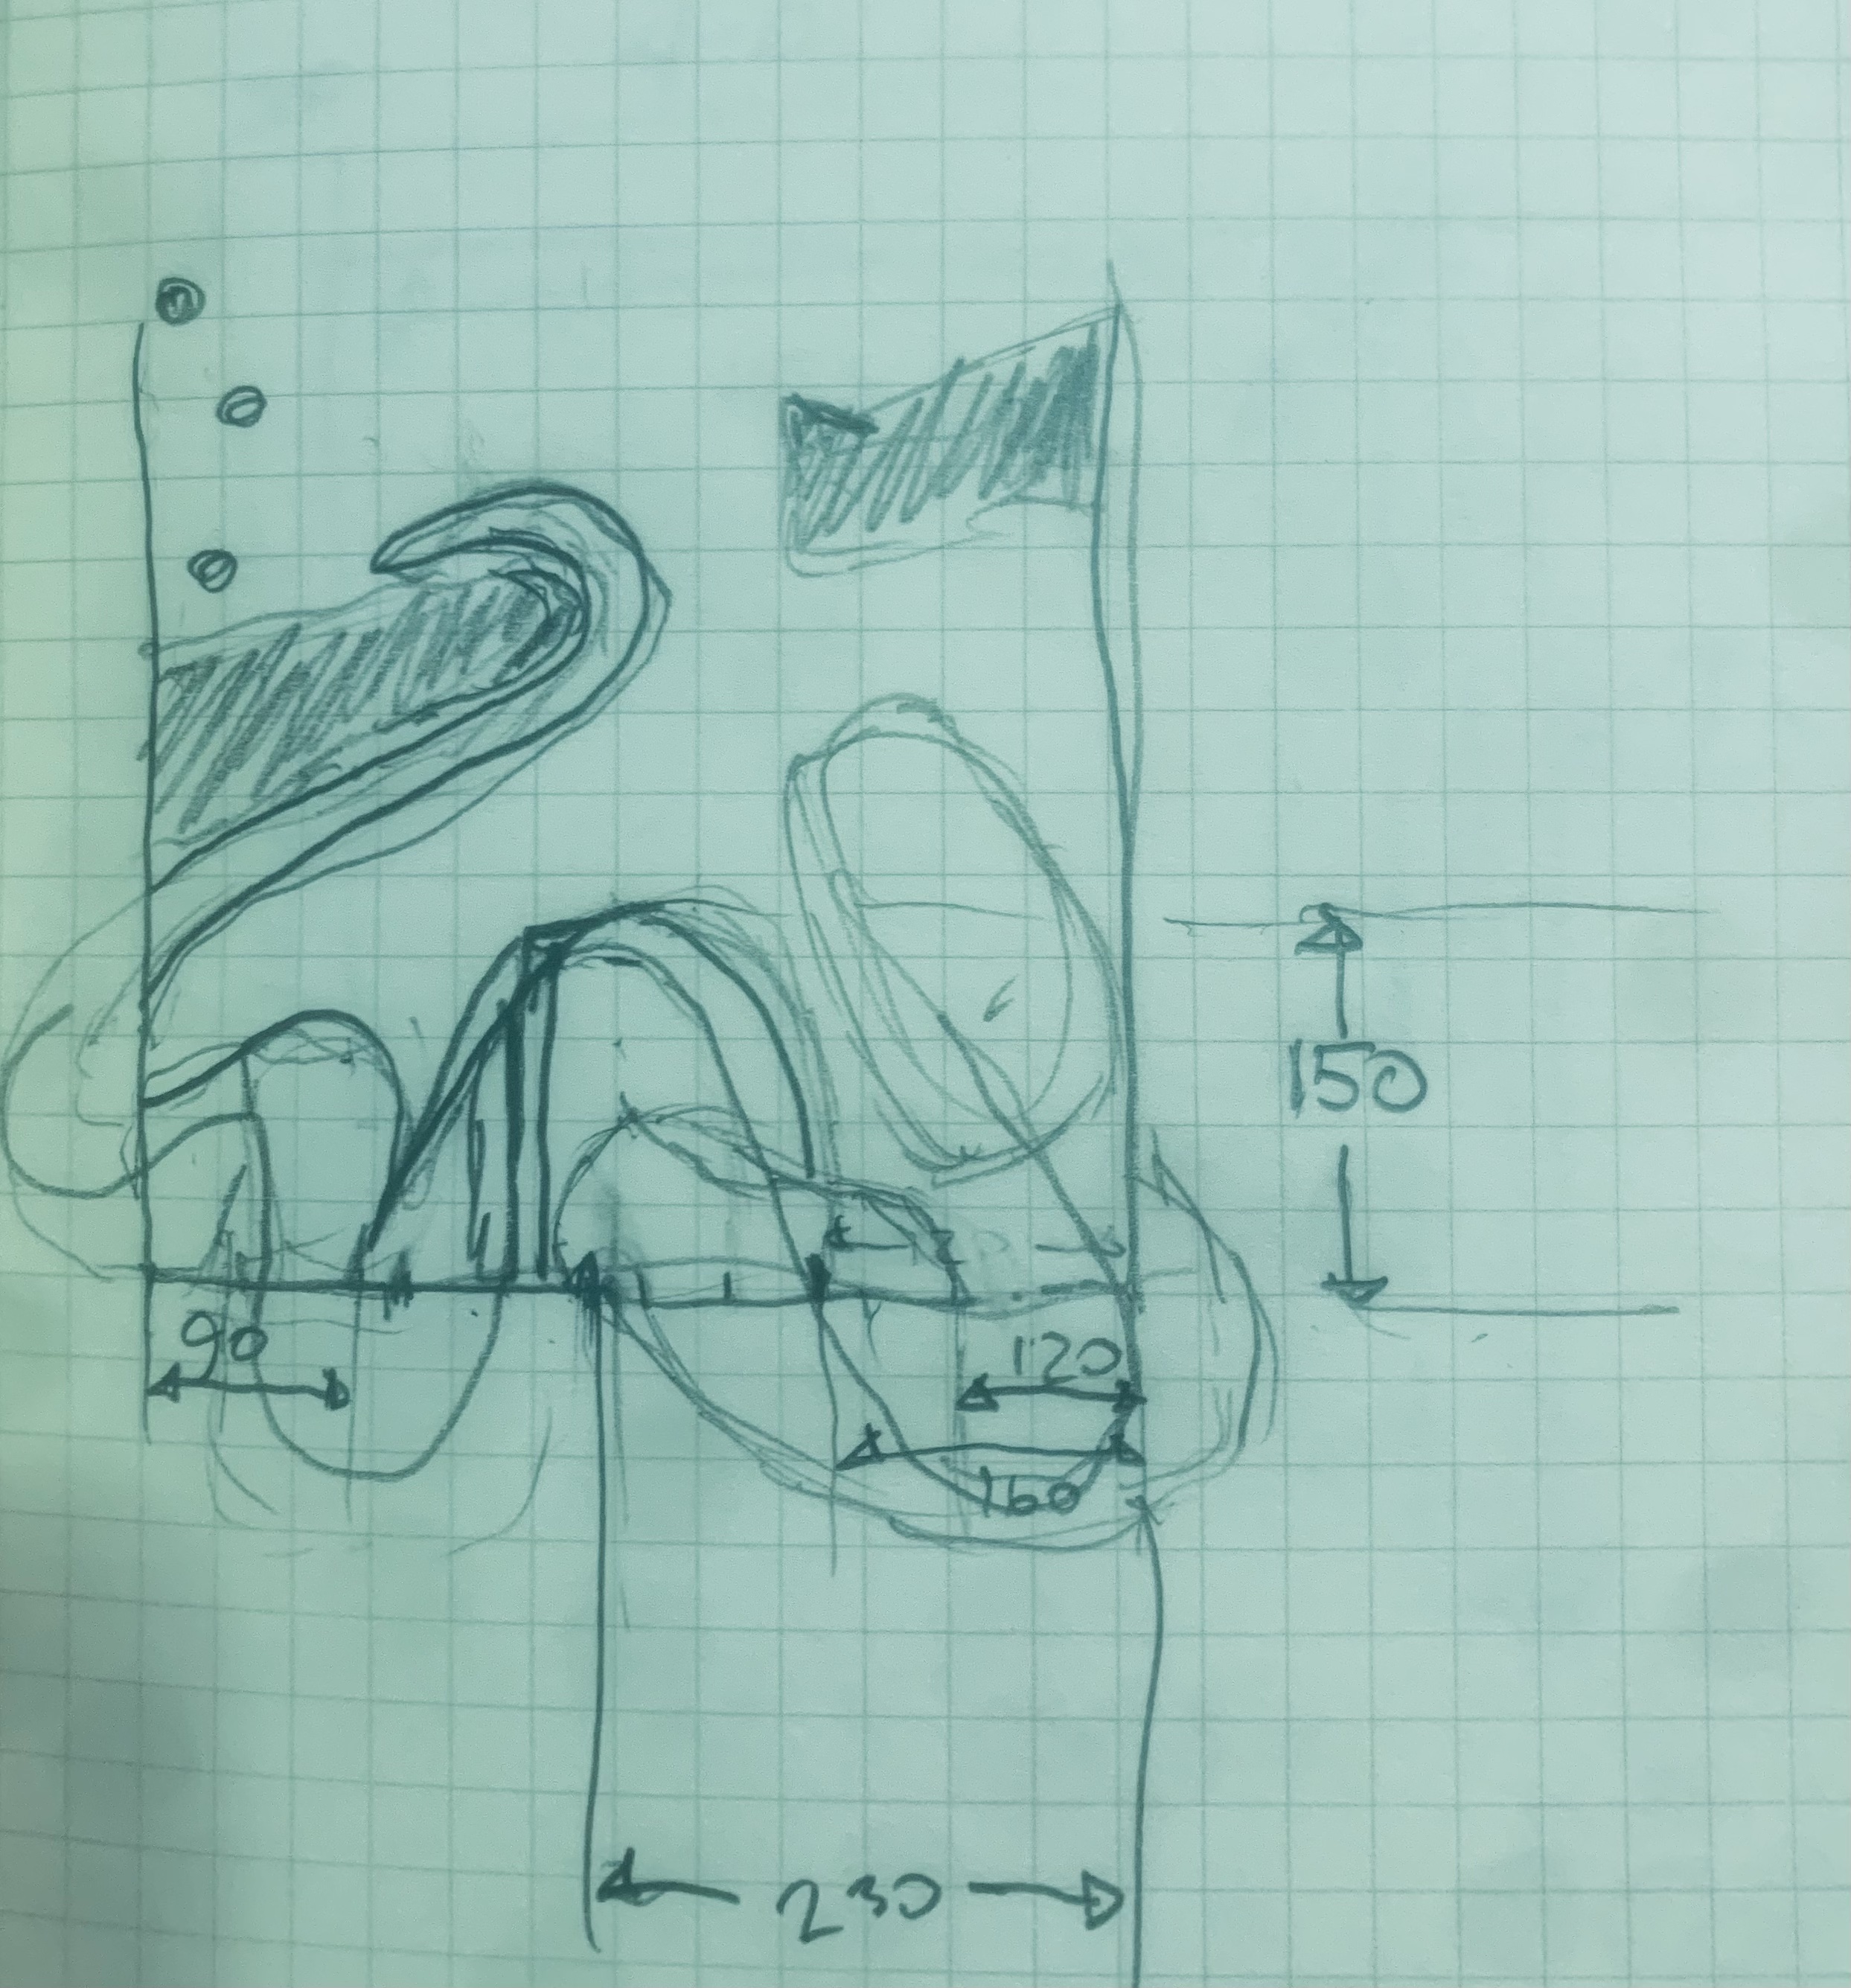
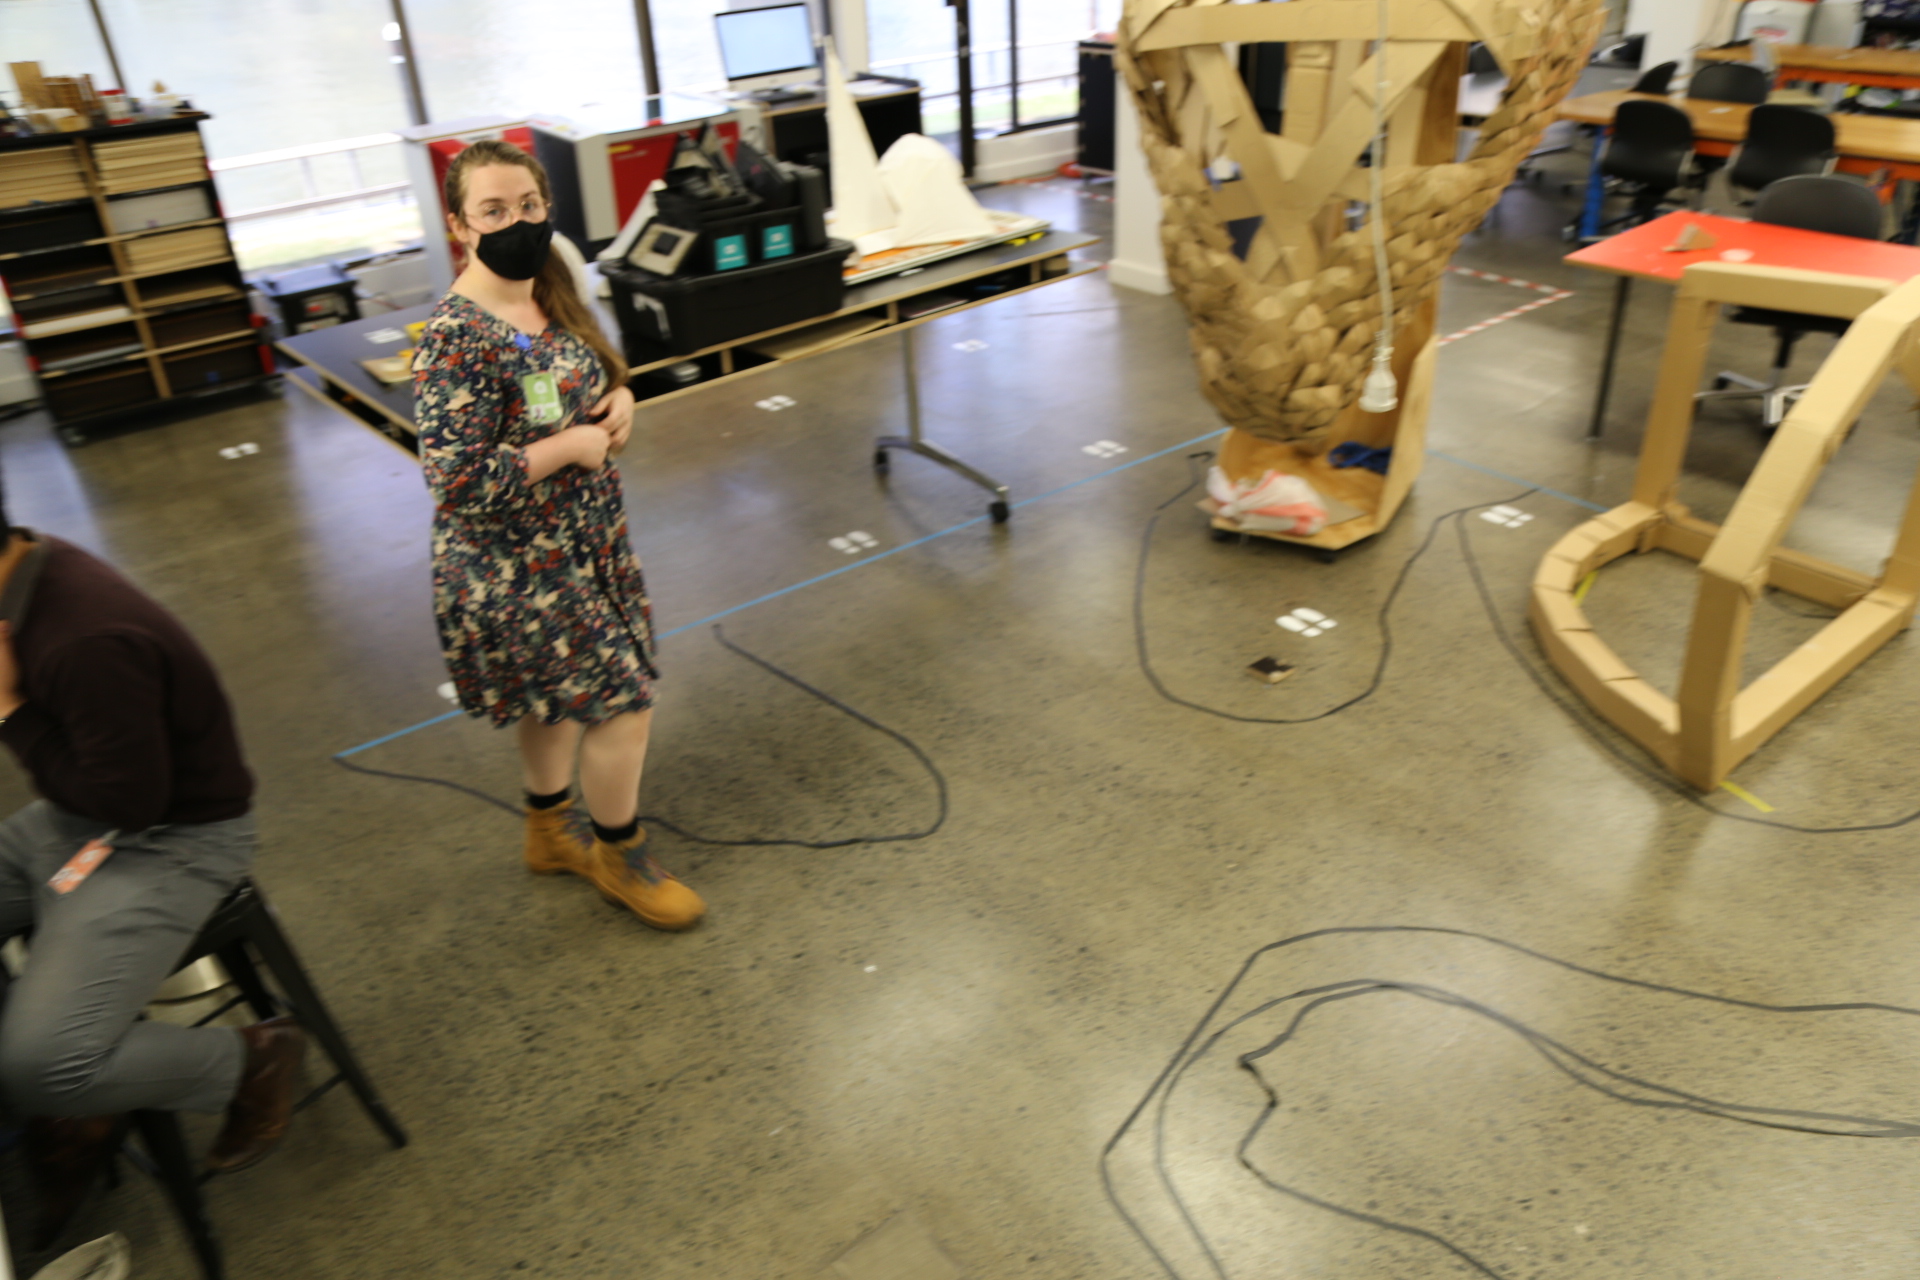

Dragon Body Frame construction
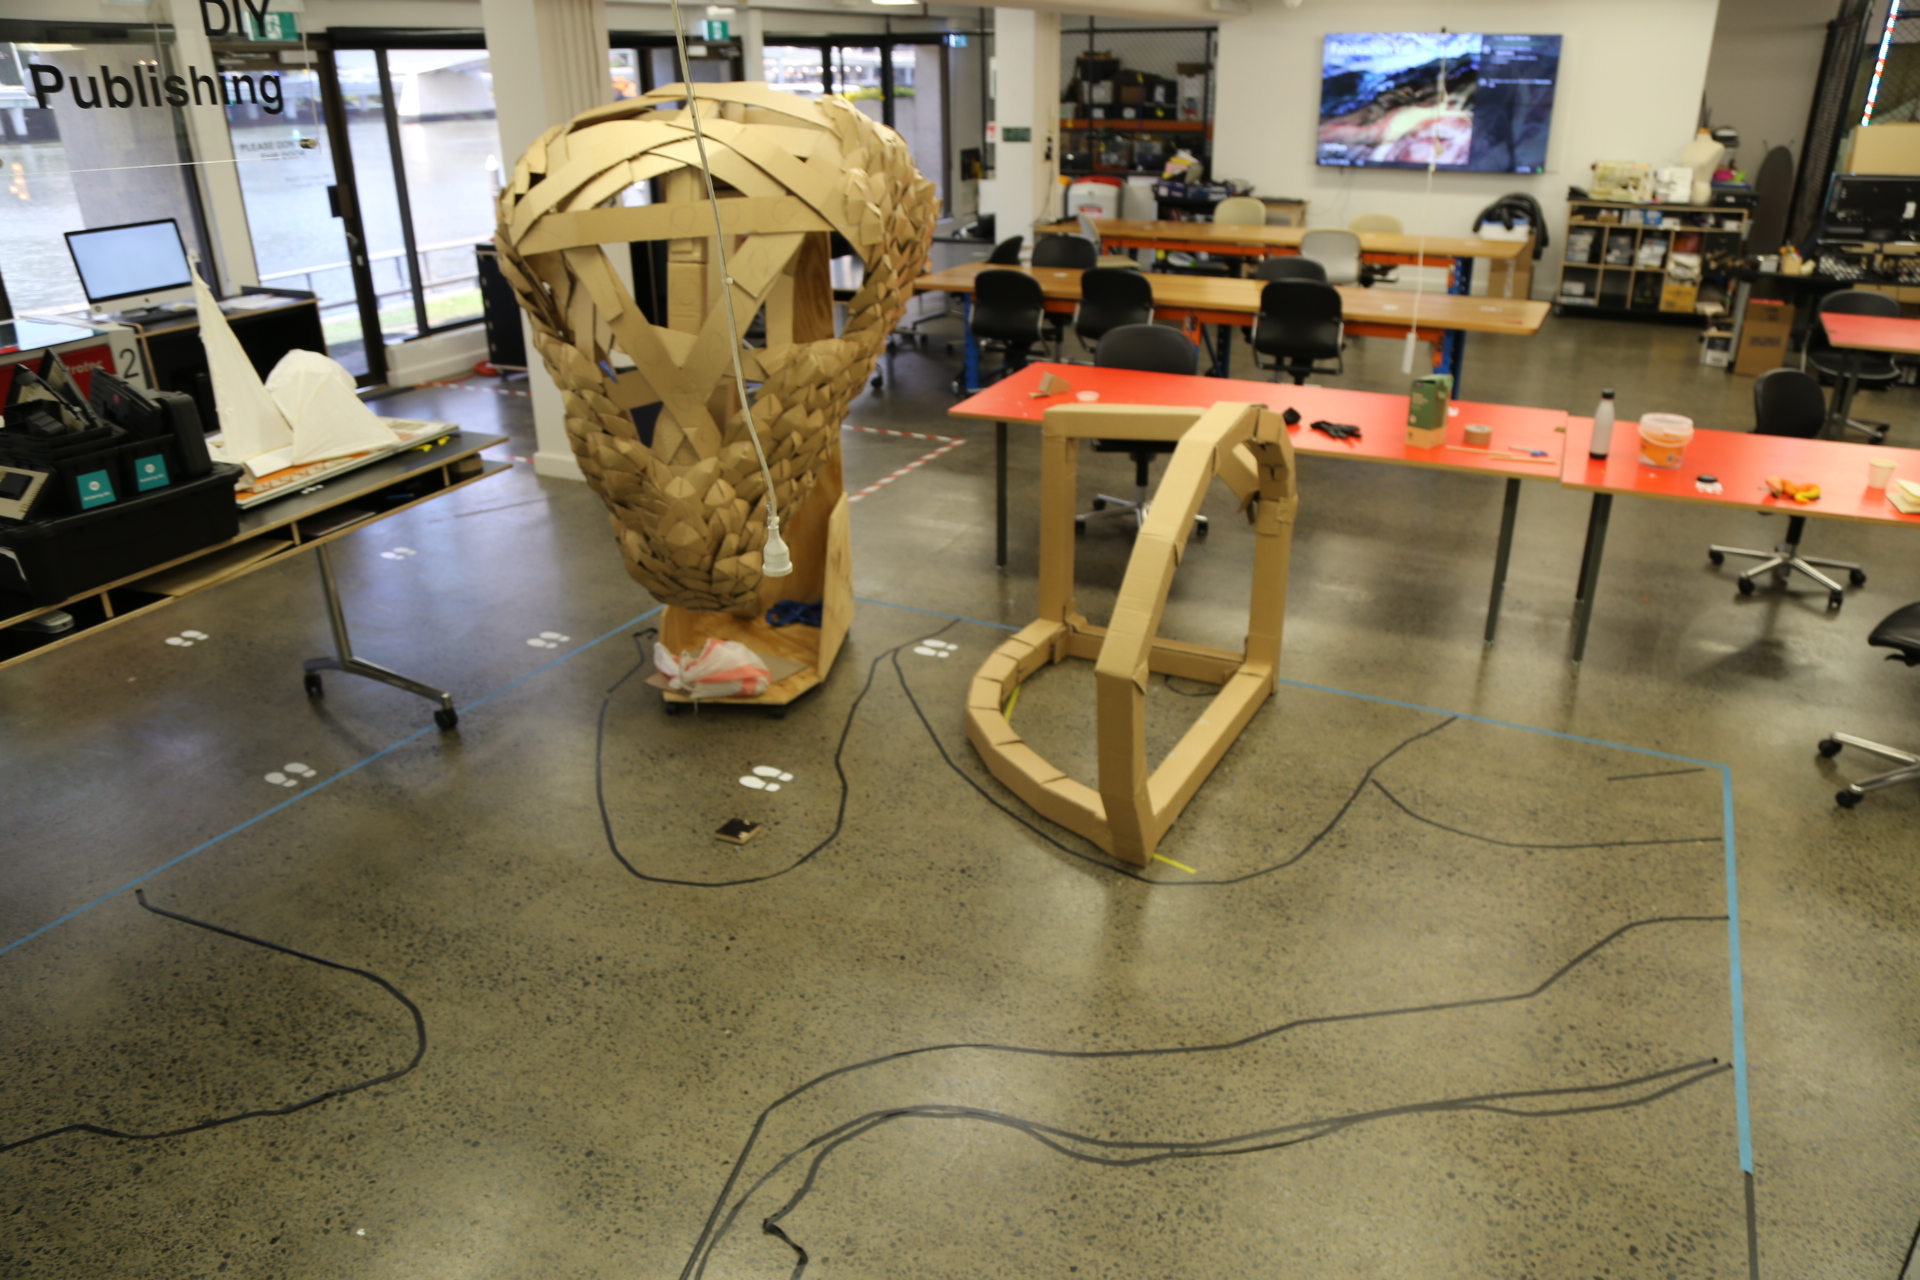
From here I laid out a basic frame from the ground up, making sure to break the whole down into components that would fit out the door
 it was particularly difficult to conceptualise the undulating snake-shaped body (i was trying to keep track of where his spine was) while breaking it up into transportable (portalible*) components
//portalible*//
* I realised i've developed PTSDish type twitch about making sure things I make things that will go thru doors (portalible [sic]) - Im somewhat scarred by the embarrassment of not being able to get an assemblage out of the doors of the workshop, a trauma that is usually experienced in front or a collection of colleagues who are assembled to help you move it to its destination… and that sometimes results in the unceremonial amputation of a limb or butchering of a part of the object which you have taken many hours of careful work to make.
Body strapping
Once a general shape for each frame was complete, i began to “Strap” the frame. Straps of double ply cardboard, cut with the direction of the corro, can create nice organic curves between 2 or more anchor points, resisting to a point, more lateral force than straps cut at right angles to the corro. These straps can therefore be used to soften the frame and provide a scaffold that scales/ skin/ external sheet to be glued to. Its probably not until this strapping is completed that other people can see the final shape the sculpture will take. Strapping also is also an opportunity to square up and strengthen frames. 
Scale Layout
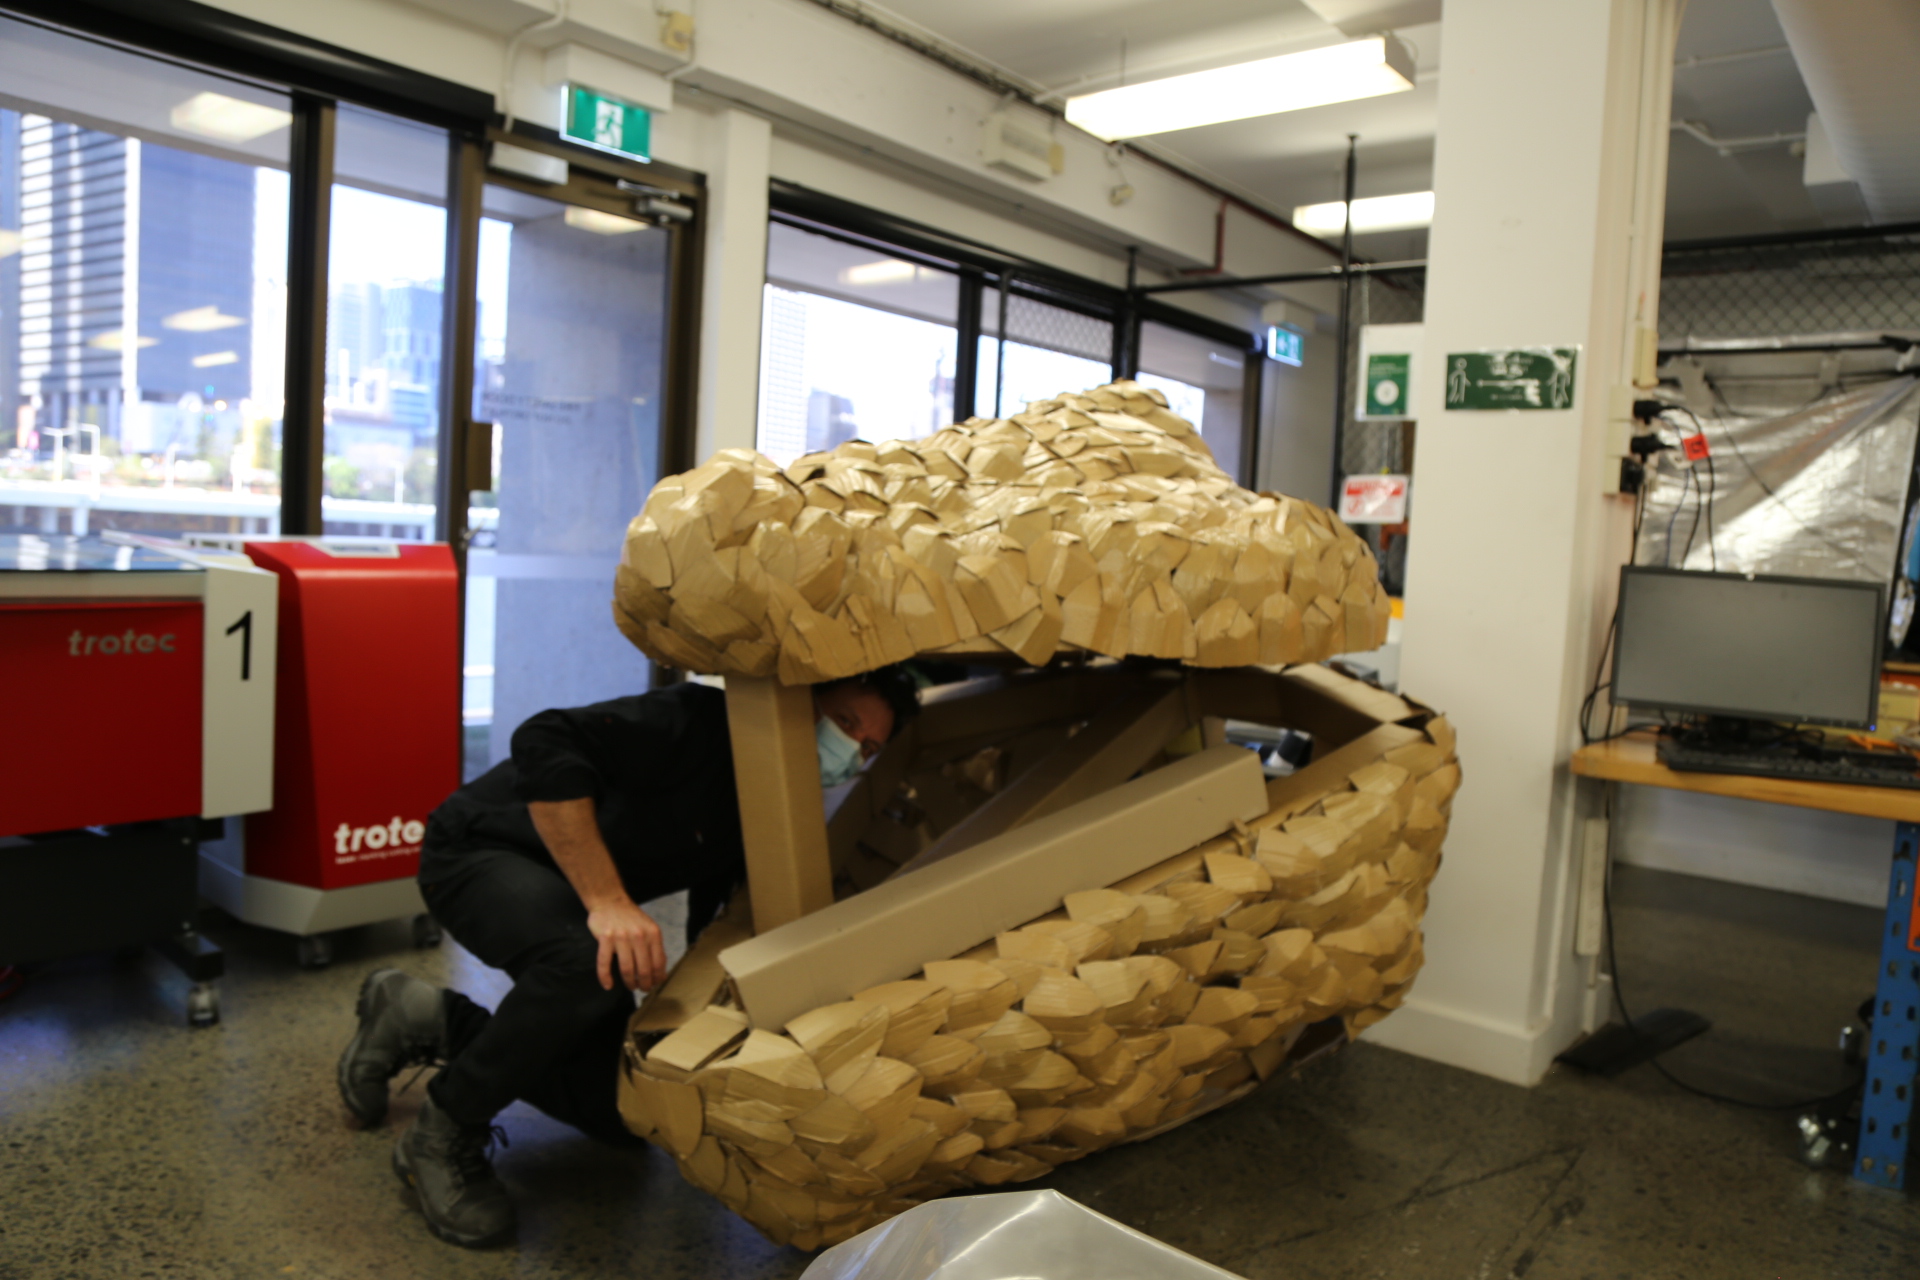
The outside skin of the dragon will be made of scales and spines down the back. The head would not fit on the head and the head still go out the door so these will need to be applied until the dragon is installed. As such the limit of scales/ spines need to be laid out along the body.
Scale Prep
CNC router with the drag knife attachment was used to cut out bulk scales. The scales need to be distressed, glued and trimmed
Scale Application
Scales start at the nose and point back to the tail, a stylistic decision made by the young people on 9 Sept workshop. Scales were applied to the head, pretty much one at a time. But Tiffany has found a faster way of applying them, she glues them together in a sheet. reinforces them on the back with a scrap of single ply corro or corro off the role. This makes it easier to secure them and “you're not fighting gravity as much”
Teeth Prep
We'll need 30-40 teeth. Teeth are made by rolling/ scrunching and taping Corro off the role into a conical shape (as per the Students design 9 Sept) after this they are covered in the baking paper with a distress texture. Pauline and Coutney found that the fastest way to do this was to precut the paper into 50cm sheets and wrap and hot glue to the teeth in a flat sheet. Then scrunch up a 2nd sheet glue and wrap this.
Gums, pallet & gums
Gums were mad by
- tracing the profile of the top and lower jaws
- making hand sized loops to glue around the perimeter of the mouth,
- gums and soft pallet will be covered in Geami packaging paper.
- Tongue was made by glueing around the perimeter of a top and bottom sheet of tounge shape and stuffing the shape like you would a stuffed toy to give it a 3rd dimension. tongue will probably covered in brown paper to give is a similar but different look to the Geami paper.
- Gums, teeths tongue will all be assemble together as a single component that can be installed into the mouth at installation
Spine Prep
Spines will be added to the sculpture at the installation stage, as all but one of the components requiring spines will make the components to big to be Portalible [sic]. We will do a test run on the Tail as this is smaller ( and from this create an esytimate of how long it will take to apply these.
Spines, the great majority of which will be 20- 30cm high (a few extra large ones and medium size on the head) are being made from a template and covered in the same way as the teeth. We estimate that there will be about 120 Spines down the back of our beaste
Eye Prep
==Installation Planning == |
| List the Imagined Things number or name that was used as inspiration: | @@List the Imagined Things number or name that was used as inspiration@@ |
|---|---|
| What did you think was successful about the workshop? | a |
| What did you learn about the workshop? | a |
| Can you share any ideas for future implementation? | @@Can you share any ideas for future implementation@@ |
| Are there any immediate actions arising from this workshop? | @@Are there any immediate actions arising from this workshop? |
| Can you share any memorable moments or quotes from participants? | a |
| What was/were your favourite Designed Thing/s from the workshop? | a |
| Did you capture any images, audio or video to share from the workshop? |


