101 - Make your own Merch
Acknowledgement
We acknowledge Aboriginal and Torres Strait Islander peoples and their continuing connection to land and as custodians of stories for millennia. We respectfully acknowledge the land on which we all meet today, and pay our respects to elders past, present and emerging.
Summary
Learn how to use a sublimation printer and heat press to create your very own merchandise to take home. You'll pick up some basic design skills as you choose between a range of designs and collage them together to create your own finished piece. You'll be able to create both a T-shirt and tote bag to take home.
Workshop Slides
Tools
- Digital Media Lab Computers
- Meeting Tables for printing station
- Laptop for printer operation
- Sublimation printer
- Blank transfer paper
- Heat press
- T-shirts and totes for participants
- Pre-designed assets (for digital collage) and finished designs (for those who want to use existing)
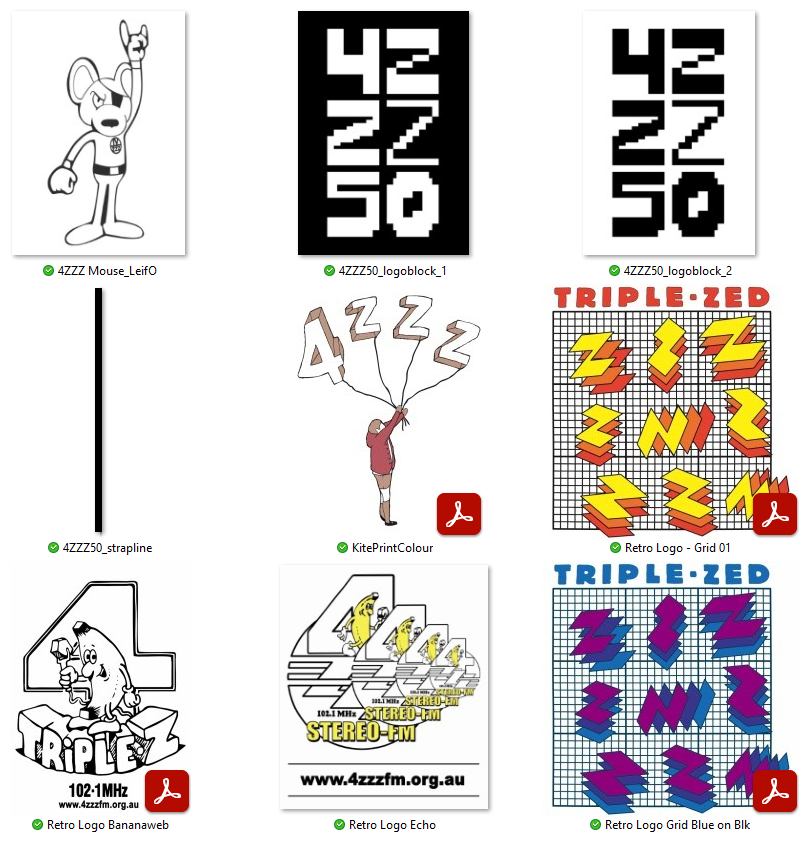
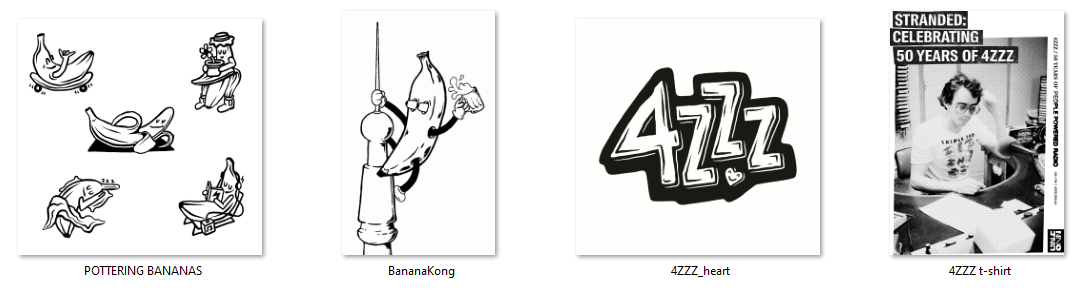
Image Resources
Use this reference grid to decide which images you would like to use for your design, and then download them from the links below.
Popular garment printing methods
Direct to Film (DTF) involves printing a design onto a special film, coating it with a powdered adhesive, and then using a heat press to transfer the design onto a fabric or other substrate. The resulting print sits on the surface of the fabric. Can work on dark or light colours, and on a range of surfaces. May crack or peel over time. Medium entry costs (if doing at home). There are a number of DTF film printing services online.
Direct to Garment (DTG) allows for printing directly onto the garment. The garment must be pre-treated to accept the ink. The resulting print sits on the surface of the fabric, but can be more durable than DTF. May crack or peel over time. High entry costs (if doing at home).
Heat Transfer Vinyl (HTV) application uses a vinyl cutter to cut a design out of specialised vinyl that can then be weeded and applied to your garment with the heat press. More limited in your design options, and may crack and peel over time. Low entry costs.
Dye Sublimation (We’ll talk more about this one next!)
Sublimation Printing
Why? * Ink penetrates the fiber of the material for a seamless feel and permanent bond with the fabric. * Vibrant, high-resolution and long-lasting designs in full colour * Produces vibrant colour on polyester * Relatively low entry costs * Easy for smaller or larger runs.
How? * The printer uses a specialty ink to print onto transfer paper. * The heat-press applies an even pressure so that the dye turns into a gas, then bonds with the polyester fiber as it reforms into a solid.
CAUTION: the lid gets HOT. Use the handle.
Limitations For a vibrant result, fabric with a high polyester count should be used. Non-textile items must have a poly coating to accept the sublimation dyes. The result may not be visible if sublimating onto mid-tone or darker colours. White or light colours will yield the best results. Your artwork is limited to the size of your printer paper. UV exposure may fade some sublimation inks over time.
Simple Sublimation Workflow
* Pick or create your design – make sure it’s flipped, as it’s applied to your fabric face-down. * Save onto a USB to move to printer laptop * Print onto transfer paper * Use the heat press to transfer the image onto a t-shirt or tote. * Repeat to create your two pieces
Refer to the Safe Operating Procedures so that you know how to use the printer and heat press safely before proceeding.
Create a new Photoshop File
Today we're going to make a basic digital collage. Our maximum print size is just under A4. Create a new document by reate a new document by going File>New>Print and selecting A4. Set 'colour mode' to CMYK. Remove 20mm from the dimensions, to give some room for margins. RGB (Red, Green, Blue) is used for screens, CMYK (Cyan, Magenta, Yellow and Black) is used for print. 300ppi is a good resolution for high quality print.
Photoshop Workspace
Now that we have our files open, let's have a look at our workspace:
The Menu Bar shows the File, Edit, Image, and other menus that give you access to a variety of commands, adjustments, and panels.
The Options bar (beneath the menu bar) displays a range of options for the tool you are currently working with. When you change tools, the options here will change.
The Tools panel (on the left) contains tools for editing images and creating artwork. Some tools show a small triangle in the bottom right-hand corner - this indicates that related tools are hidden underneath what is currently shown. To access related tools in a group by clicking and holding a tool in the panel.
Panels (on the right) include Color, Layers, Properties, and other panels that contain controls for working with images. You can find the full list of panels under the Window menu, but today we'll primarily be working with 'Layers' and 'Properties'.
The Document Window (in the middle) displays the file you’re currently working on. Multiple open documents show up in tabs in the Document window. If you want, you can click and drag on a tab to separate it, so that you can view more than one document at the same time.
Photoshop Toolbar
The toolbar is where all the tools live. You can select them by left clicking on the buttons that represent what they do. Some display a triangle at the bottom right of their icon – click and hold to bring up extra tools in that category. Below are the explanations of a few commonly used tools with their shortcuts in brackets.
Hot tip: Googling the name of a tool and ‘photoshop tutorial’ is a great way to work out what they do!
Move Tool (V): This tool allows you to move the selection or image around on the current layer. Magic Wand Tool (W): This is just one of the tools available for making selections. Brush Tool (B): 'Paint' using different brush shapes on your selected layer. Eraser (E): Just like the brush tool, but instead of painting colour in, it will erase it. Paint Bucket (G): This tool allows you to fill up entire layers or selections with a certain colour or pattern. Type Tool (T): This tool allows you to type and manipulate text. The text you make will appear in its own vector layer of your file. Zoom Tool (Z): This tool allows you to zoom in and out to focus on specific areas of your artboard. Colour Boxes: These depict your currently chosen colours. You can change the active colour by clicking on the boxes.
Import an Image
There are two options for placing images in your file – Place Embedded and Place Linked. Place Embedded: if you make changes to the original file, it will not show in Photoshop Place Linked: updates you make to the original file will also reflect in Photoshop. Today, we’ll use Place Embedded. Place one image in your document and click ‘Enter’ to drop it in place.
Understanding Layers
Layers are a core feature of Photoshop. Layers allow for non-destructive editing and allow you to organize your work. The layers are displayed under the Layer window on the interface (if it's not activated, go to Windows>Layers to show the layers window. Layers above will affect or obscure layers below it – similar to a stack of papers! Use the eye icon to turn on and off layer visibility.
IMPORTANT: You should always be aware of the layer you are working on. The active layer will be highlighted within the layer window.
Make the design your own - shifting Hue/Saturation
We’ll cover a few different ways to make your chosen image your own – eg, by affecting the colour. Adjustment layers affect all layers below it. Add an adjustment layer by clicking the circle icon in the bottom of the layers menu. Click ‘Hue/Saturation’. Each Adjustment Layer has its own properties. Hue/Saturation allows you to adjust the colours of your entire image at once, relative to the original. If you have used a black and white image, or want to change the overall colour to a single hue, select ‘Colourize’ and adjust the Lightness if needed to get a result you are happy with.
Finishing Touches
If you are happy with the results and don’t want to do more, we can flip your artwork (remember, your transfer goes face down). Image > Canvas Rotation > Flip Horizontally. Save as a JPG file by going to File>Save a Copy. Navigate to the thumb drive folder, type a file name, and choose ‘JPEG’ from ‘Save as type’. Click ‘ok’.
Additional methods of colouring are available in the workshop slides above.