~~REVEAL~~
Handtools Induction - Practical Exercise
:facilities:fablab:inductions:handtools:screen_shot_2020-11-09_at_10.59.27_am.png
Summary
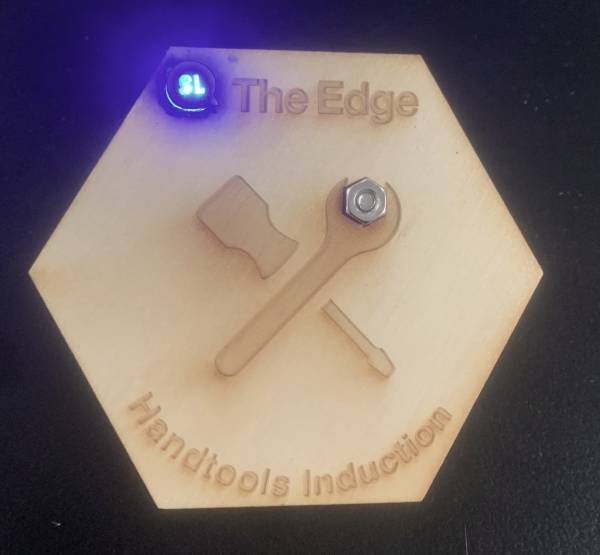
Participants will assemble a laser cut LED badge and familarises themselves with the variety and safe use of hand tools in The Edge Fabrication Fab. This is the practical exercise for the Edges Hand tools induction.
The aim of the activity is to provide inductees with an opportunity to :
- Gain a hands-on, practical understanding of the basic categories of hand tools found in in the Fabrication Lab
- Identify the risks associated with these categories of tools and learn safety and handy tips for using these tools.
- Put together an inexpensive, cool and quick little take-home project thats been made with the equipment in the Fabrication Lab.
Materials
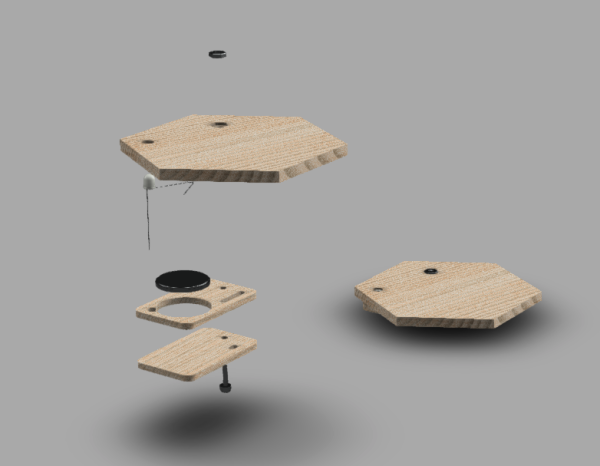
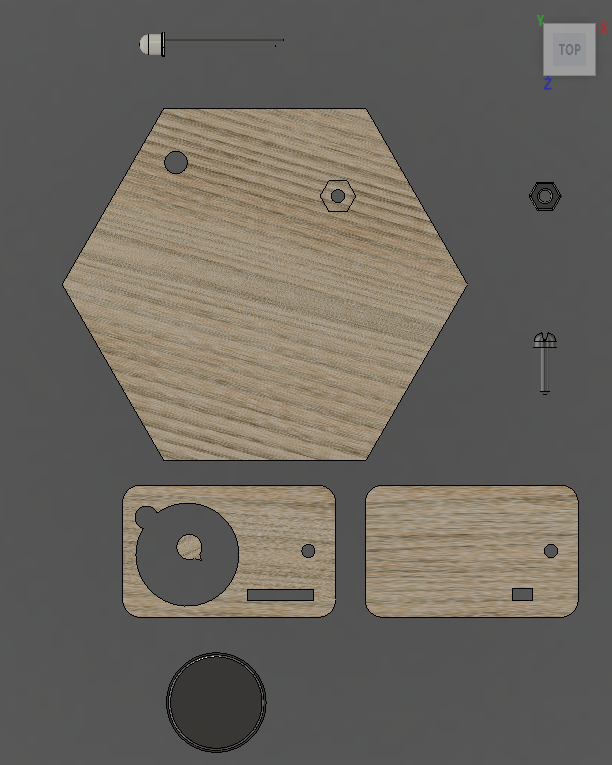
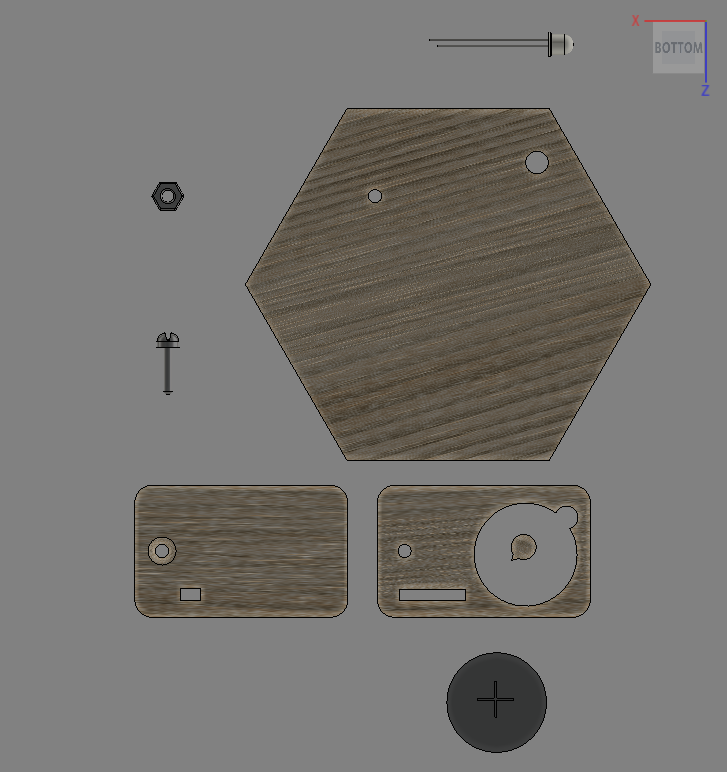
| Part # | Part Name | Image |
|---|---|---|
| Laser Cut Parts | ||
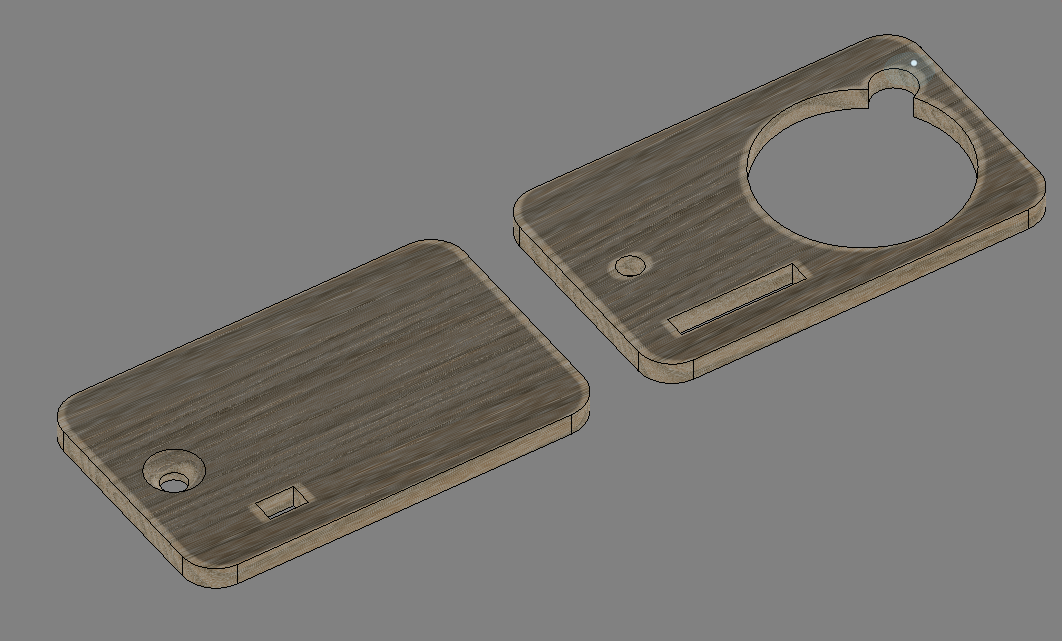
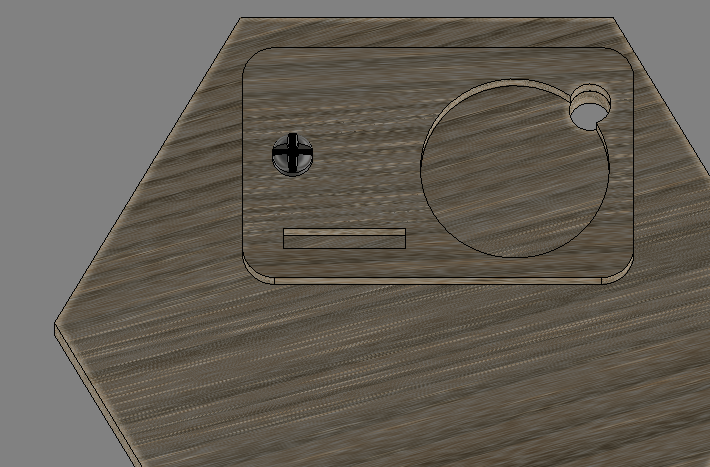
| 1 | badge front | |
| 2 | logo | |
| 3 | Battery retainer | |
| 4 | Battery back |
| Other Parts | ||
|---|---|---|
| 5 | Cr2032 Calculator Cell (Battery) | |
| 6 | Flashing 5mm LED (various colours) | |
| 7 | M3 Nut | |
| 8 | M3 12mm screw | |
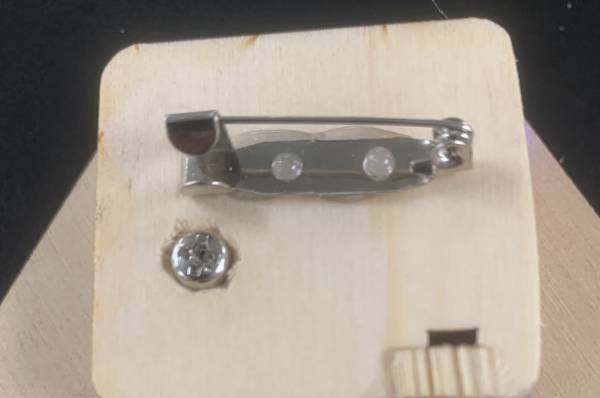
| 9 | Metal Badge Back |
Parts Back
Parts Front
Tools
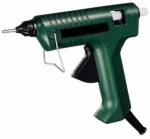
- Hot glue gun & glue
- Pointy nose pliers
- Philips head screwdriver
- Awl
- Adjusting spanner
- Countersinking bit
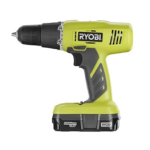
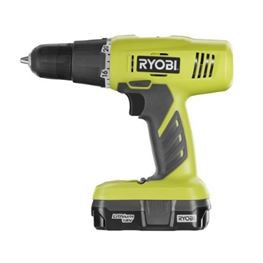
- Cordless Drill
- Hand saw
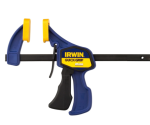
- Clamp or mini vice
- Sand paper
Assembly Instructions
Step Zero:
When ever you are in the Fabrication Lab
- make sure you're keeping your space tidy
- You are use correct manual handling technique
- Check you have all you parts and that these are cut through cleanly.
- Check you have all the tools you require… and the right tool for the job
For instance if you need to clean up laser cut parts, use an awl (not a screwdriver). An awl is designed for poking… screwdrivers are for driving screws. ![]()
Step One:
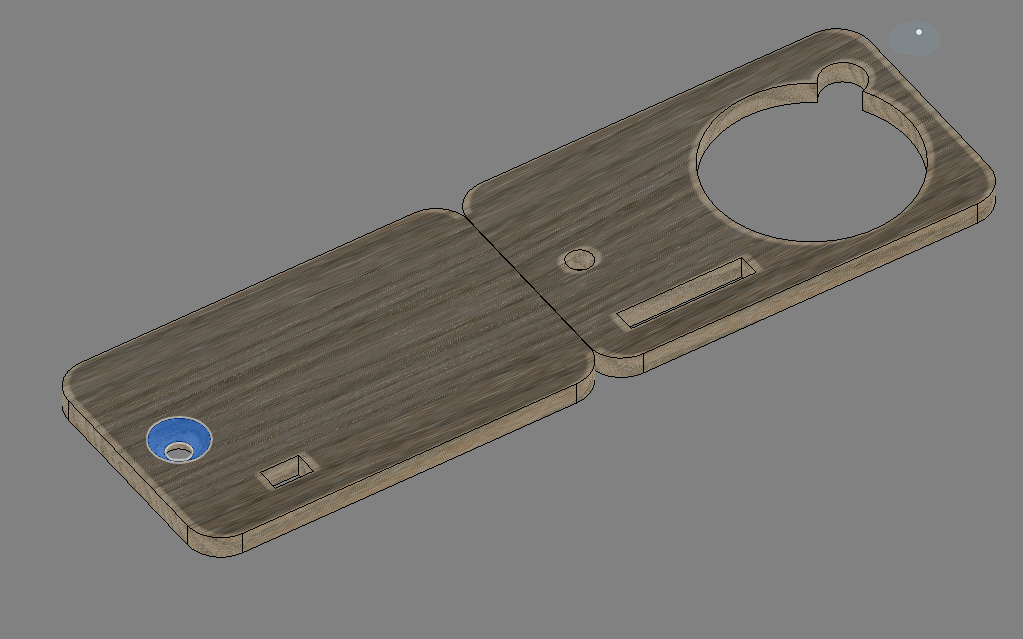
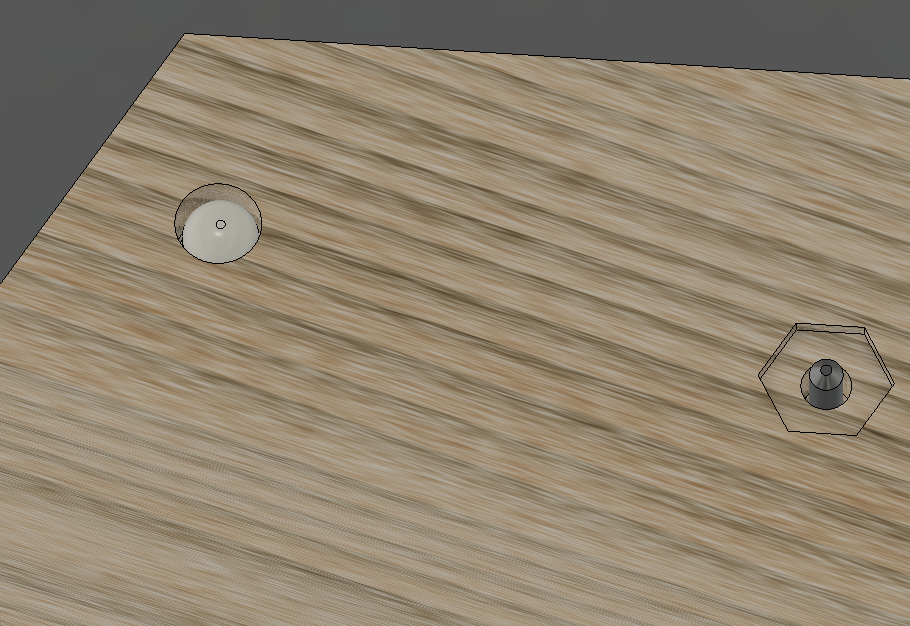
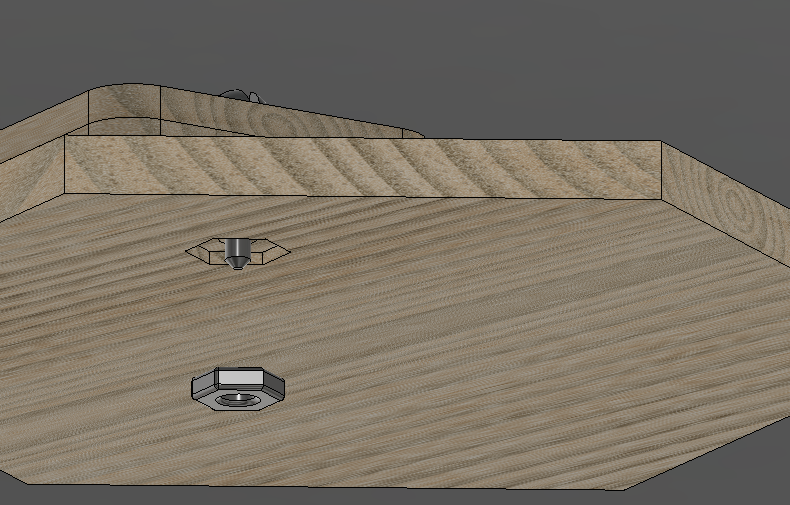
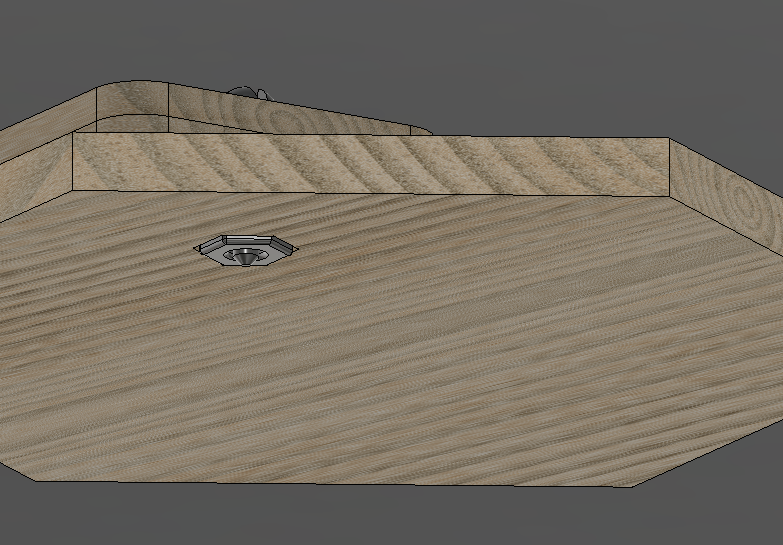
First, with the Cordless Drill and a counter sink bit, countersink the hole in the Battery back (Part 4)
make the counter sink about a match head deep
Are you applying force? Make sure you secure your work… clamp the material down or put it in a vice when using a drill or saw
Step Two:
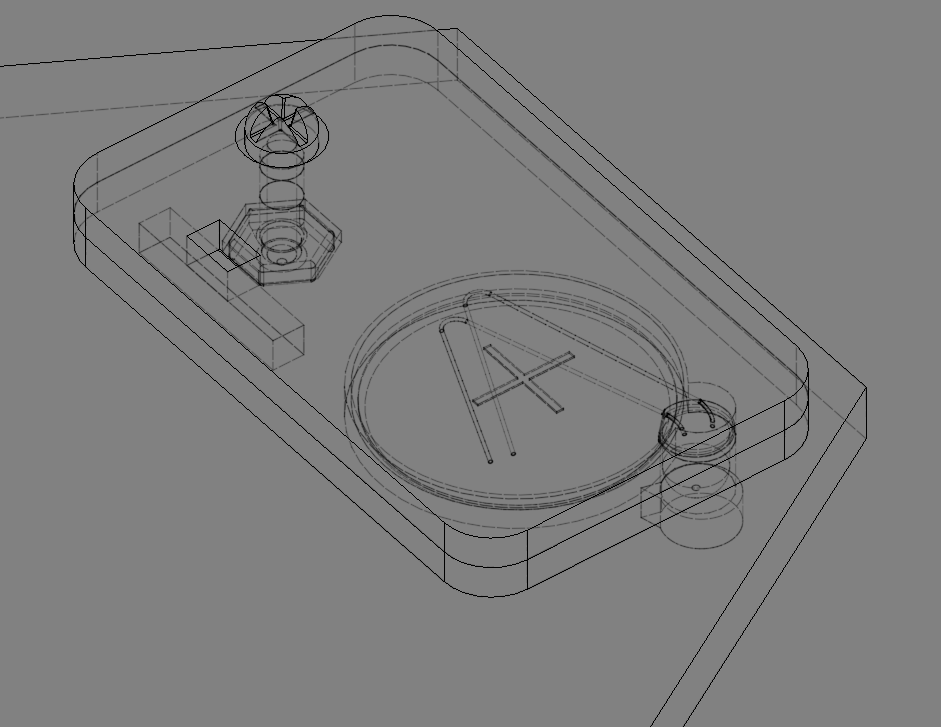
With hot glue, stick the Battery Retainer (part3) to the back of the Badge Front (Part1) make sure you have aligned the screw holes and LED holes on both parts.
your blob of glue should be about the size of a pea
Step Three:
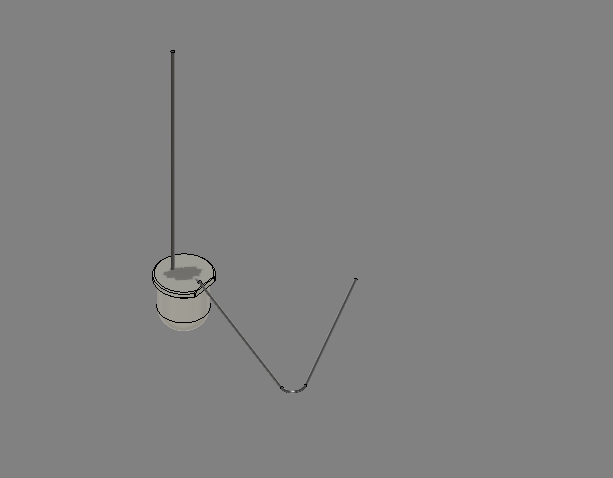
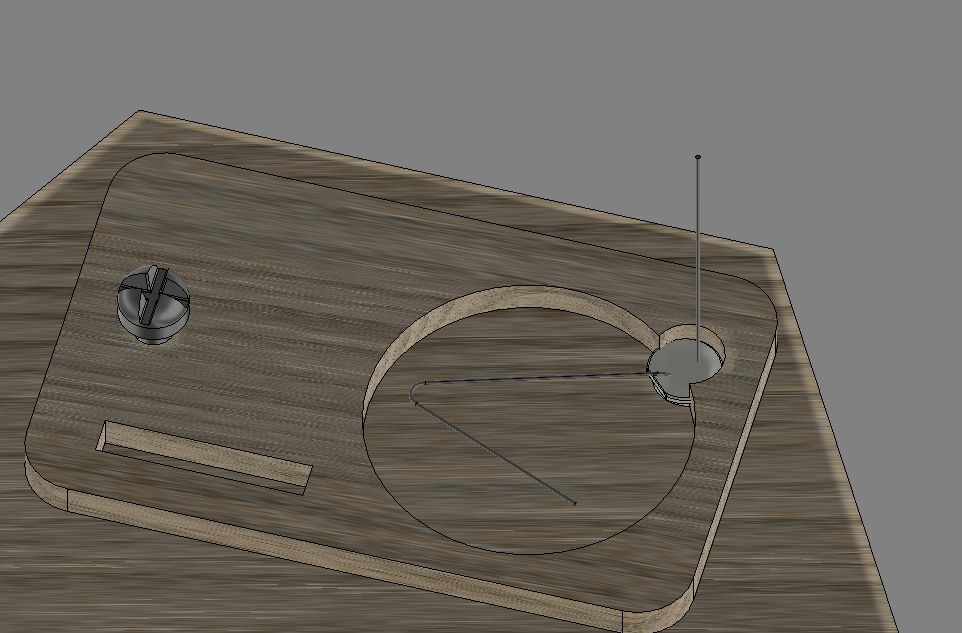
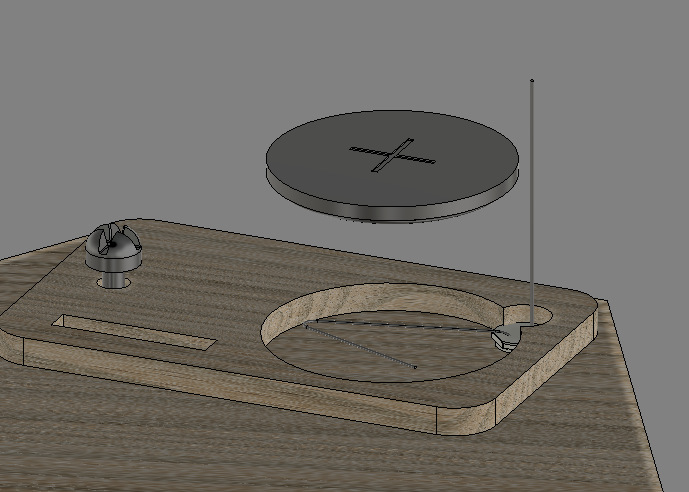
Test your LED (part 6) by placing the long leg over the positive (+) of the Cell(battery)(part 5) and and the short leg over the negative (-) side.
orient the LED so the short bent leg is inboard- towards the cell (battery) and the positive (+) long leg is outboard.
Step Three: - Continued
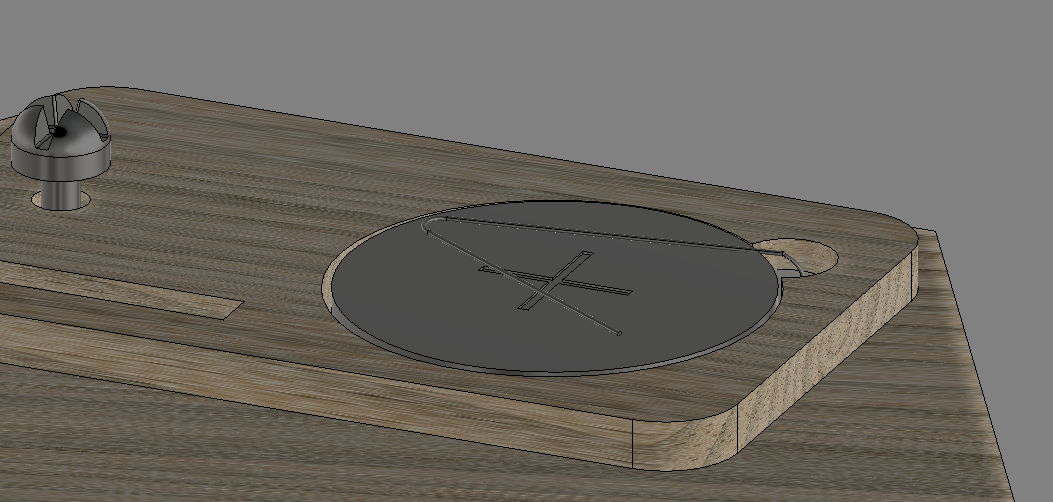
Turn the badge over so you are looking at the face and hot glue the LED in the hole in this position from the front
Turn the badge over again so it is face down and insert the Cell (battery) with the positive (+) up.
Step Four:
Step Five:
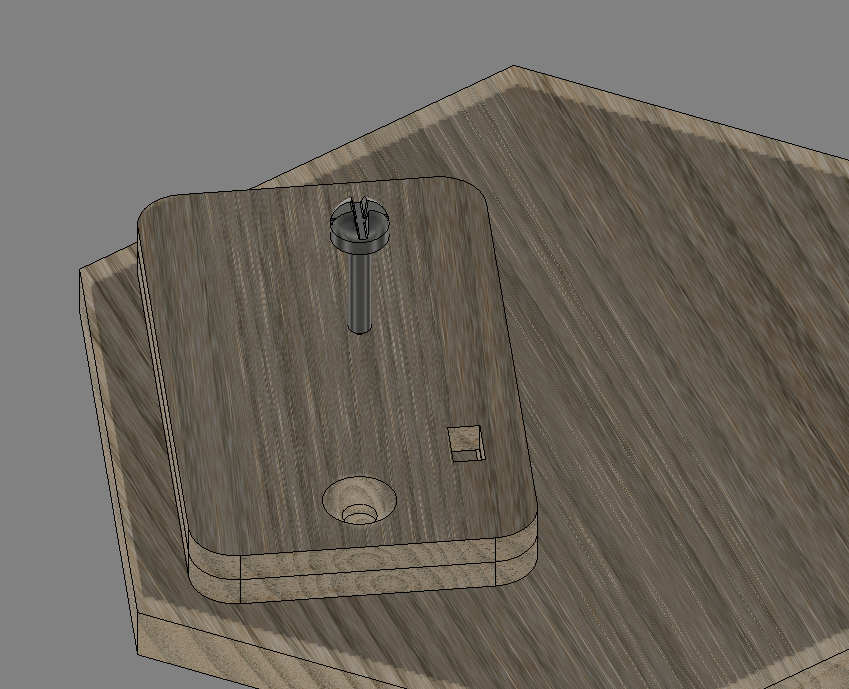
Align the Battery Back (Part 4) screw hole with the screw hole in the badge front/ battery retainer.
Step Six
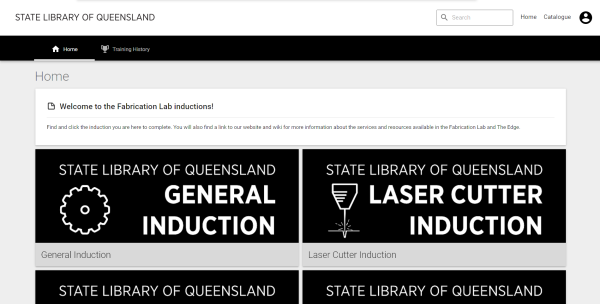
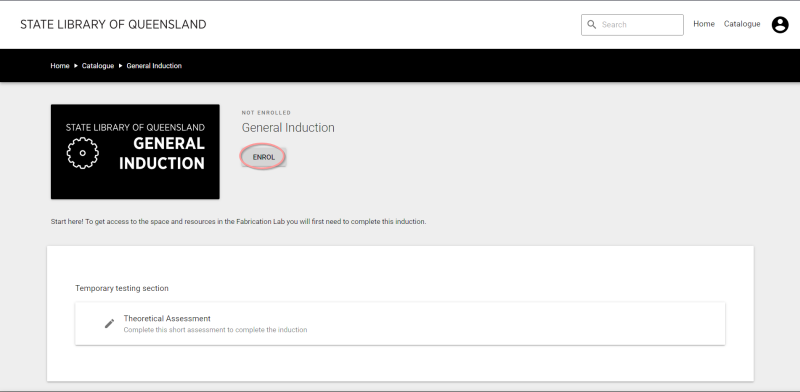
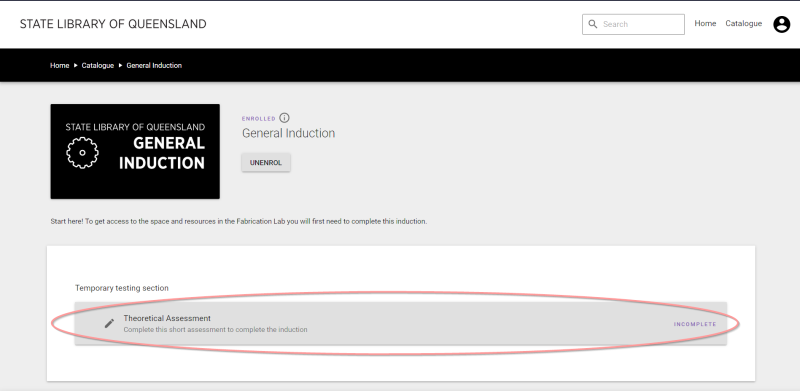
Complete the General Induction Online
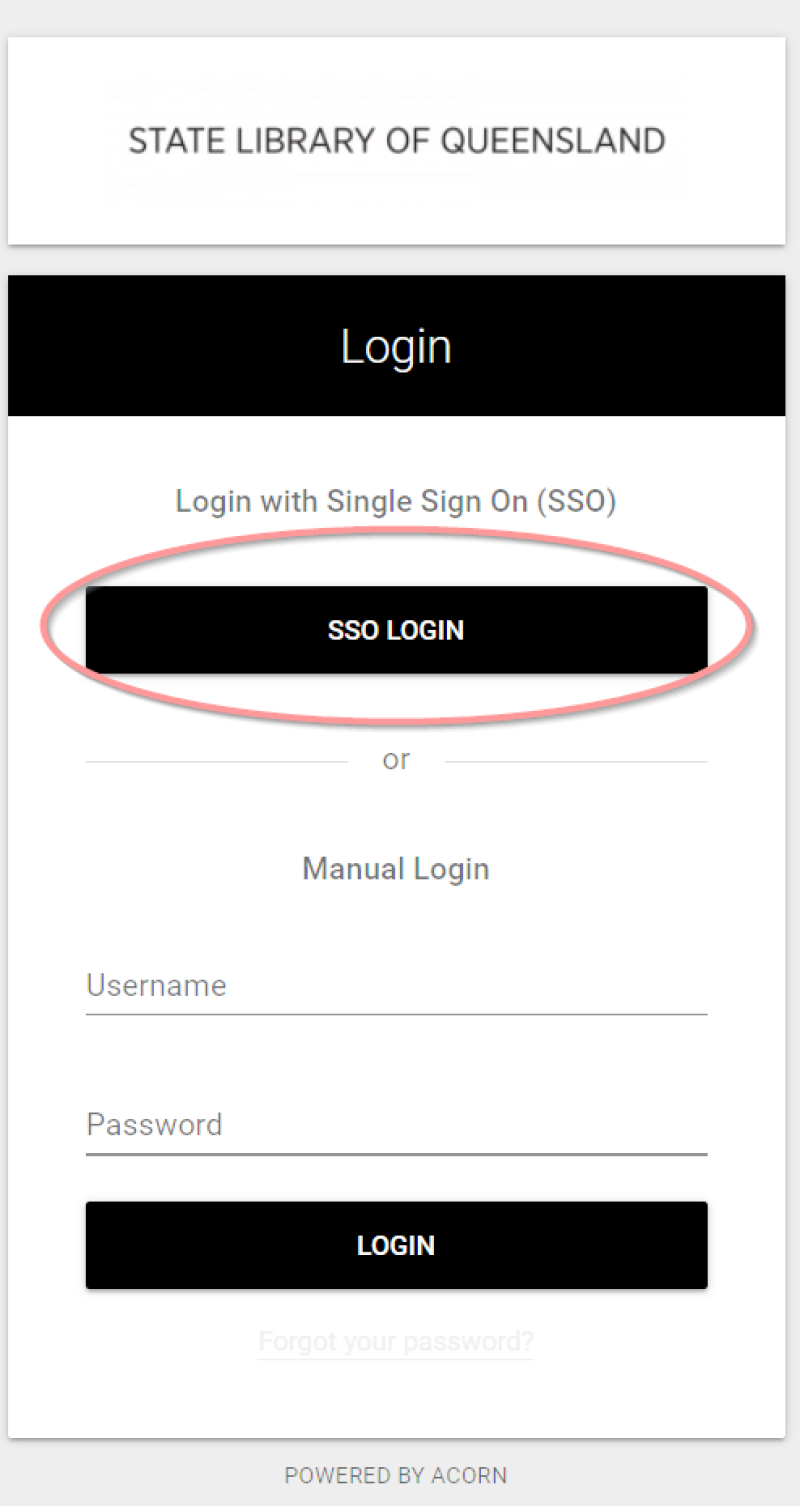
Now its time to complete your General Induction online quiz. Go to State Library's inductions site.
Drag the cross-hairs (not the mouse) over the correct answer.
Preparation
This workshop requires
- the below to be cut out on the laser. Total cutting/ etching time (for 60 parts) = 1.5 hours
Files
Badge fronts
New Corel file to suit new machine profiles. Just print as colour with 6.9mm plywood profile or use this trotech job file.
Badge Backs
Badge backs handtools_induction_backs.cdr are to be cut on 4mm plywood
