Pre-made Square Section Beams -Fast, Efficient, Versatile
Following on from Dr Peter Musk's preproduction trials with with square beams we have tweaked the design and established a fabrication prcess to pre-make square section beams as the key internal structural component for the construction of the Grumpus sculptural installations.
These beams can be used in both
- a structural support embeded inside sculptures based on3d model derived profiles either arranged around an axis (eg The Cat- profiles around the Z/vertical axis) or profiles stacked on cartesian planes (eg young Peter's Shark profiles planes spaced along y and z axes) or
- in a sculpture built from scratch around a frame - no digital design required in the same way that they build steel frame homes.
The pre-made beams are light, easy to assemble and can be extended, turned into strong right-angle or adjustable corner joints, T-joints and curves of almost any variety (see joints below).
Below is documentation of the process for pre-making these beams
Prep Cardboard
Double Ply Corrugated Cardboard as supplied, comes in 7mmx 2000mm x 1450mm sheets and doesn't fit on the 2400 x 1200 Bed of the CNC so it needs to be cut down. Were possible we like to process cardboard to the required 2000×1260 before shelving. but in the case of these beams we can squeeze a little more out of each sheet by prepping sheets 2000 x 1300.
Jig for this operation has been constructed. The second version of the jig secures 4 sheets of the material and provides a fence for the circular saw make a square cut. V2 of the jig folds down for storage, and can be adjusted to cut different width sheets. The fence has a gate hinge design for easier operation.
This operation requires 2 people and one to inducted and confident using the circular saw. Fesstool dust extractor should be used for dust extraction and clean up after. a crew of 2 people can process about 80 sheets in 1 hour. ( 240 Beams)
Prep Order of Operation
- load 4 sheets of cardboard off the sheet trolley/ pallet onto the Jig - check that material is square in the Jig
- Place jig top onto cardboard
- Start Fesstool
- Use Circular saw to cut material ( second operator to guide dust hose)
- turn off fesstool
- lift jig top off onto shelf
- Shelve cut material
- bin/ store waste
Approx time 40 sheets per hour
Crease and cut
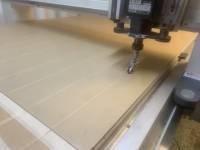
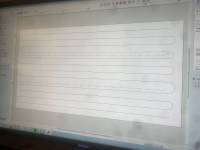
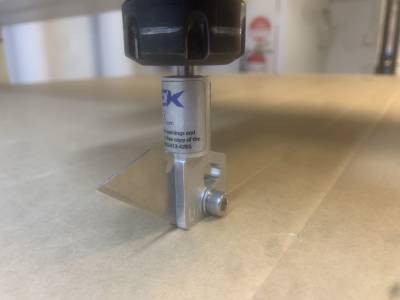
Next use the CNC machine with Donig creaser and drag knife attachments to make consistently measured crease lines in the cardboard and then cut the sheet to the beam size (3 beams per sheet), Theres foam bed fitted with end-stops to position sheets accurately to ensure a straight, squared creases and cuts. zip of VCarve File
Crease Order of Operation
1- Place foam waste-sheet/cutting jig on bed on bed - marked //beam cutting & creasing jig//
2- Switch to creaser attachment on spindle

3- Select drag-knife as tool in menu (T-16)

4- Qualify tool manually [F24] to required crease depth (jog tool to approx z depth and test for optimal crease (deep but not so deep that wheel is breaking/tearing cardboard

5- Load file [{{ :engagement:grumpus:workshops:giantcardboardstructures:creaser_toolpath_20000.zip |creaser_toolpath_20000.nc}}]

6- Place prepared sheet onto CNC bed (ensure square on bed) waxy side up (corro showing thru down) and factory cut side aligned to 0 on the y axis
7- switch on vacuum bed

8- start job & monitor
9- Switch off vacuum bed
10- Shelve material ready for cutting
Repeat from step 7 untill you run out of cardboard or you cant go on anymore
This takes approx 3min to machine crease a full sheet ( 3 beams)
Cut Beam - Order of Operation
- Switch to drag knife attachment changing to a new blade for each day minimum.
- Select drag-knife as tool in menu (T-16)
- Manual Qualify tool z depth - try to cut through sheet completely without draging knife-block - this will wreck the job.
- Load file knife.nc
- Place foam waste-sheet/ crease/cutting jig on bed
- Place prepared sheet (creased in last operation) onto CNC bed (ensure square on bed)
- Switch on vacuum bed
- Start job & monitor
- Switch off vacuum bed
- Shelve material ready for fold and glue
This takes approx 3min to machine cut a full sheet ( 3 beams)
Fold and Glue Order of Operation
0. What you need:
- Gloves ( timber on the jig is sharp and saves you getting hotglue burns
- Clamps (6-10 is optimal)
- Hot Glue gun, extension lead and spare glue sticks ( /check the gun is fit for service and make sure nobody will trip over your lead)
- 2.5 beams per hot glue stick.
- You can get into a rhythm and get thru alot of beams if you production line it (each focus on doing one part of process)
- Folding Jig (one on side of the table and Glueing jig (on the other side) screwed down to a bench.
- A stock of precut & creased beam sheets
1. Fold use the crease in the cardboard and the hinged folding jig to fold the first internal 3 right angles on your beam
Work from one end of you beam to the other, usually in three moves per fold
Since these photos were taken, a second hinged board has been added to the top. this makes it a little easier to secure the cardboard and make a clean fold
2. Once you have your three folds done, the process moves to the glueing jig. 1st make you final fold by hand and tuck this in to complete your Square profile

{{:engagement:grumpus:workshops:giantcardboardstructures:last_fold_in_the_gluein_jiggery.jpg?200}}
Fusion 360 File for the Beam Glueing Mitre boxes
3. Once you have your square profile clamp in place and start glueing
4. You may need to space out or add more clamps when you remove your finished beam. Allow to cool before removing your clamps. If you have enough clamps some can be on the cooling beam while you use the others for the next beam.
5. Don't forget to pack up your tools and store your beams when you run out of steam8-)
Different joints and applications of the beam
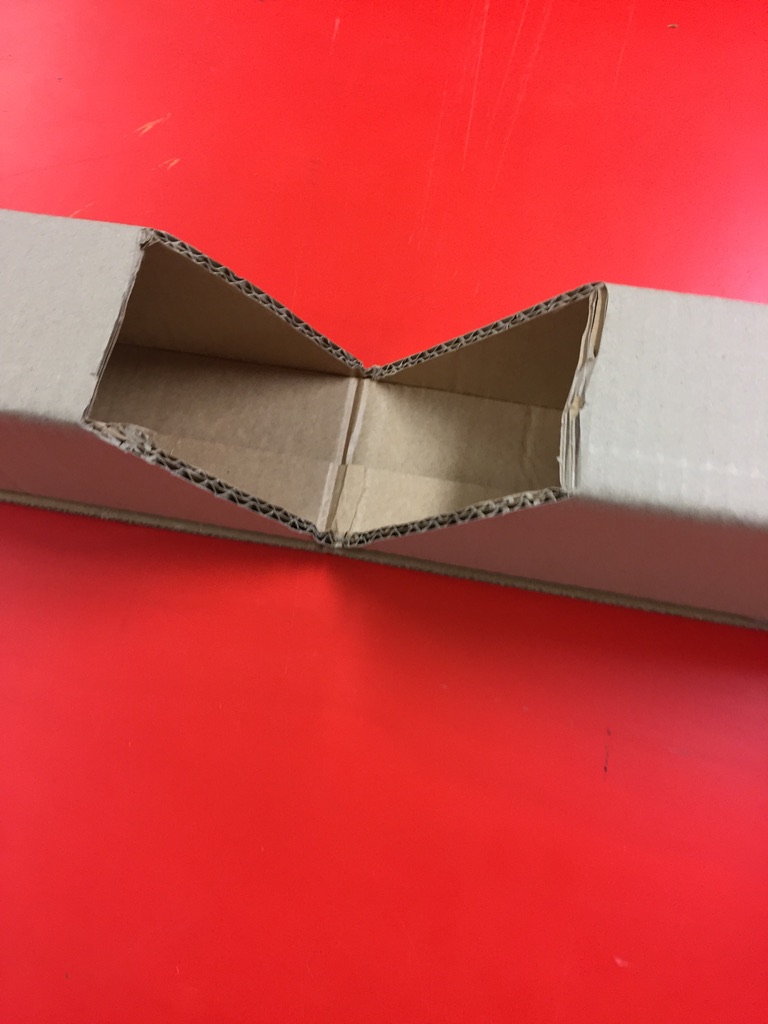
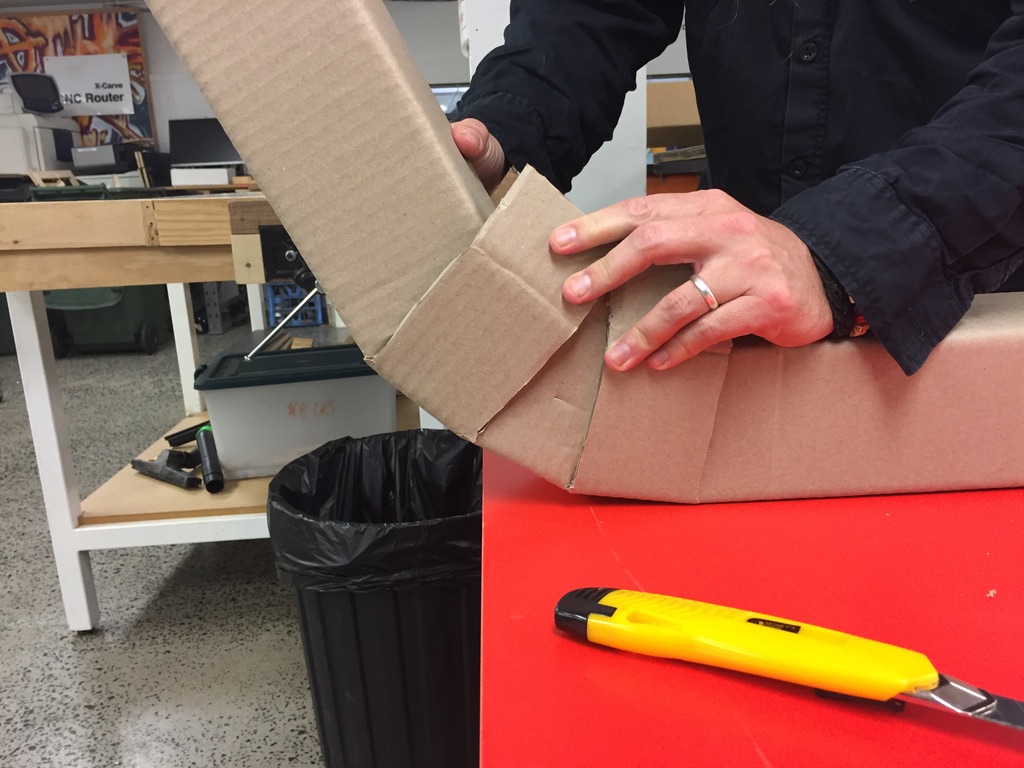
Right Angle Corner Joint
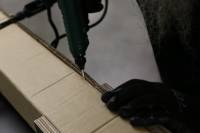
use the 45Deg angle on the glueing jig to cut out a void
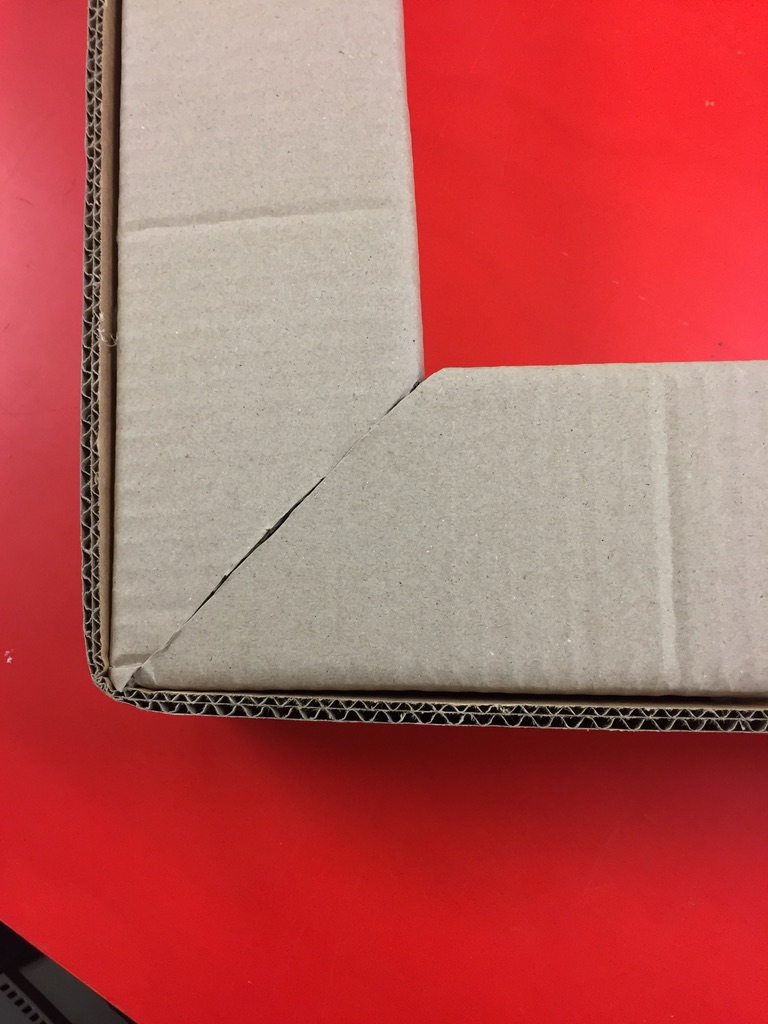 You can glue a piece of cardboard over the outside of the joint to secure it or refrain from cutting the whole V out and use excess as a glue tab.
T Joint
You can easy make a strong T- Joint
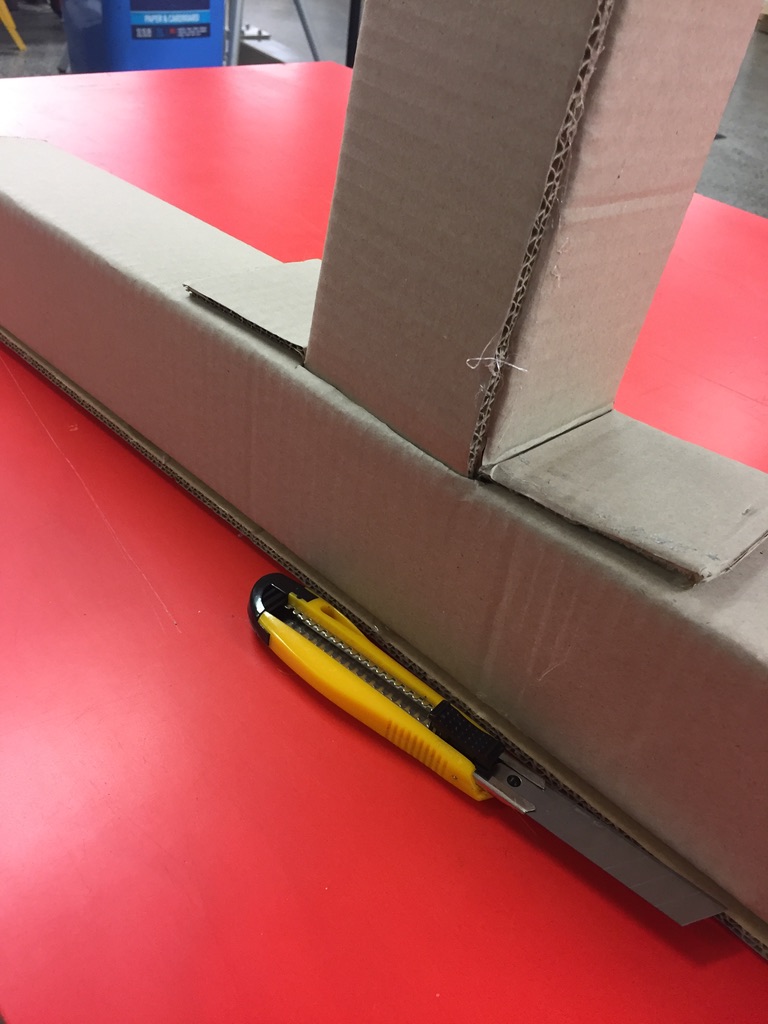
On your vertical beam in the T, cut down, one beam width, on each corner
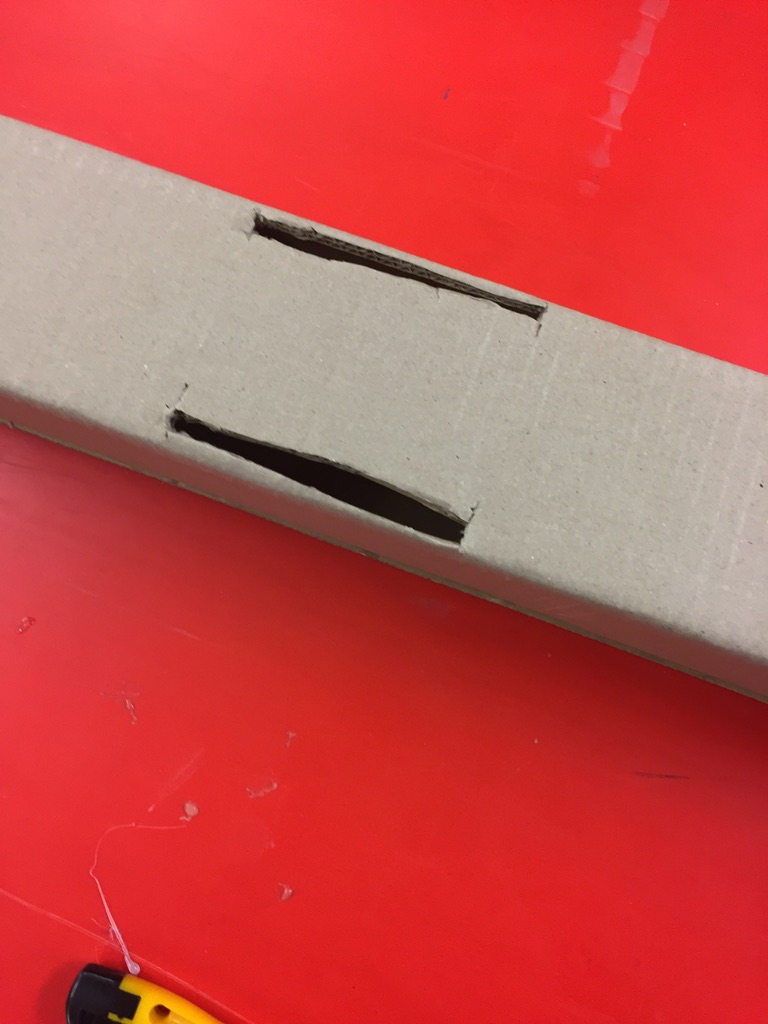
On the Horizontal of your T Cut out a couple of slot shaped hole for the end of your vertical walls to slot into
Add some hot glue to the outside slots of your vertical beam and assemble. Glue the folded down flaps to the the horizontal part of your T
3 axis corners
A crossbetween the right angle and TJoints, add your vertical part of the T to a Right Angle joint and Glue down the flaps
Curvy Beams
Reinforcements
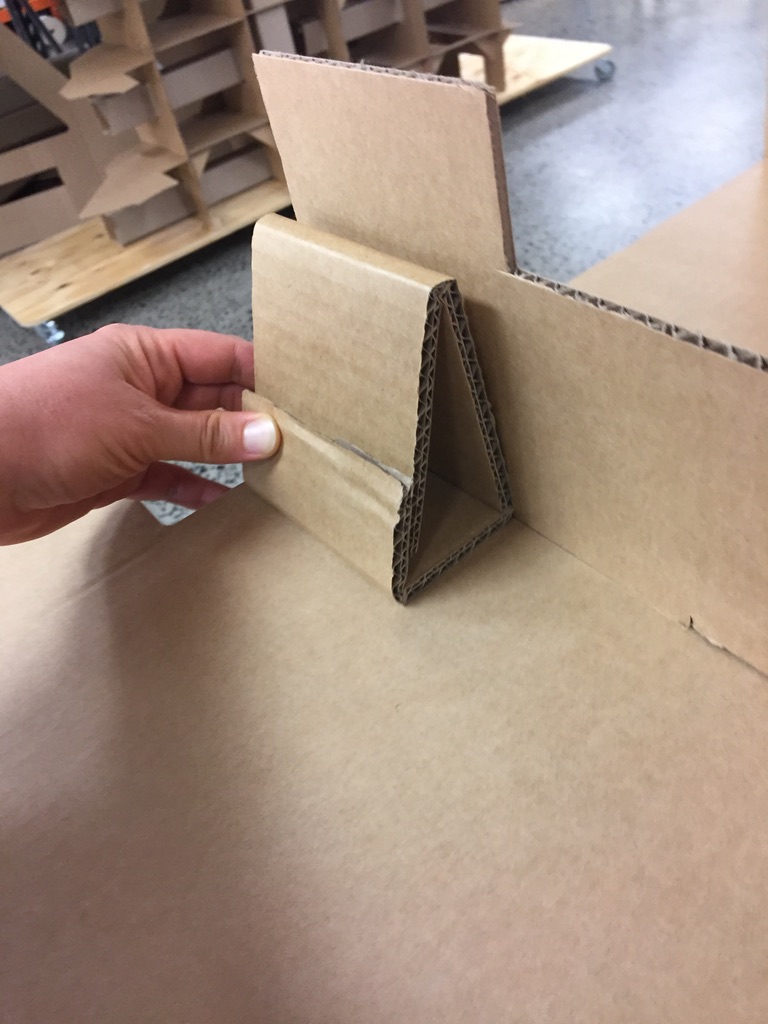
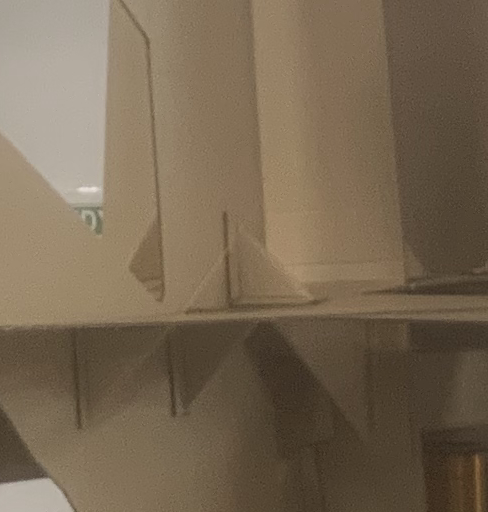
If you need more reinforcement you can add one of these simple triangle corners.
