Table of Contents
Laser Cut lampshade - Illustrator edition

Background
This project was initially developed by Holly for the 2015-16 Core Workshop Program. Participants created a beautiful timber veneer light shade. Filigree patterns were drawn up in illustrator and cut out on the laser before the veneer was steamed and shaped around a cylindrical form.
While the activity was engaging and final outcomes were beautiful there were a number of issues with this first version of the workshop.
- the process of steaming and shaping the timber laminate was time consuming and participants could not finish the project in the allocated workshop time.
- This left little time to learn illustrator or to fully engage in the creative design process.
- The material ( timber laminate) did not lend itself to a wide range of design motifs- it cracked broke if you tried to cut the wrong shapes
- materials costs were expensive making the workshop not financially viable.
Freelance Interior/homewares Designer Dasomm Choi was approached to develop a new lamp activity, this time ensuring:
- participants developed a basic level of skills in Adobe illustrator as a design tool for the laser cutter
- a workshop activity that could be completed in a single session ( a focus on taking people thru, at least an abbreviated, process from start to finish (designing in illustrator, prepping files for the laser, cutting on the laser and constructing a finished product) and having a finished
- an activity that came in under a reasonable materials budget
- an activity that produced an attractive outcome for first time users but that had the possibility of further customisation for my experienced designer/illustrator users.
- the lamp design was applicable to a range of uses (desk/coffee table lamp, pedestal lamp, pendant lamp.
- there was time in the workshop to properly cover the Laser induction.
Materials
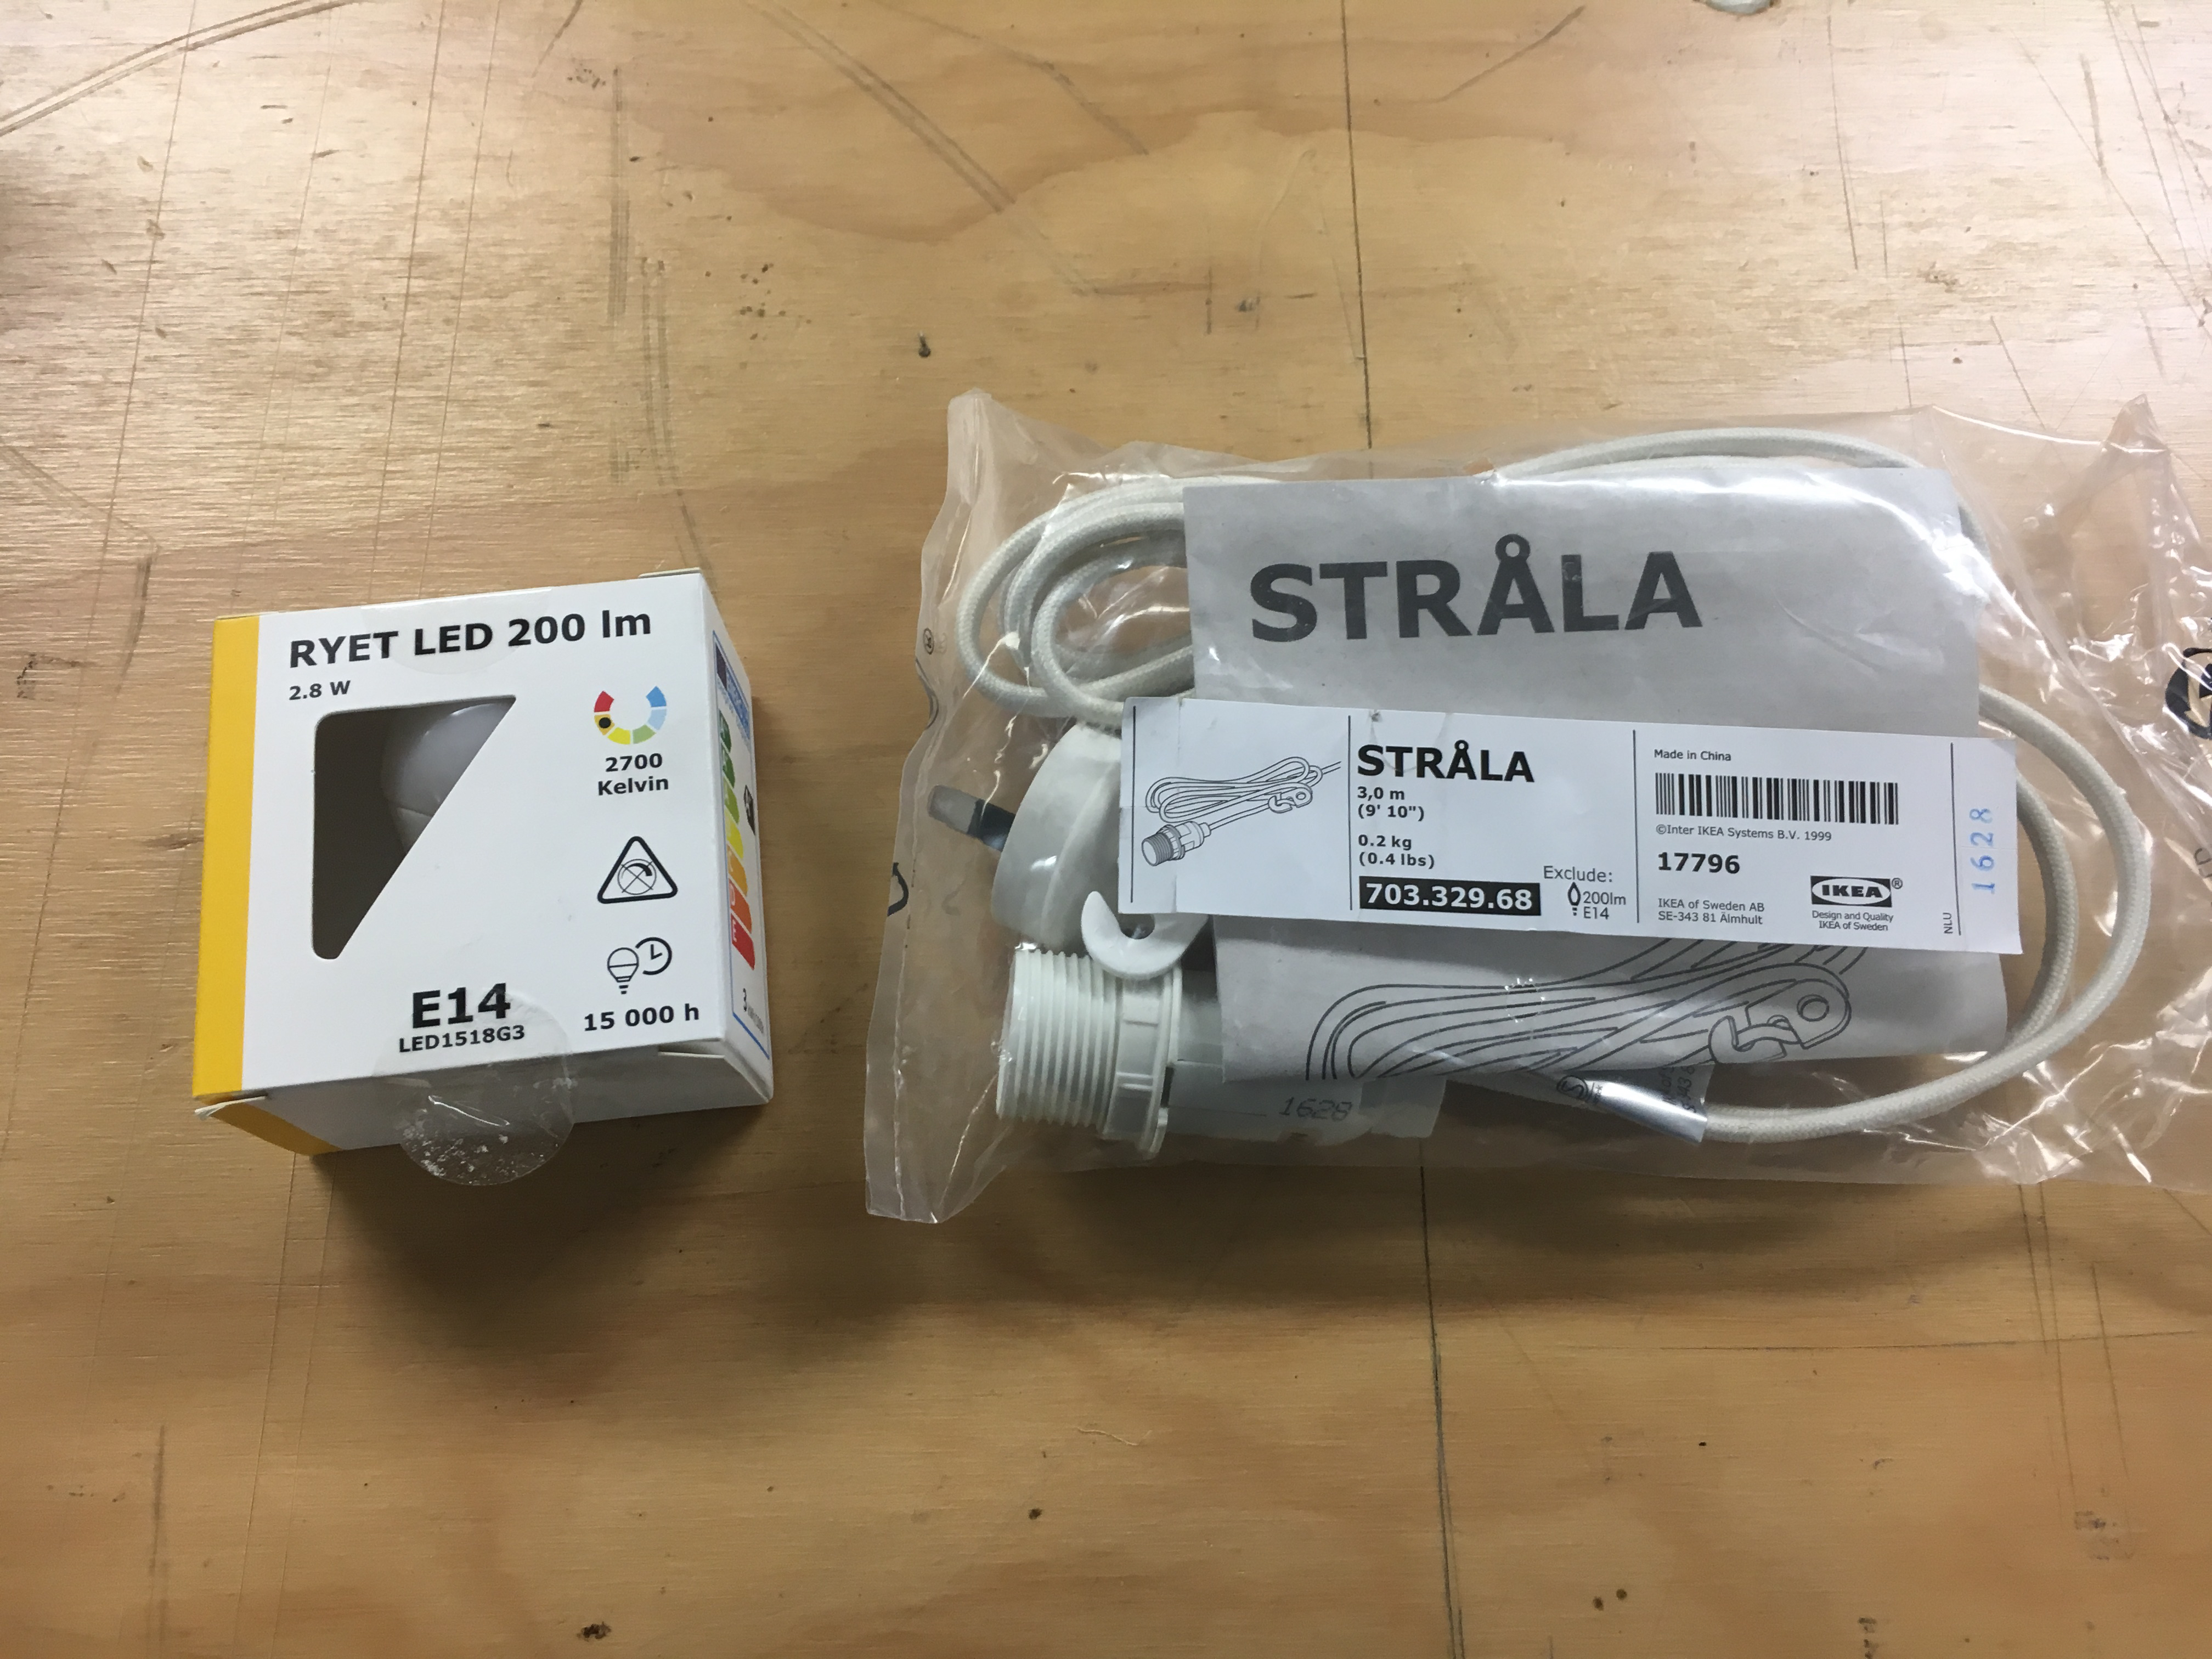
Lamp set ($7)and bulb ($3)
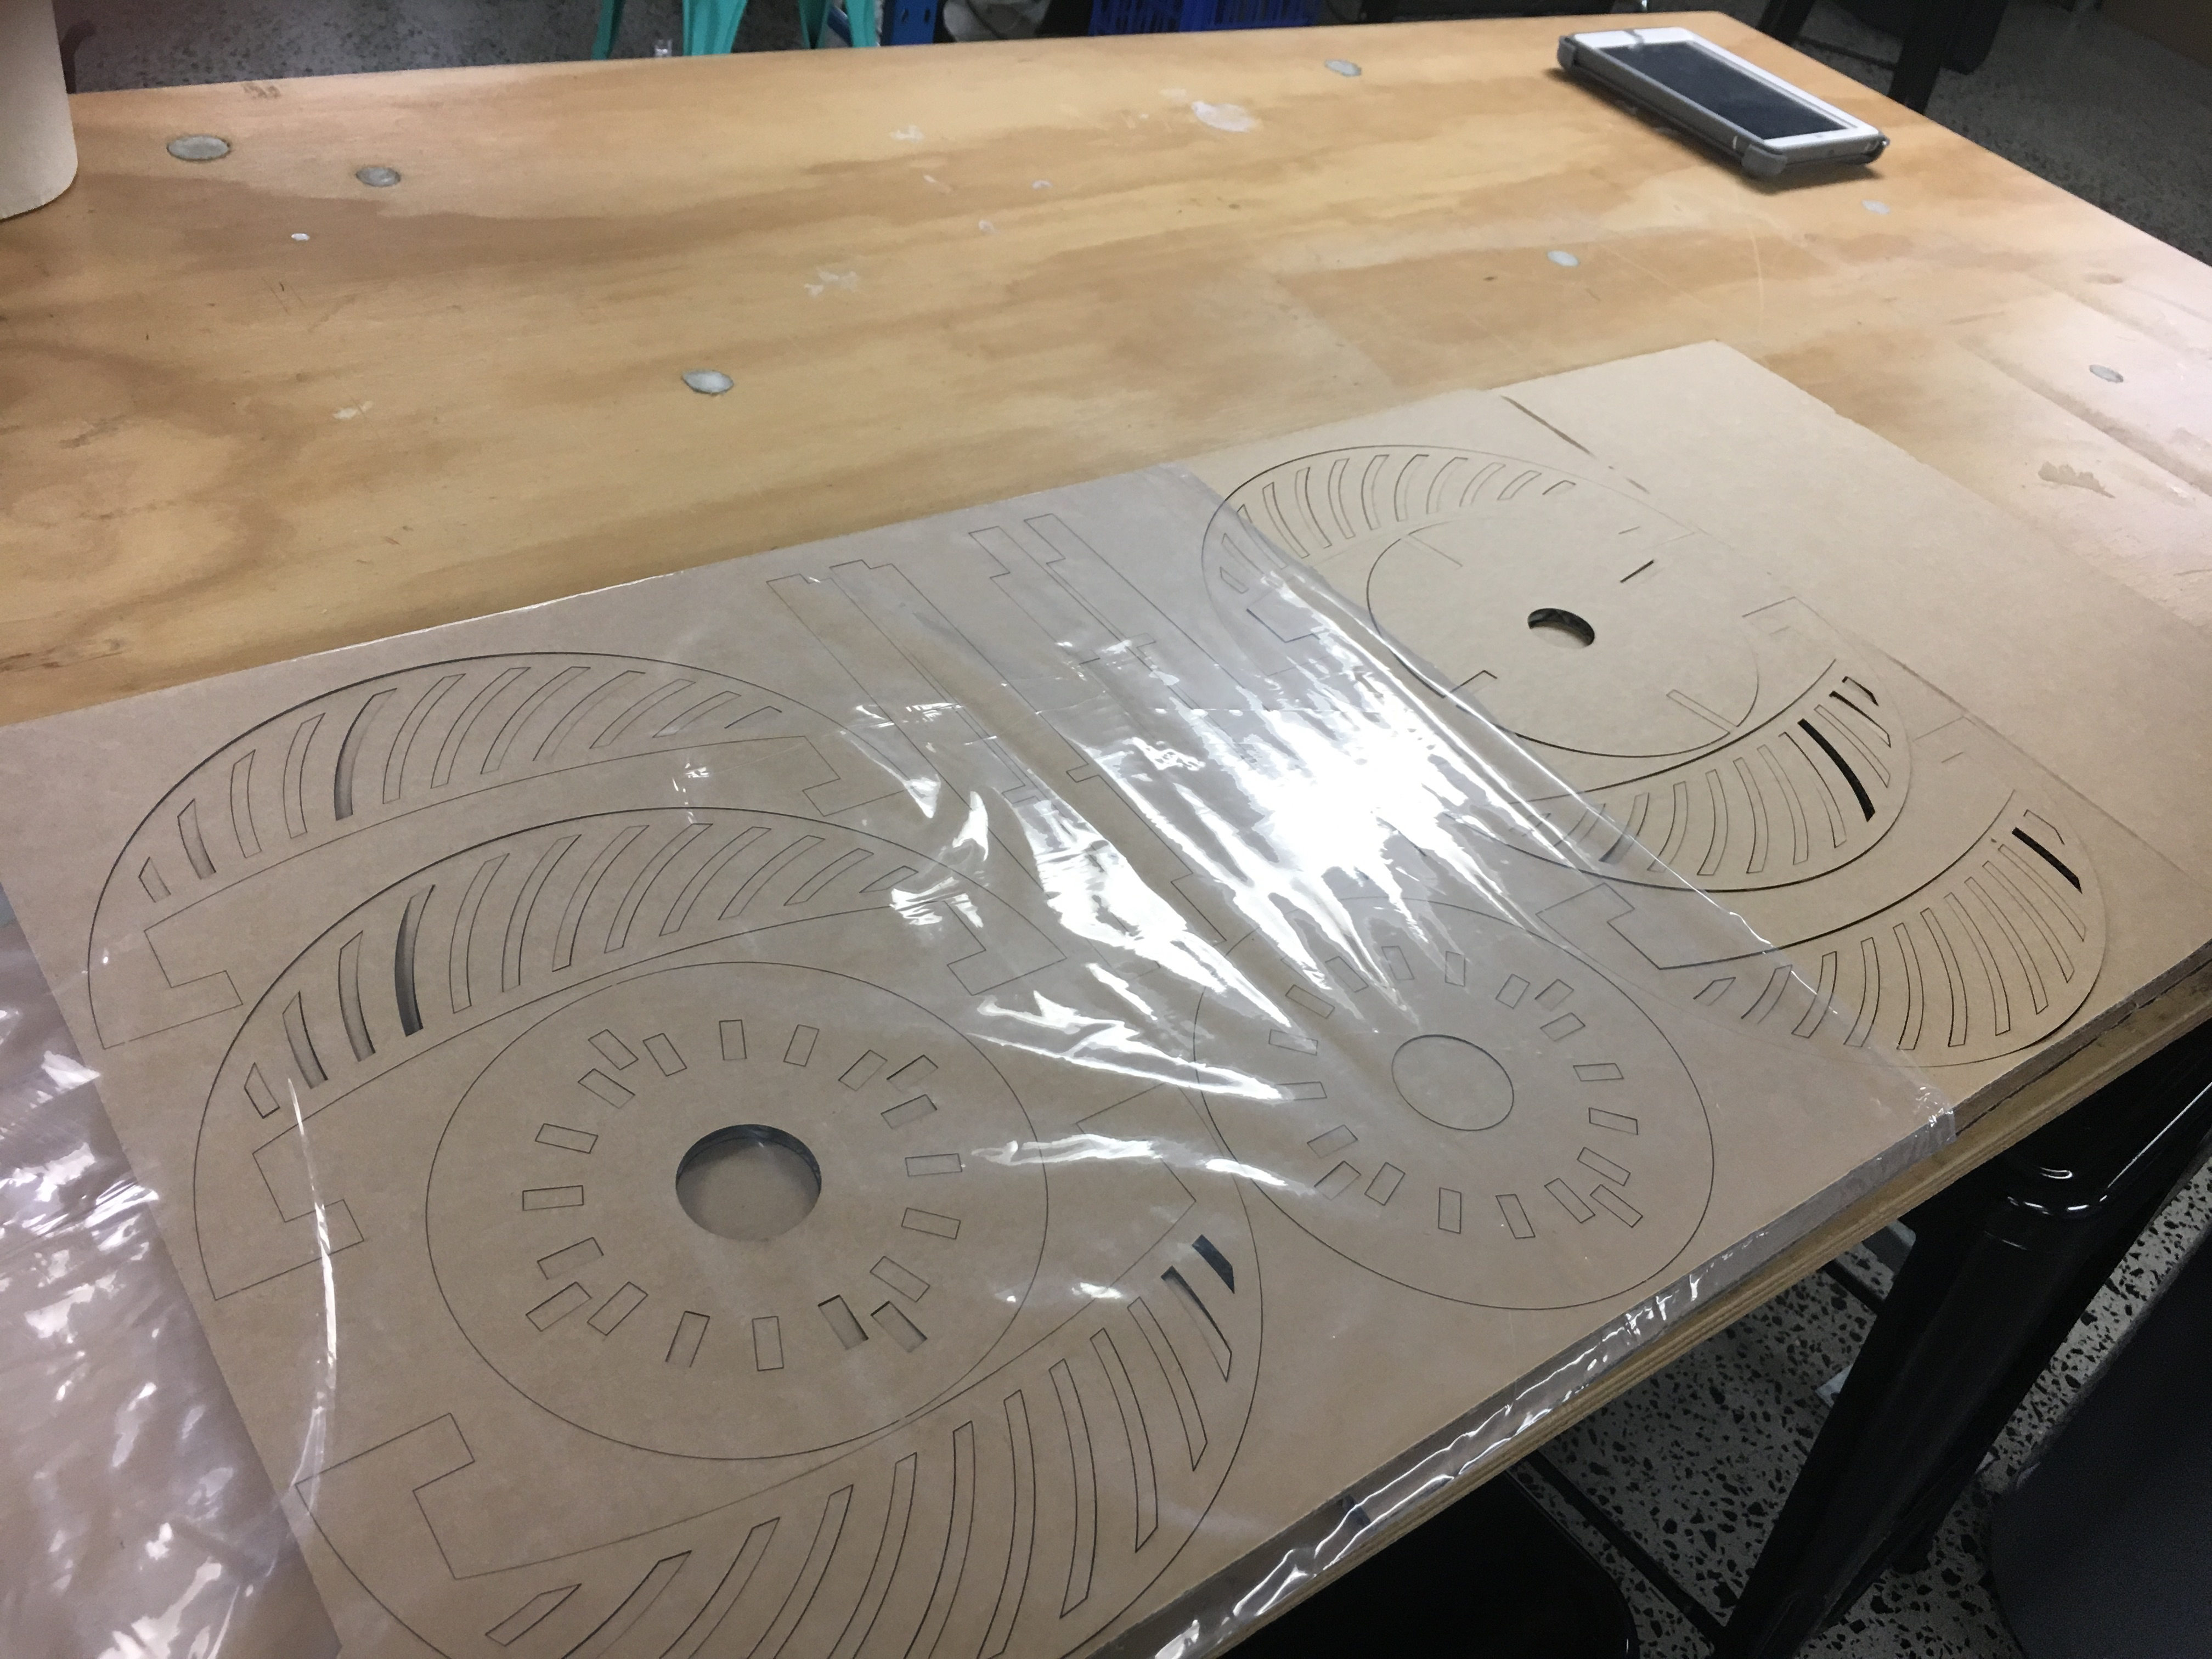
Approx 2 730×430 6mm double ply cardboard (~$1.50)(see files below)
- one spare for cutting during the workshop
- one with this file pre-cut on it
Making sure this file had bridges made it relatively easy to get the cardboard out in one piece.
Putting it all in a poly bag is a nice touch that the participants seem to appreciate and it also means that part are not lost as was learnt in the masks workshops. lamp
Tools
Laser Cutter illustrator on DML iMacs *
* this and a couple of workshop is now being scheduled between the DML and FL to encourage patrons to start using DML computers to design for FL fab tools
Instructions
See below for the Lesson plan Dasomm developed
Feedback from the first delivery
- Participants were engaged by the lamp customisation activity
- Participants seemed to cope with the technical content
- Making the design slightly smaller (~2%) would mean that the precut parts fit more economically onto the cardboard
- Dasomm will impress upon participants to keep their designs simple to ensure all the participants get their files cut
- Getting parts cut was made easier by having a second set of hands in the room
- Splitting the workshop between the two spaces made it difficult for facilitator and the time moving between spaces was significant
- Facilitator needs to be able to run laser induction
Files
July 2017 Revision
Completed a new design for the lamp shade that uses less materials and cuts quicker. 
- Basic file can be found here.
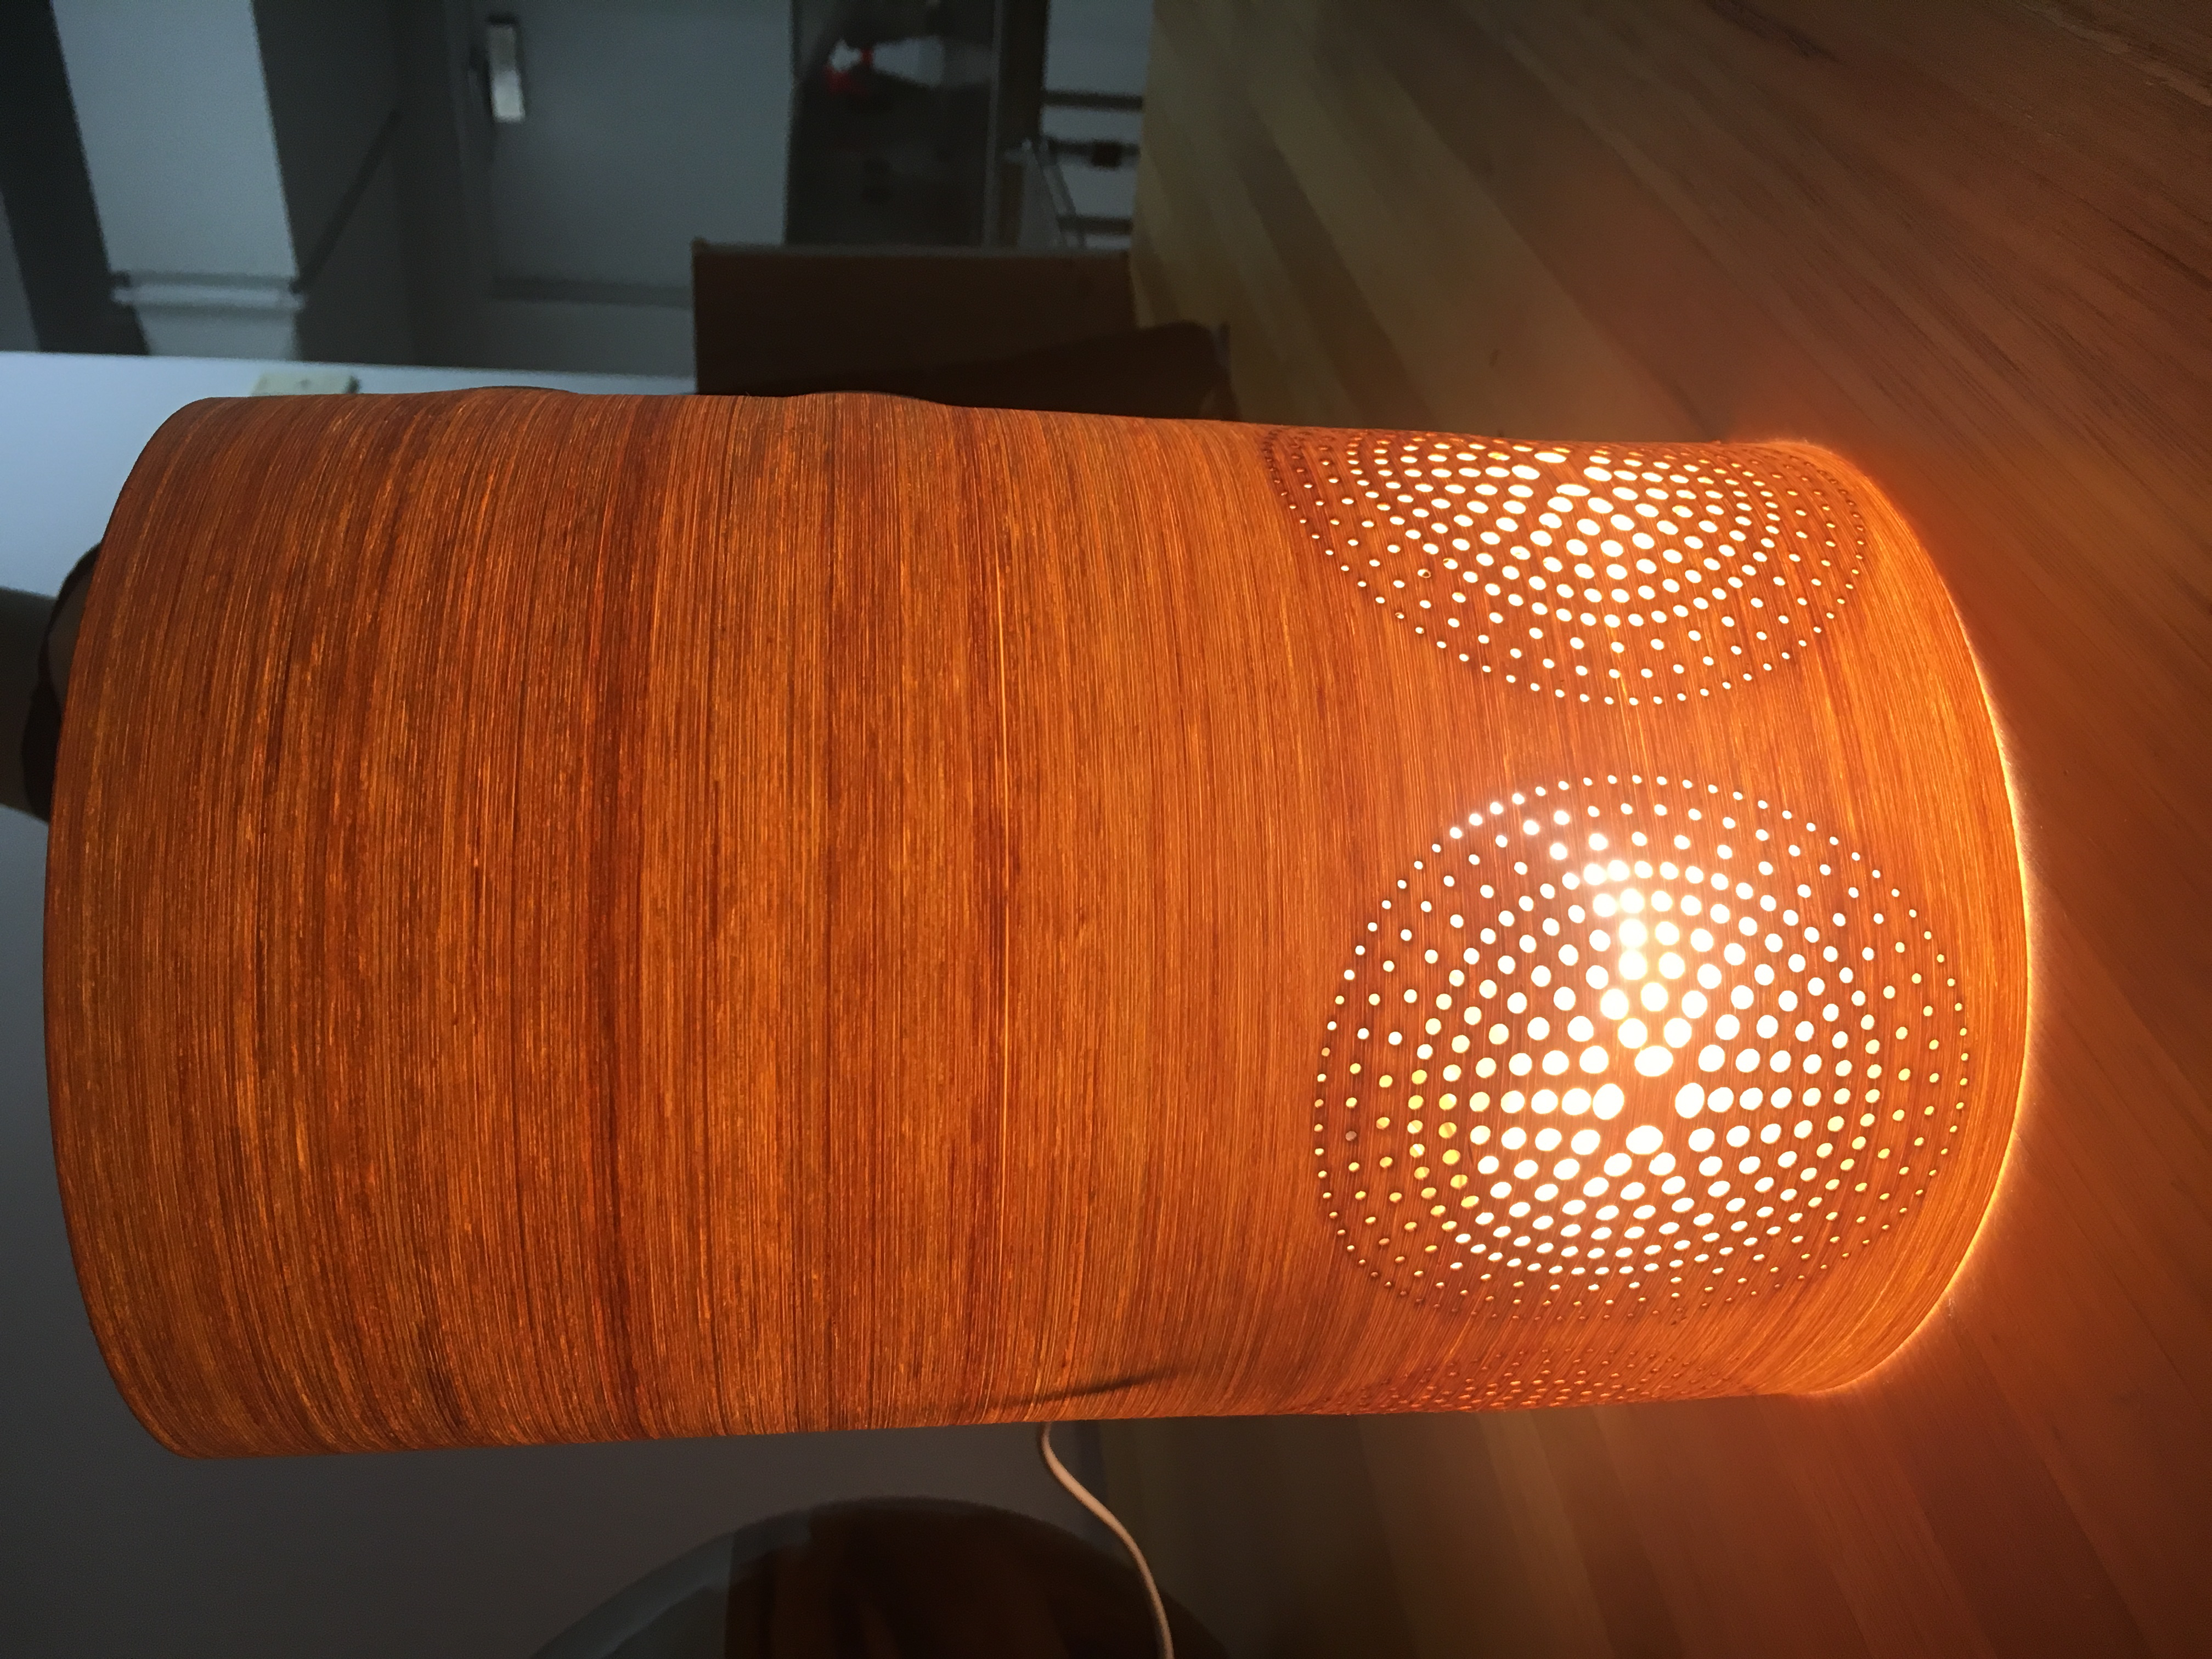
- Better version can be found here. It's photographed below.
- Cut time without design @ 3 minutes.
- Example with full wrap about text took @ 13 minutes.
Workshop structure modified to allow participants to modify the design below the notches for core hexagon. Hotglue has been applied to tabs on hexagon and inside upper seam of the lamp shade.
Would suggest some diffuse material adhered to the interior or lighting gel/cellophane to give it colour.
Could be used as a desk lamp by turning the design upside down and adding a notch for the power cord. In this instance would suggest securing the lead in the underside (tape or zip tie to the cardboard) and adding some weight the the underside as the base it relatively narrow and might easily tip.
There is also an option of adding a second hex to the base in this instance to hide the cord, coiling some inside to add weight. Might make it difficult to change globes but by that point I am assuming whole lamp will need replacing.
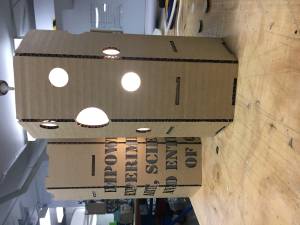
Material used is a 4mm corrugated board. Black lines are cuts made at the etching power setting to create a solid etch.
Corrugation must run across the design ( —>) to allow for a clean fold on the black cut lines as corrugation till snap on the score when bent. Otherwise the hex won't fit and the whole design goes to heck in a hard cart.
In instances where there are design elements wrapping and fall close to the black cut lines, suggest running a sharp scalpel or blade down the line after the laser to ensure a clean break. If you were paranoid about getting a clean fold out of the cardboard, run the blade down the lines to break the corrugation prior than 'snapping' to make the fold lines. This would be wusses response.
Further edit 29 July 2017 Have modified the design for a desk lamp style setup. While the overhead design is nice, it highly impractical to display. Have also put together a prototype with diffusion in it, which looks much, much better. Picture of it is here.
When running this workshop with Corel Draw...
We've started delivering this workshop in Corel Drawer as opposed to Illustrator, which makes using an AI file another step that complicates the matter. To that end, below is a link to the Corel Draw 2017 file and a PDF that can be dragged into Corel.
Remember, you need to downgrade the final files the participants generate to an earlier file format as the licences in the Fabrication Lab are older than the laptops. Consider saving as a PDF and import into Corel Draw at the laser?
Anyway, the files can be found…
Workshop plan
in 2x 2hr sessions or 1 4hr session
Workshop 1 Section 1
10min
Demo of the laser, cut out our lamp and briefly show how it is assembled
Workshop 1 Section 2
30min Intro to designing for Laser in Adobe Illustrator
discuss/ demonstrate
- Whats AI and vector Graphics
- Place some artwork
- Navigating layers - lock off reference and digging down into a design
- Selection and Navigation tools
Place some reference artwork on artboard and use drawing tools to trace
- Simple Drawing Tools lines
- Line Thickness and colour
- Transform, Grouping, Joining, mirroring
- Paths, guides, joining and find outlines and the Pathfinder tool
- Text Tool
- Trace reference material
- Live Trace
Workshop 1 Section 3
30min
spend 2 min max googling an image to use as a reference searching “___ silhouette” - make sure its simple
Participants then have 25 min to trace a shape that can be incorporated in the lamp design.
Workshop 1 Section 4
Workshop 2 Section 1
20 min Laser Induction slideshow
Workshop 2 Section 2
10 min Demo the cutting process on the laser.
Workshop 2 Section 3
10 min Demo Constructing the lamp
Workshop 2 Section 4
Complete Induction/ cut in pairs and build lamps. Complete paperwork
Workshop 2 Section 5
Reflect on experience
ai_for_laser_lamp_v3_mbyrne.cdr workshop_plan_illustrator_for_laser.doc Laser settings Etch 45 Power 100speed Cut 25 Power 2 Speed Score 15 Power 2 Speed
illustrator lamp template file and keyboard shortcuts handout
