Table of Contents
A4 / 5 & 6 Vacuum Formers

This project was developed by Andrew & the 'Hack The Evening' team at The Edge in 2017.
Further documentation can be found at https://www.thingiverse.com/thing:1951311.
Note : This design was further developed from work done by Aether (see https://www.thingiverse.com/thing:35486)
Intro
Vacuum forming is a way to produce a mould from a solid form by sucking a softened ( heated ) plastic sheet over the outside of the form. Moulds that can be used as packaging ( the tray in a box of chocolates, for example ) masks, or when joined in pairs, to cast solid or hollow objects from other materials ( a chocolate Easter egg, for example ). The form could be made from clay, plaster, 3D printed or an existing - heat stable object. The mould material is usually a thin ( about 0.5mm ) sheet of a thermoplastic such as PET, polypropylene or HDPE either new, or recycled ( 2L milk bottles are a cheap but labour intensive source of food grade HDPE ).
The design of the mould needs to avoid sharp undercuts or overhangs, as this might prevent the form being removed after the mould has been formed. Fine surface detail might require a thinner sheet of mould material for effective reproduction.
This design has been used successfully up to A4 size with a domestic vacuum cleaner as the source of suction. Larger formats may require a stronger vacuum to work effectively.
Materials
- 50mm extruded polystyrene insulation foam
- 6mm plywood
- pegboard
- aluminium insect mesh
- 6 M6 x 20 countersunk machine screws
- 6 M6 flat washers
- 6 M6 wingnuts
To make a mould
- A5 pieces of a thermoplastic (many varieties are possible, we use HDPE from recycled milk bottles)
Tools
- CNC router or jigsaw to cut plywood and pegboard
- CNC knife or boxcutter to cut foam (hot wire could also work)
- snips to cut metal flywire
- hot glue gun and glue sticks
- drill and bits (6mm and countersink bit)
To use the former you will also need
- craft knife to cut the plastic to size
- A5 jig or metal ruler
- heat gun (paint stripper) to soften the plastic
Step 9 - Using the Vacuum Former
The following pictures show the vacuum former in action making a waterproof enclosure for an electronics project.
The material used is an A5 piece of HDPE plastic, which can be cut from a clean 2L milk bottle.
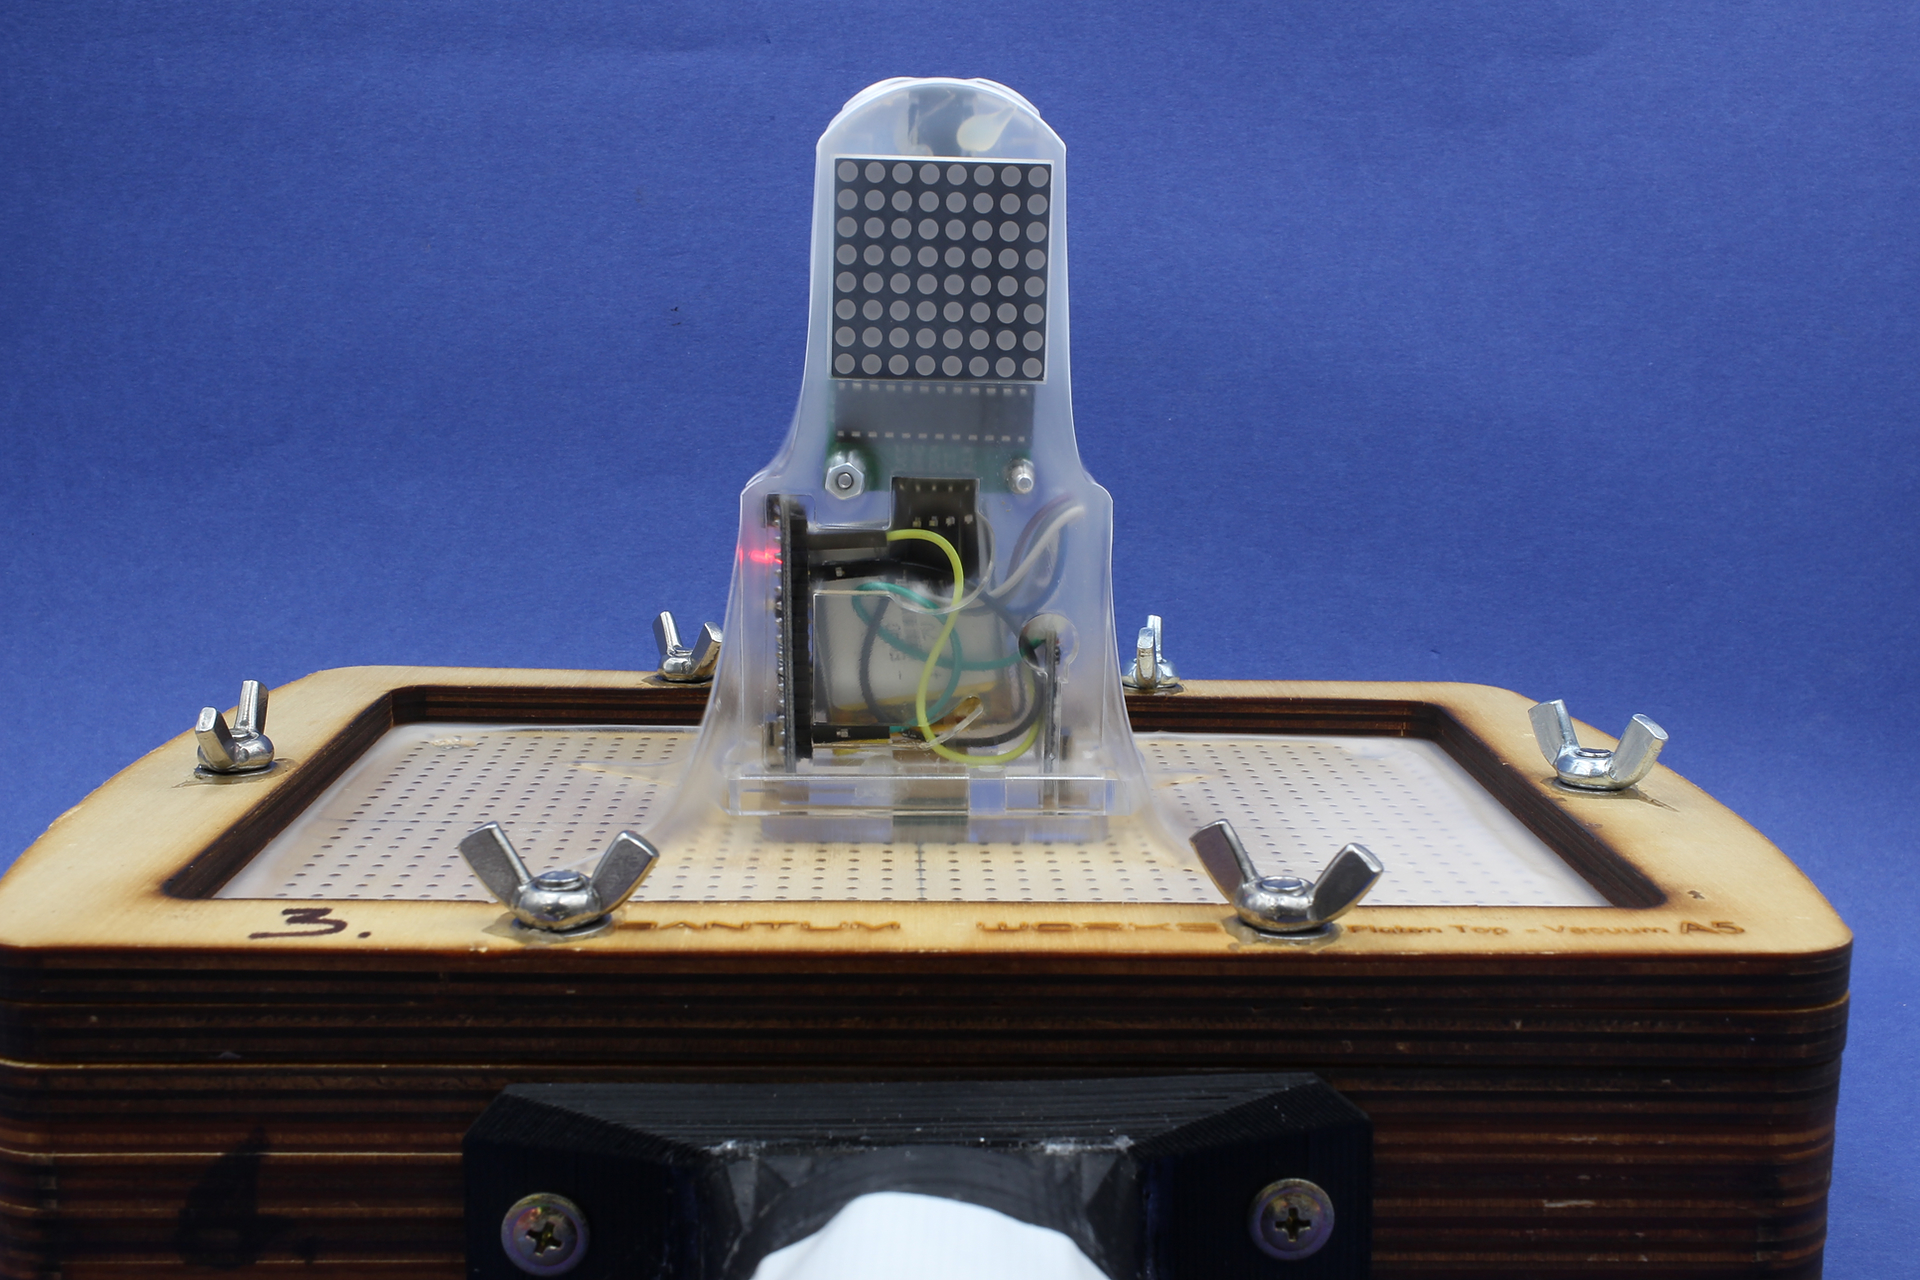
Note that this model of the vacuum former has been made from multiple layers of laser cut plywood (cut files available on request), instead of the polystyrene foam. This produces a more robust device but at much increased cost.
Prepare your Plastic
Unscrew the wing-nuts on the vacuum former frame

Fit your sheet of plastic in the frame

Tighten the wingnuts firmly

Begin heating your plastic with the hot air gun

It will slowly start to go clear

Keep heating
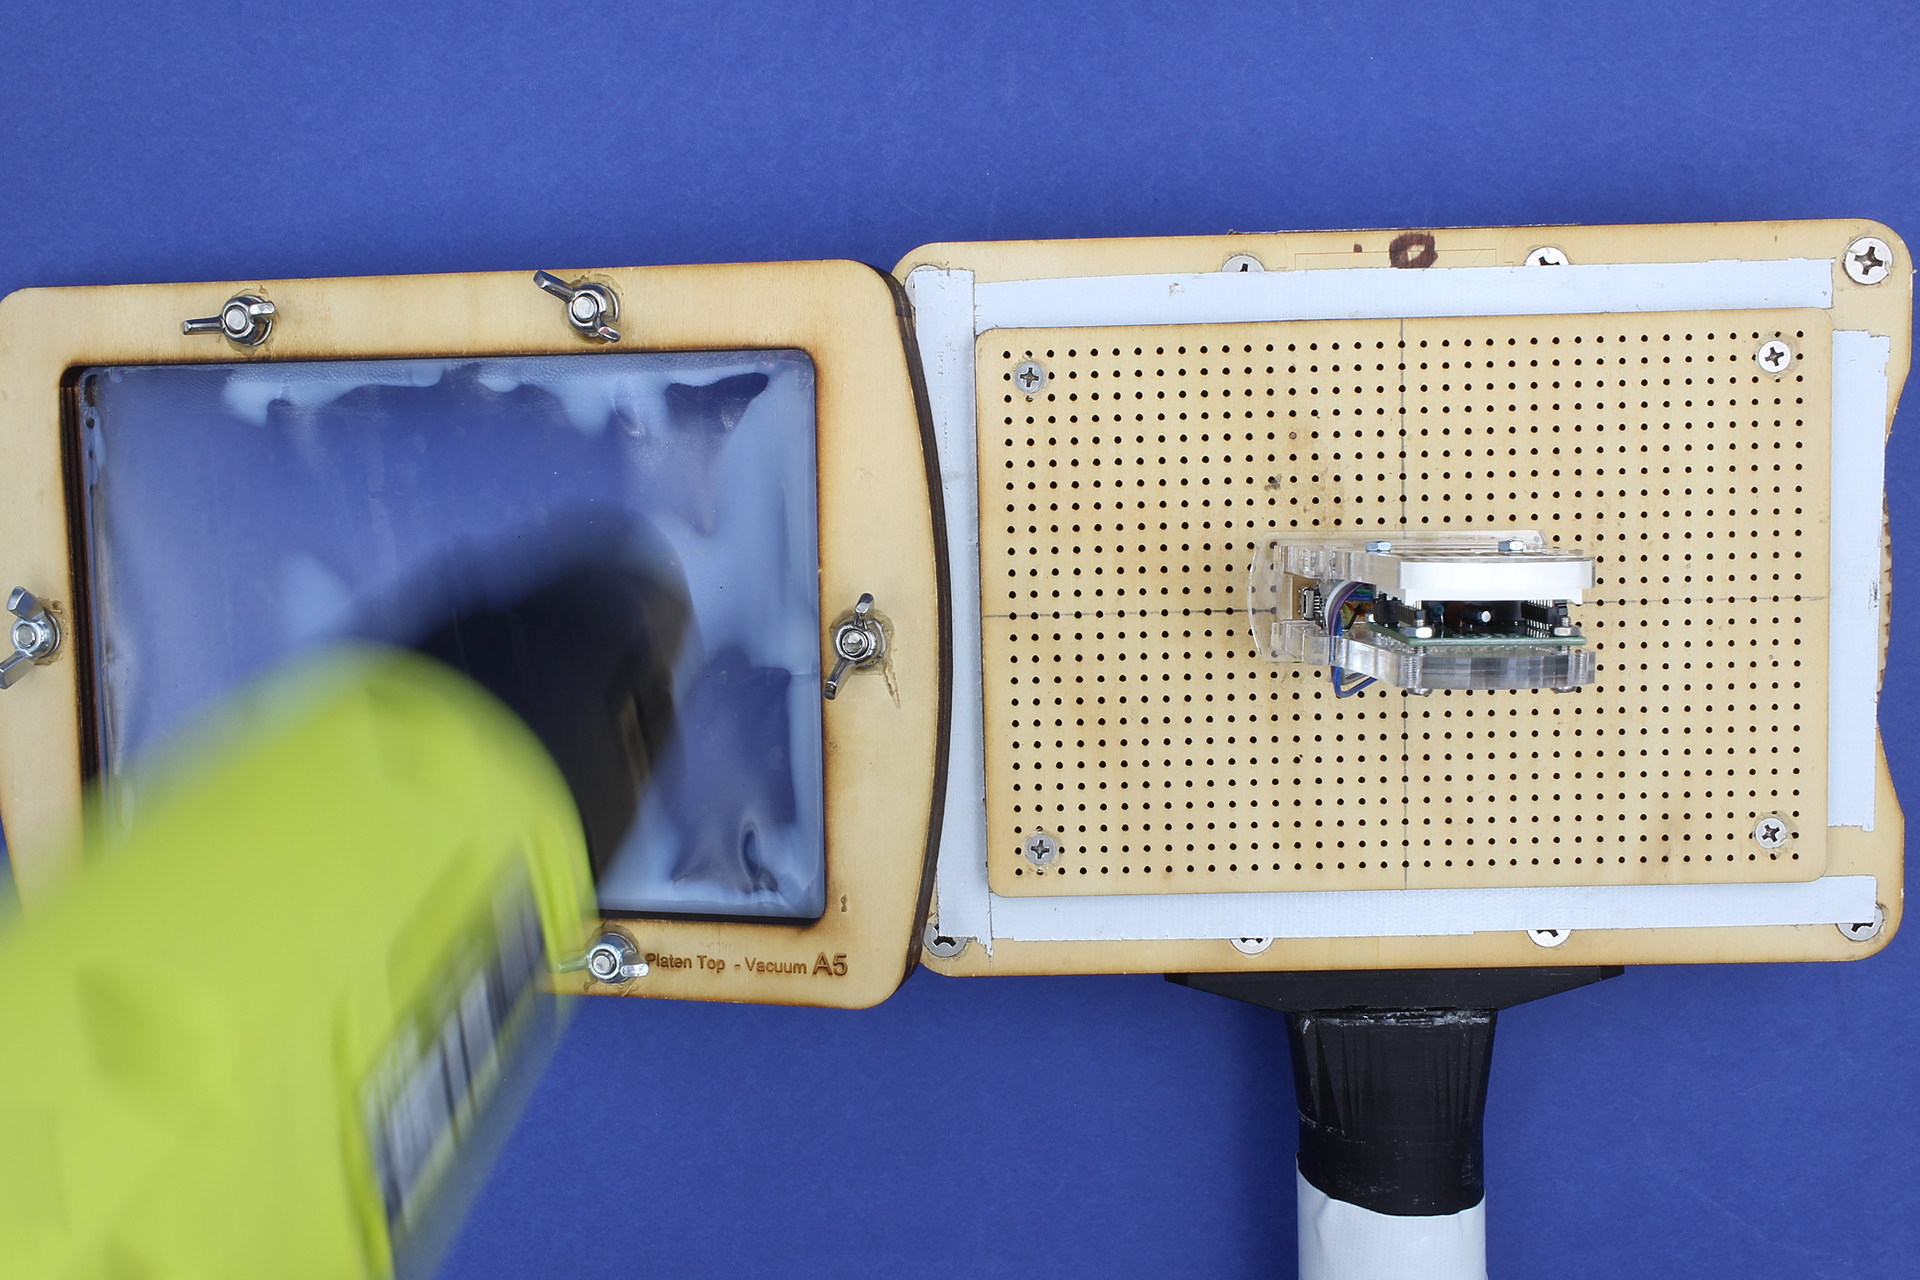
When the entire sheet is clear - grab it

And lower it over your object to be vacuum sealed
- do it from the top - looking down
- do it quickly! You have about five seconds before the plastic starts to cool

Turn on your vacuum ….fast
Turn it off when the plastic has gone milky again

Congratulations ! You've made a vacuum form!
Development notes
Documentation to be completed …
Feedback
References
thingiverse :
Files
Version 1: made from multiple layers of 6mm plywood, using a laser cutter. This design is very robust, but requires a lot of laser time and relatively more expensive materials.
a5_vacuum_former_cutfiles_v1.zip
Version 2: made from extruded polystyrene insulation foam, pegboard, aluminium flywire and 6mm plywood, using a CNC router. This design is cheaper, uses more widely available materials and less fasteners (but more glue).
a5_vacuum_former_cutfiles_v2.zip
Version 3: made from extruded polystyrene insulation foam, with central void reduced to make gluing bottom easier.