Table of Contents
CNC Induction
In this induction you will learn
- the safe operation of the Multicam CNC router
- what you can achieve with router.
- how to prepare a simple design for fabrication.
- how to assign tool paths and export for the router.
- Cutting and finishing your job.
- how to identify problems and what to do when problems occur.
Requirements
- An State Library membership.
- Closed footwear.
- Participants must be over 16 years of age
Safe Usage of the CNC Cage
- The Edge staff supervisor to be present at all times
- A Hot Work Permit must be in place at all times
- Machine be used by inducted participants only.
- No person other than the operator or other authorized persons should be in the working area
General Personal Safety
-
- Enclosed footwear must be worn at all times.
- No loose or dangling jewelery or ID cards
- Long hair or beards must be tied up
- Avoid loose fitting clothing
- Personal Protective Equipment (PPE) must be worn when operating, supervising or observing the router in operation.
- SOP for Manual handling of materials
Machine Safety
- When machine is running, keep clear of any rotating or moving parts eg. the cutting bit, spindle moving gantry and head parts.
- Do not lean on machine whilst in operation.
- Parts of the machine , particularly cutting bits, will get hot so you may need gloves when handling/ or changing tooling.
- Maintain a clean workspace-check that the gantry and rails for tooling/materials left behind.
- Clean up as you work. The machine does the messy work for you to clean up!
- Use the right tool for the job. Different tooling pieces have a specific purpose and material.
Safety - Emergency Stop
The CNC is fitted with an emergency stop.
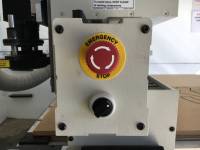
This can be activated to bring the machine to an immediate stop in an emergency.
Note -if the machine is turned OFF mid operation, wait 1 minute to turn ON. After activating emergency stop, needs to be homed.
Safety - Operator Hazards
The CNC router is capable of directly causing death or serious injuries, including amputations, fractures, de-gloving, lacerations, contusions and crush injuries. The hazardous parts of the machine are:
The spindle
- The spindle spins at up to 18,000 rpm - capable of cutting at over 10 metres/minute (m/m)
- through metal
- (or flesh)
- The bit takes at least 20 seconds to come to a complete stop.
- Every time.
- Even if you touch it.
- The bit can fracture, break or shatter.
- A bit rotating 18,000 RPM will fly out about 50 km/hr
- at your eyeball
The Gantry and Machine Head
The gantry can move at over 10 meters/min and weighs over 100 KG.
It can hit with enough force to knock a person over, or trap and mangle a limb.
Safety - Damage to Machine
- The vacuum bed is soft aluminium. If it is damaged the machine is unusable.
- Drill bits are brittle, and will shatter or crack if dropped on concrete.
- The router will cut through metal clamps and screws
Main parts on CNC machine
- Machine bed - with vacuum suction
- Steel Gantry - X axis
- Machine head - Y and Z axis
- Spindle - routing bits and collets spins at 16000rpm average
- Controller panel - Manually control the gantry and load jobs
- Inverter enclosure- DO NOT OPEN! High Voltage. Main on/off switch is located here.
- Vacuum Pump manifold - four sections can be isolated to increase vacuum.
Machine Operation
Router Preparation
- Remove the waste cover board if required (2 person lift)
- Check over the wasteboard for rough and uneven spots and sand down using scour pad
- Use compressor to blow dust away.
File Preparation
The induction contains a introduction to VCarve to become familiar with creating tool paths and design orientation. We are going to make a simple stool from pre designed DXF files
- Tool paths are demonstrated on predesigned shapes
- Sending files to ouput so the CNC can fabricate
Prepare Files
Export your file as a DXF, PDF and the original format.
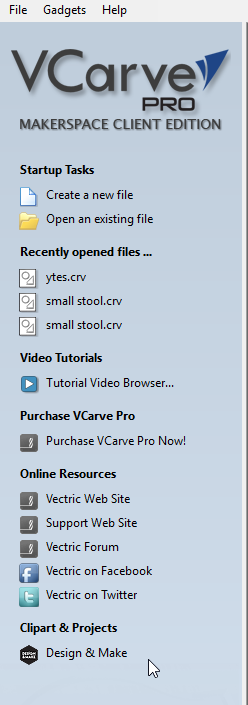
Vcarve
As of August 2017 we have moved to using Vcarve for inductions.
You can download Vcarve Pro and authorize it with The Edge's makerspace code.
86B4F-F467A-280D9-9F4C6-9C56B-4C528-BEE6F
Create a new document
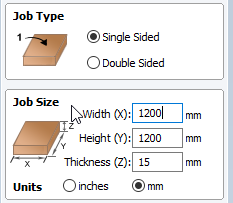
Define the Job
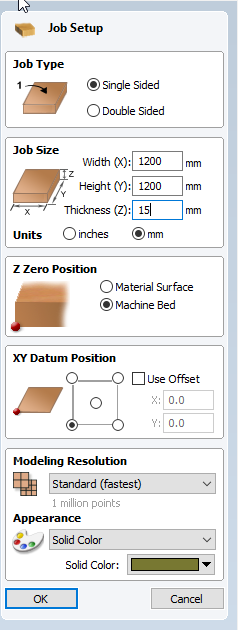
Make sure your material dimensions match your Job dimensions. For the inductions we use use a 2400x1200x17mm sheet. Measure all dimensions on the sheet!
Ensure your Z Zero position is the Machine Bed

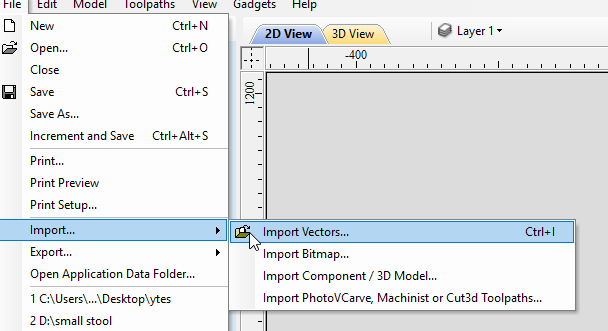
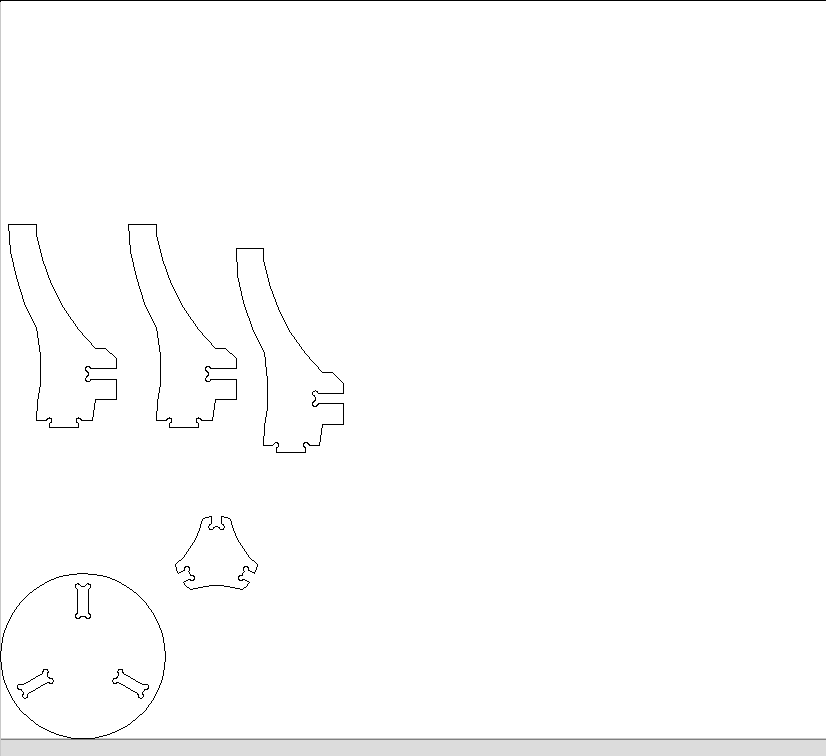
Import your first DXF shape with the correct thickness from the zipped files. Drag and drop one file at a time.
We need to check if the vectors need to be joined wtih the join tool.
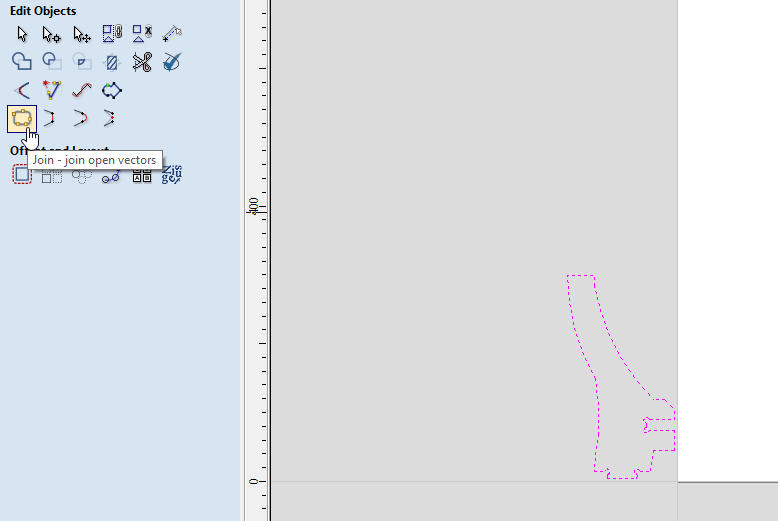
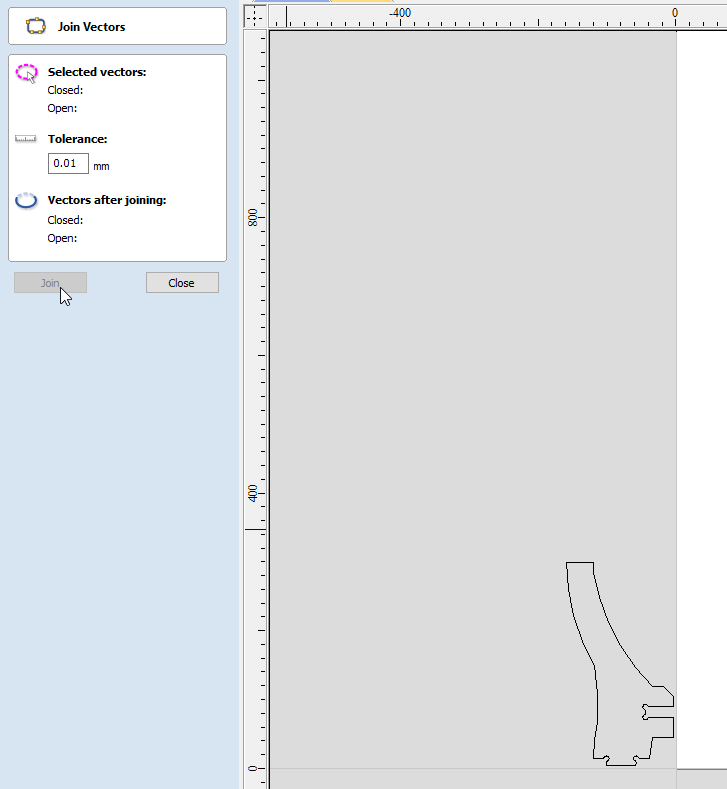
If you see open vectors, close them.
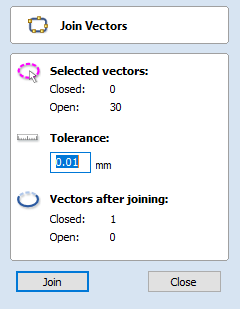
Your shape should be solid black
Import your next shape - if it has separate parts - group to move all together.
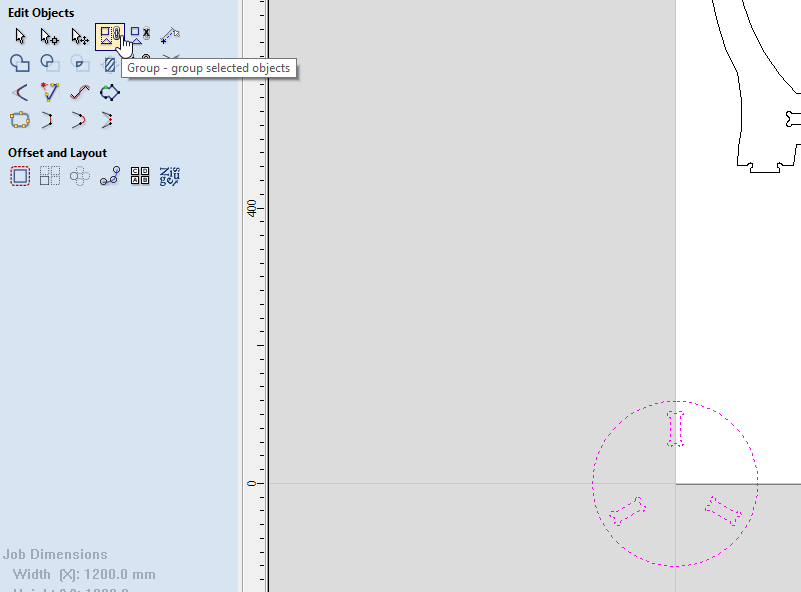
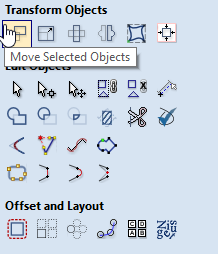
You Can move them easier using the move tool
Create Tool Paths
The router follows the tool paths to cut.
- Right click on shape outline (or select from left menu)
- Click Create toolpaths
- Select routing type
- Routing offset this is for whole, complete shapes with no breaks. Cuts around the edge of the shape.
- Internal (female) cuts inside the shape.
- external paths (male) cuts outside the shape.
- Island Fill/Island Hatch - removes all material inside an area.
- Engrave Paths - single lines that don't join to make a shape (appear with a small arrow)
Tool Type
Select the tool type you would like to use -For the induction we use either a 10mm 2 flute compression. You can import the entire edge tooling database into your version of Vcarve.
Depth, Feeds, Plunge and Speeds
These are the settings which the router uses to operate. It is up to you to set them, then the supervisor to double check any existing settings.
Depth
Set the depth in the path dialogue.
- Depth - How far above the bottom of the waste board the router starts its cut.
- Currently add an additional 0.3mm below your material thickness
- This may change after each service and/or waste board planing, your supervisor
- If your material is 17mm thick (make sure to measure) then the cut depth should be 17.3mm
Your supervisor will help you select the correct feeds and speeds for your job.
Feeds, Plunge and Speeds
In the tool 'edit' menu set:
- Feed - How FAST the router moves in the x,y dimensions. This is a constant linear speed in millimetres per minute (mm/min)
- Feed rate = Number of cutting edges x chip per tooth x RPM
- Plunge - How FAST the router move in the z dimension into the work material.
- Speed - This is the rotation speed of the router bit on Revolutions per Minute (RPM)
Click Save as.. if the tool path will be repeated or Ok when done
Moving Designs to Machine
Sending Jobs to the Multicam
- Open the Multi Cam App Manager
- Select File Manager
- select Connect -Note CNC Machine must be on to connect
- Once connected ,select your saved job and select the arrow to move to machine
Loading a Tool
Changing the tool is an operation only to be carried out by a Fabrication Lab Supervisor.
Loading the Router
- Load material onto the waste board.
- Align with bottom left corner of the bed
- Press TAB 1
- Load job using the folder button
- Check the job preview
Cutting with the Router
- Don PPE
- turn on bed suction
- Turn extractor
- start the job - the job will verify
- if preview fails abort and review Enroute settings
- Start cut with green button
While machine is operating
- Wear PPE!!!
- Observe the machine in operation
- Operator only inside yellow safety line
Pausing a Cut / Clearing Debris
If a piece is moving or get stuck in the extractor.
- Pause the cut with the red stop button
- Wait for the machine head to withdraw
- Watch the controller
- Wait for the spindle to stop
- Watch the spindle - verify it has stopped.
Use emergency stop if necessary
Note -if the machine is turned OFF mid operation, wait 1 minute to turn ON.
Cleaning Up
Move the machine head clear Use the extractor as a vacuum to clean debris Turn of the vacuum bed remove your job blow off bed with compressed air sand back wasteboard