Table of Contents
Workshop 03 - Productivity and System Tools
FOSS Software Alternatives
| Software | MS Windows/Apple OSX | Linux |
|---|---|---|
| Office | MS Office | Libreoffice |
| Outlook | Thunderbird | |
| Voicechat | Skype | Skype |
| Video playback | Windows Media Player/Quicktime | VLC |
| Web browser | Microsoft Edge/Safari | Chrome, Firefox |
| DVD/Video tool | Handbrake | Handbrake |
| Publishing | pagemaker | Scribus |
| Vector graphics | Adobe Illustrator | Inkscape |
| Audio Editing | Audacity | Audacity |
Xubuntu Software Installation
Most Xubuntu software is provided as packages (programs) in the Ubuntu repository.
Easy installation methods include:
- Ubuntu Software Centre
- Using .deb files
We can also install with the Terminal.
Advanced options include installing from scripts and compiling from source. View a guide for those methods.
Software
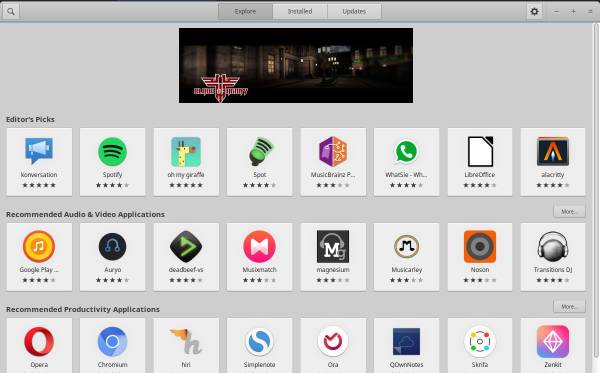
Access new software under 'Software':
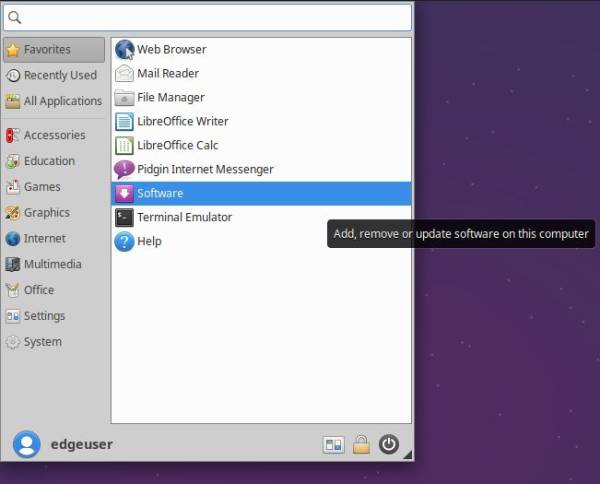
Find/install from here.
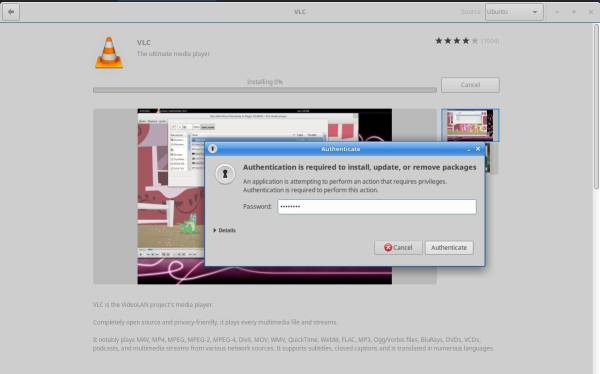
Search for video player, VLC:
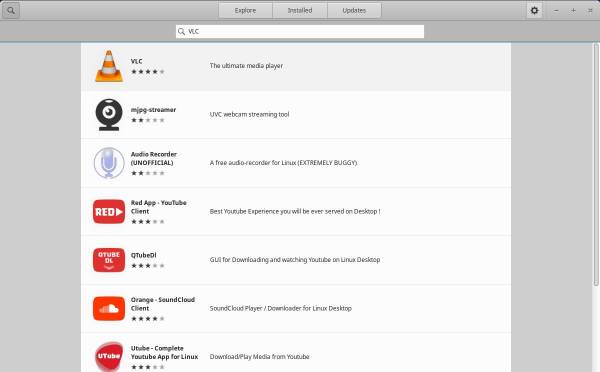
Select and install. It will prompt you to enter your password.
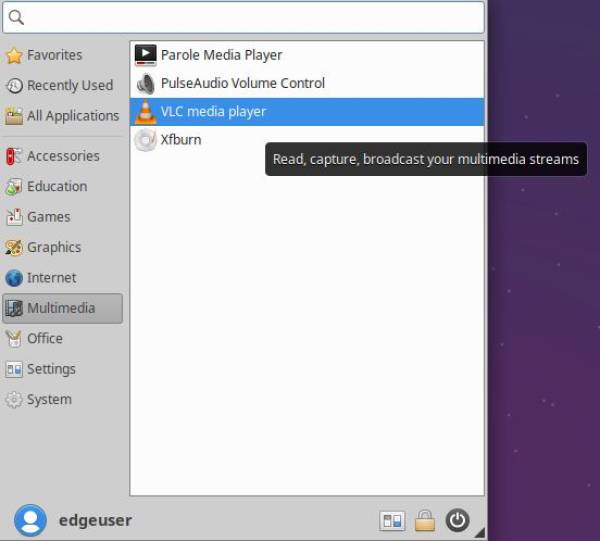
Now find it under 'Multimedia'. Right click to add to favourites.
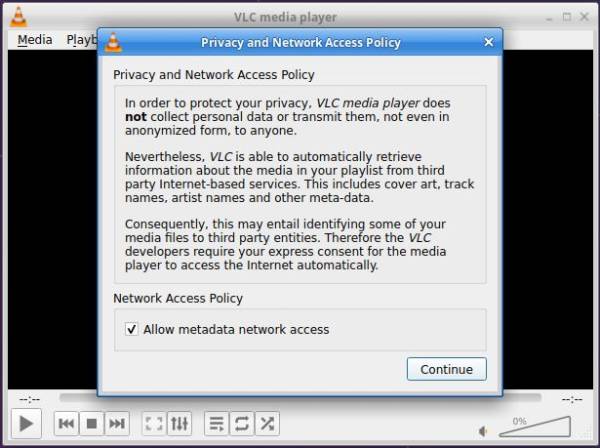
Launch VLC and enable network access.
Done!
.deb Files
Software can be installed from .deb files.
Let's run an installer for clementine:
- Download .deb from clementine.org downloads. (Choose 64bit)
- Double-click to open.
- Install as with VLC.
Package Management
Xubuntu uses a package management system (PMS) to find, install, update and upgrade software packages.
Use the Terminal to enter commands such as dpkg to install and apt-get to search/download from repositories. Try this:
- Open a terminal emulator from the whisker menu, or with ctrl+alt_t.
- Type
apt-get -h - This displays the help for apt-get and gives a simple explanation of what it does.

With new installations we usually update/upgrade so we have the most recent packages in our sources. We've already done this with Software Updater, but try it anyway:
- Type
$ sudo apt-get update - Enter your password when prompted.
- Apt-get will search through its list of software available and provide output.
- Type
$ sudo apt-get upgrade - Apt-get will upgrade the packages found in its update (if not already completed).
The Terminal
The terminal is text only or Command Line Interface (CLI). Combined with a shell (to interpret commands), it is the most powerful and direct way to use a computer.
Some symbols are used often. Eg, Open Terminal and you will see:
sdlw@sdlw-server:~$
It indicates:
- Who I am (sdlw)
- What computer I'm on (sdlw-server)
- Where I am in that computer (the home directory (~ is a home directory shortcut))
- My user type (standard user ($))
Navigate using commands:
- Forward slash (/) shows your current directory (folder).
- Single forward slash (/) is the 'root directory' (it contains all other directories)
- Tilde (~) indicates your home directory. If you are user, then the tilde (~) stands for '/home/user' (where 'user' is your username).
pwd shows your current directory (pwd = “print working directory”).
     sdlw@sdlw-server:~$ pwd
     /home/sdlw
ls or list shows files in your current directory. Commands can show sizes, dates and permissions of files.
- Try
ls -al- to show files in the current directory, with information on type and permissions.
cd changes directories. Eg:
- For root directory, use
cd / - For home directory, use
cdorcd ~ - Go up one level with
cd .. - Go to the previous directory with
cd -
Change multiple directories by describing the path, separating directory names with /.
Eg, cd /var/www goes to the /www subdirectory of /var/.
Try to use cd and ~ to get to your desktop!
Many commands need sudo at the start. This 'elevates privileges to the root-user administrative level temporarily' so you can work with directories/files not owned by your account.
Eg, try running apt-get install without sudo:
$ apt-get install vlc
It shows an error:

Try again with:
$ sudo apt-get install vlc
Enter password, and apt-get will function.

Learn more with linux Command Line by William Shotts. Download here.
Install Additional Software
Install remaining software (such as Libre Office) via Ubuntu Software Centre, .deb files, or with the terminal.
Cross-platform Compatibility
There are a number of formats we can use to transfer easily between systems. These include:
- FAT - disk limit of 4GB (Xubuntu/Windows/OSX).
- FAT32 - disk limit of 1000GB, file limit of 4GB (Xubuntu/Windows/OSX).
- NTFS - Large disk/file limits (Xubuntu/Windows. OSX can read with additional software, but cannot write to this format).
- exFAT - Large disk/file limits (Windows/OSX. Xubuntu requires additional setup.)
- HFS and HFS+ (OSX. Xubuntu requires additional setup)
To use exFAT on Xubuntu, install via Terminal:
sudo apt-get install exfat-fuse exfat-utils
To read HFS/HFS+ and write to HFS, install via Terminal:
sudo apt-get install hfsprogs
Writing to HFS+ requires additional setup. Consider using ExFAT instead if possible.
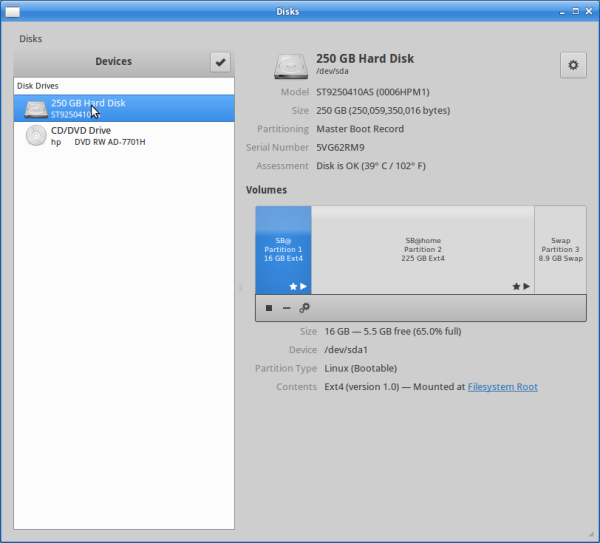
Formatting External/Internal Disks
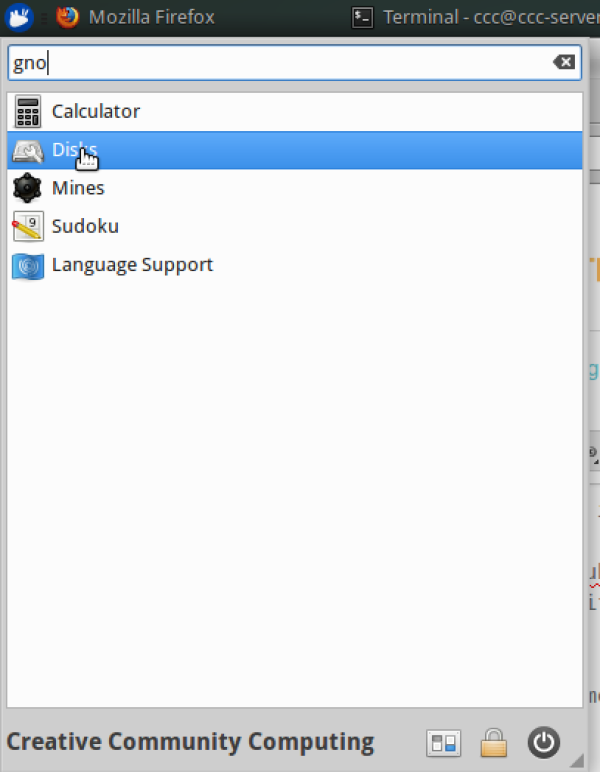
Xubuntu itself can't format drives/removable media, so install Gnome-Disk-Utility:
sudo apt-get install gnome-disk-utility
Once installed, open 'Disks' from the whisker menu.
It shows your internal hard drive and any other available drives.
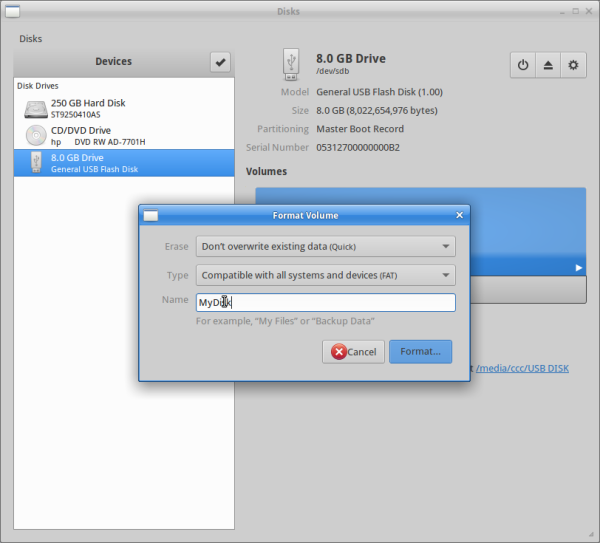
Insert your USB:
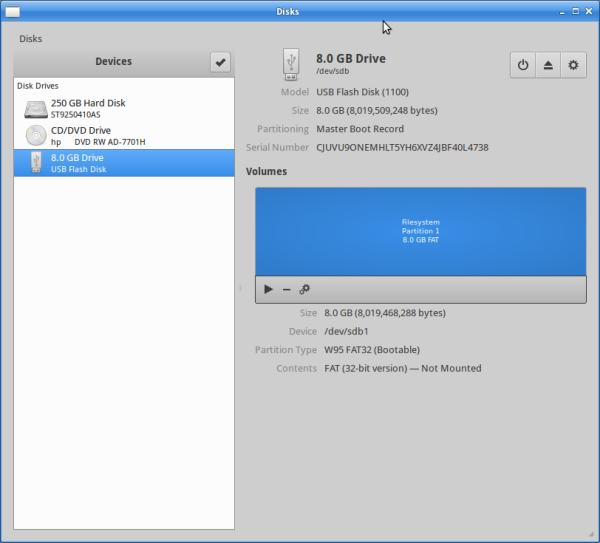
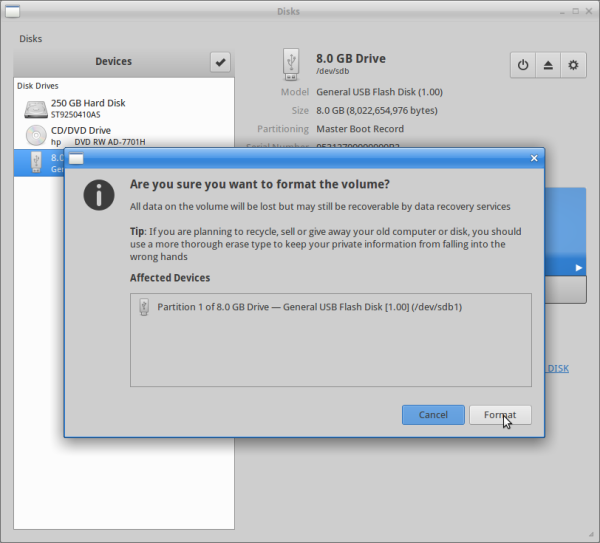
To wipe, choose format and name.

Use FAT32 for cross-platform compatibility.
Confirm.
Libre Office
LibreOffice (a FOSS office productivity) uses the Open Document Format. For Microsoft Office compatibility, let's change default file formats.
Open LibreOffice:

Go to 'Tools', then 'Options'. Select 'Load/Save', then 'General'. Select document type 'Text Document', and change type to 'Microsoft Word 2007 - 365 *.docx'
INSERT PICTURE HERE.
You can do the same for other file types, eg, spreadsheets. Click 'OK' to confirm.
Backups
Backups copy your data so you can recover or restore if needed. For safety, backups should be stored externally (external drive, USB or other computer) and checked to ensure they work. Try these options.
Copy Your Files
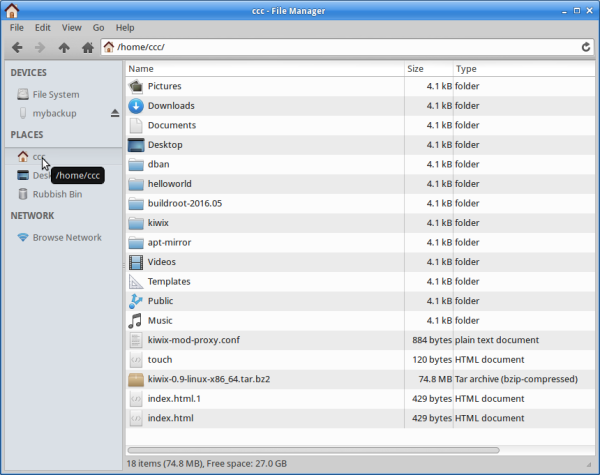
The home directory stores your personal files. Try copying it to USB via File Manager.
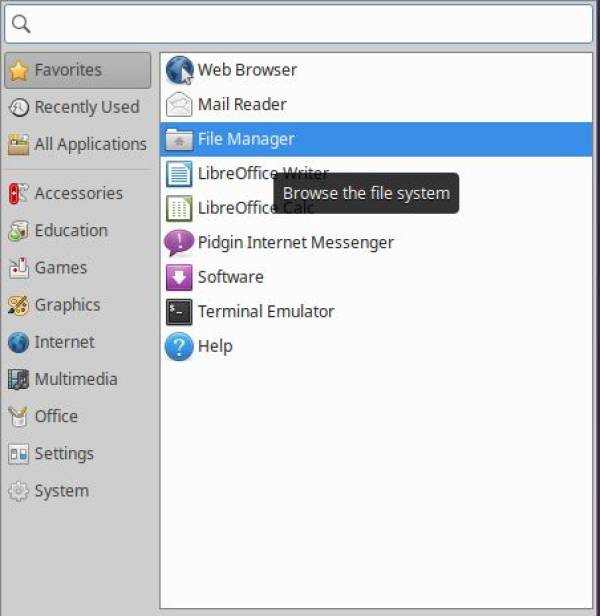
Open File Manager:
Select your home directory from the sidebar (Here it's 'sdlw'):
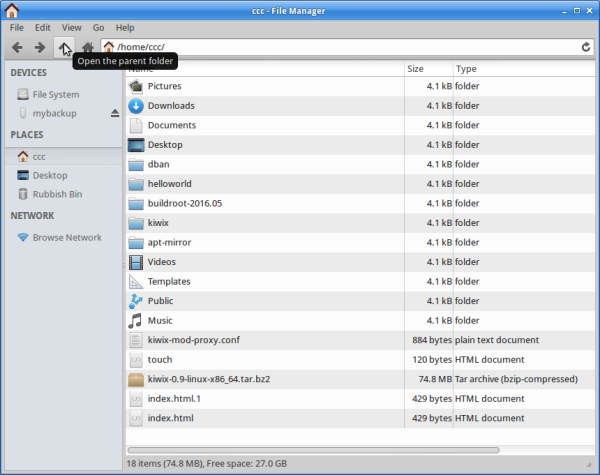
Go up one level to see the home directory folder:
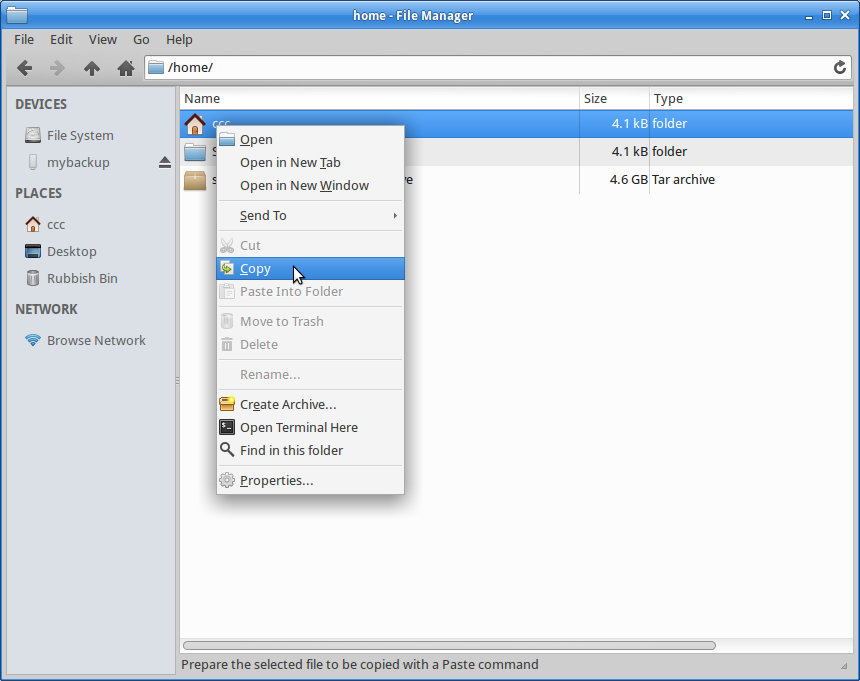
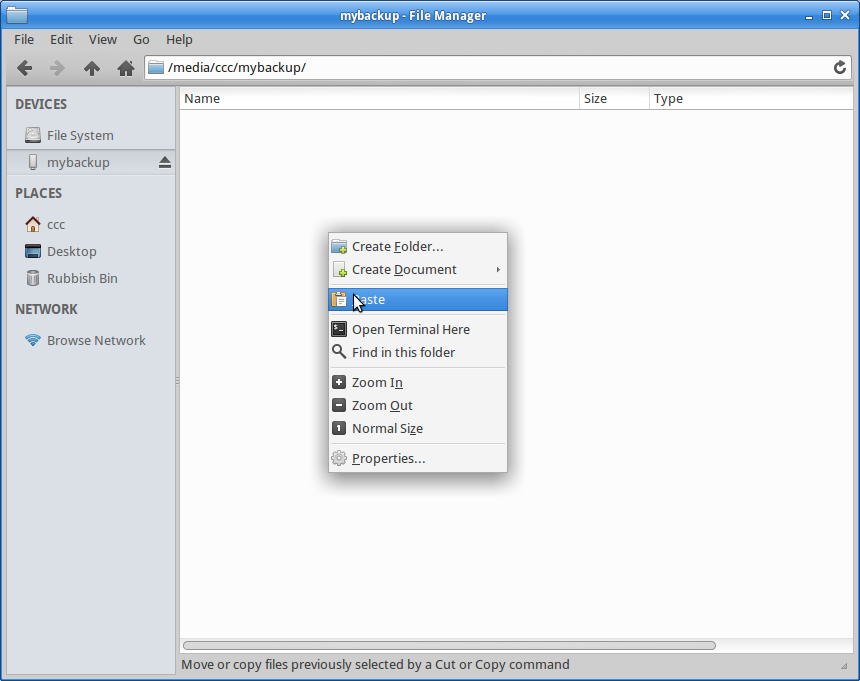
Right click and copy.
Select your USB:
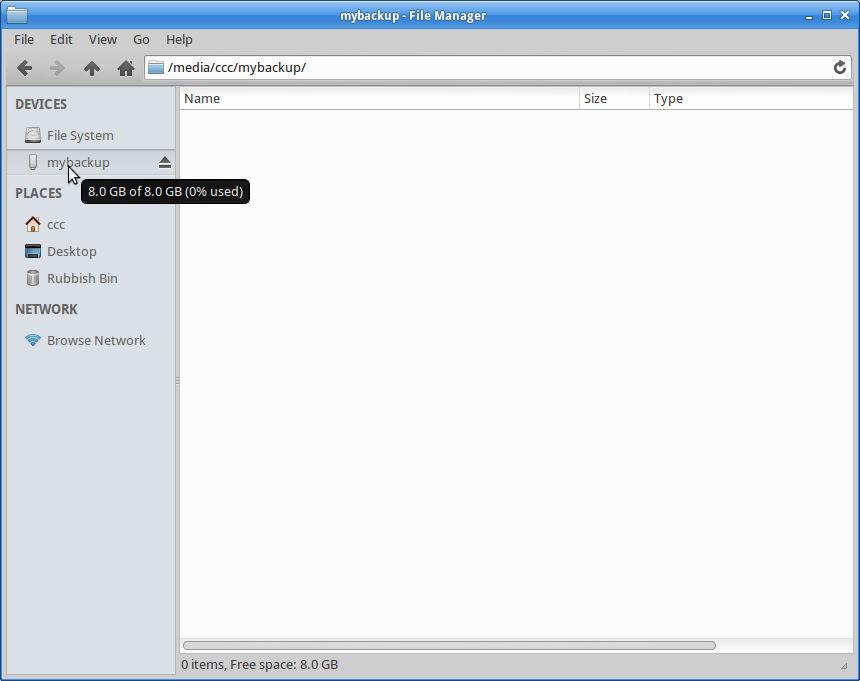
And paste.
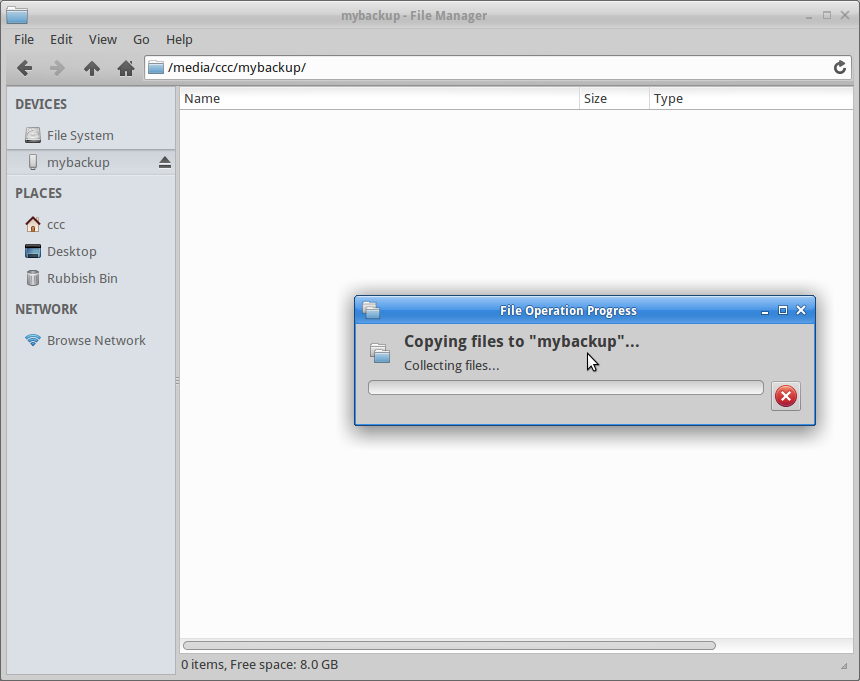
Once complete, check your copied files.
Archiving
Files too large to fit on your storage? We can compress them to zip.
Check your folder's size (Right click, select 'Properties'):
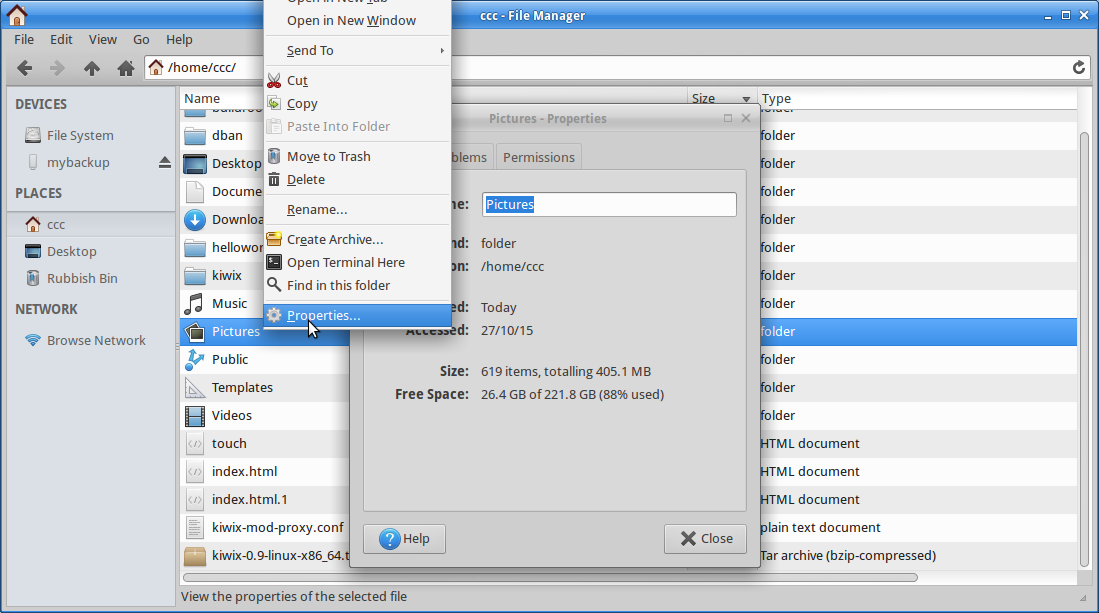
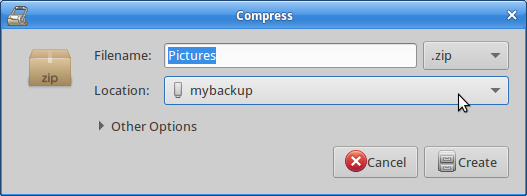
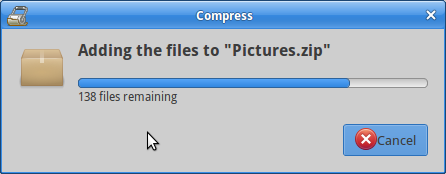
Now right click and choose 'create archive':
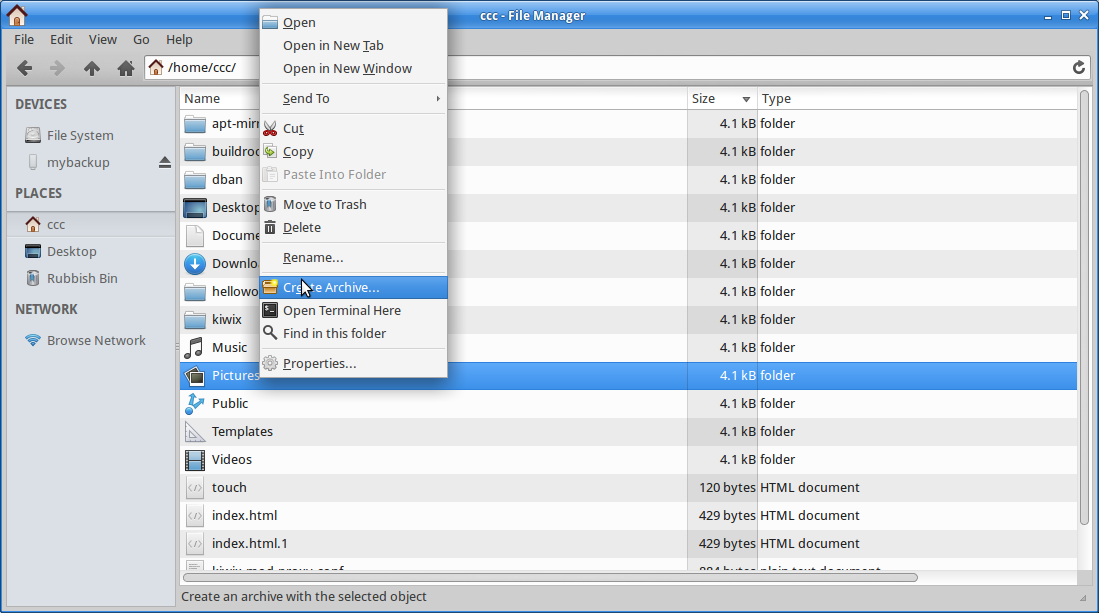
Name it, select zip, and save to USB:
Check the archive size - it should be smaller now.
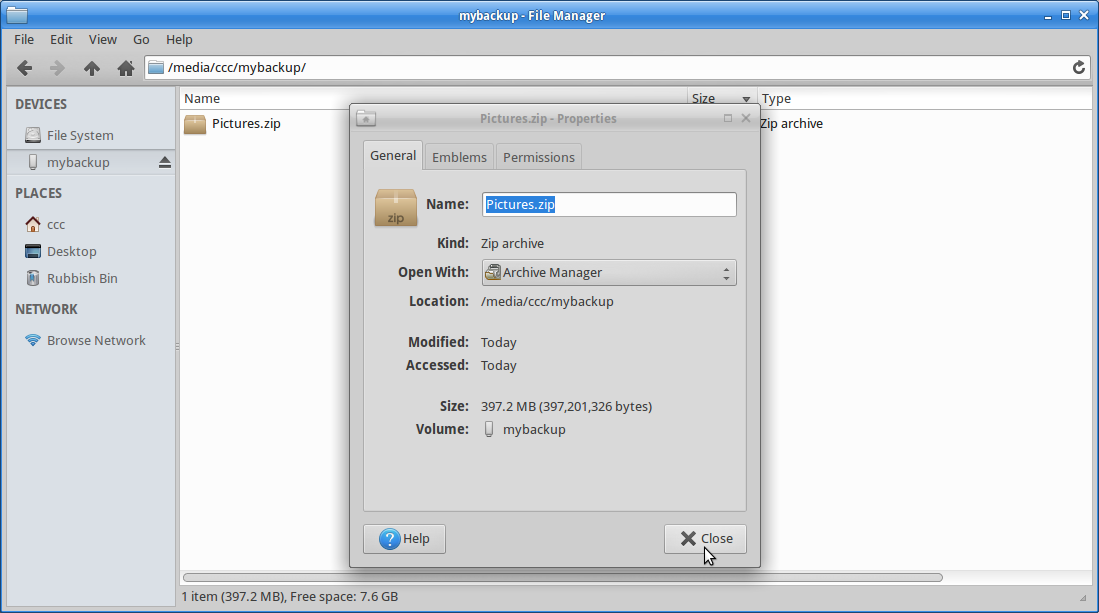
Remember: check that your copied files work.
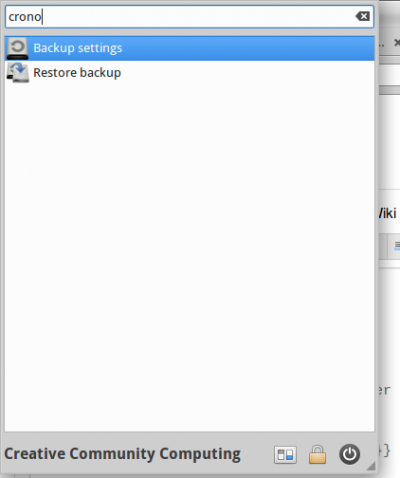
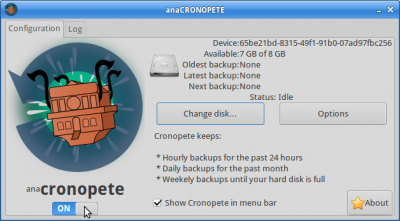
Cronopete
Cronopete is backup software with a GUI interface. Use it to automate backups and restore files easily.
Download and install Cronopete from https://rastersoft.com/programas/cronopete.html.
Configuration
Select 'backup settings' from the Whisker Menu:
Prepare backup location - select 'Configure now', then 'Change Backup Destination'. Select USB and click 'OK':
INSERT PICTURE
Confirm drive format - this will erase its contents:
INSERT PICTURE
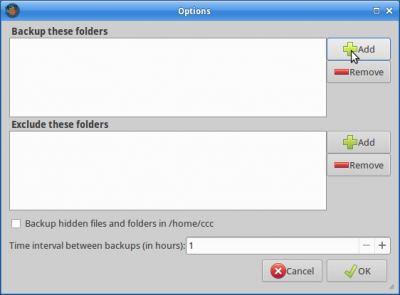
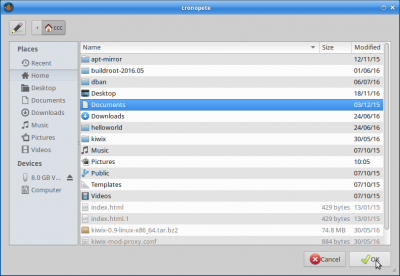
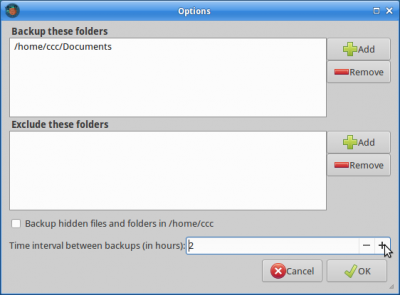
Choose content to back up. Click on 'Folders to Back Up':
INSERT PICTURE
Add folders needed.
Eg:
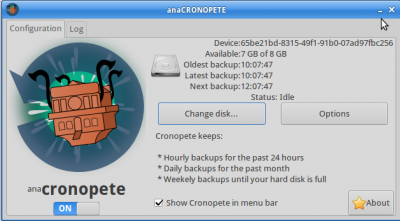
Decide how often to back up:
Run backup
Turn cronopete on - check the menu bar.
Open:

Select 'backup now'.

The backup will start immediately.
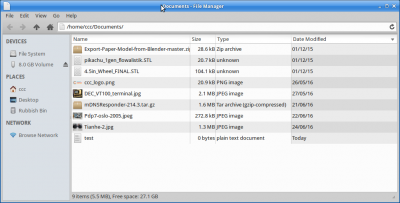
Let's test it
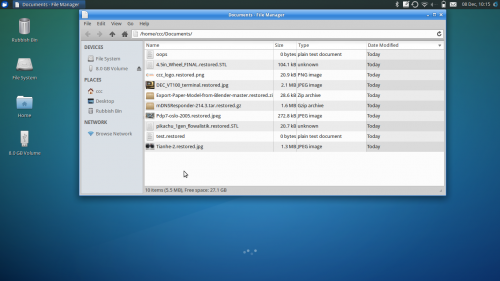
See the backed-up folder:
'Accidentally' delete it, create a new one, and run backup.
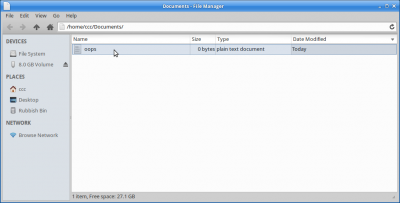
The original files are 'lost'. Lets restore them!
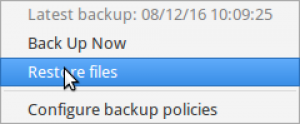
Backup Restoration
Open from the menu bar.
Select 'Restore Files'.
Backups appear from newest to oldest.
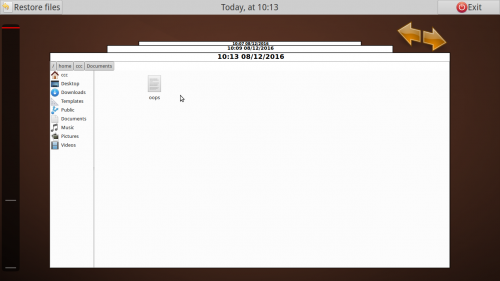
Click 'back' for older backups.
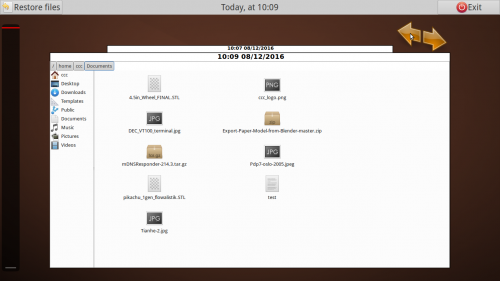
Select and restore.
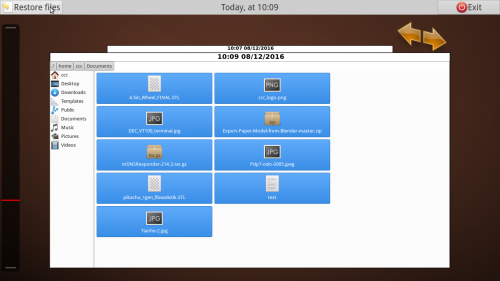
It restores and renames the restored files.